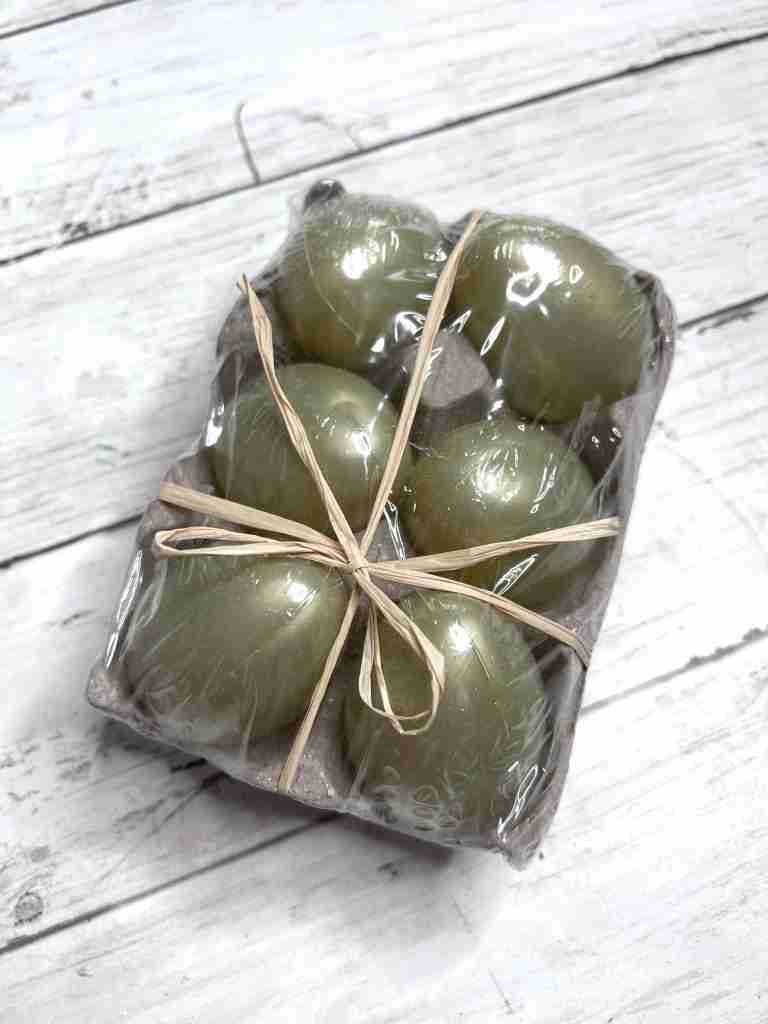
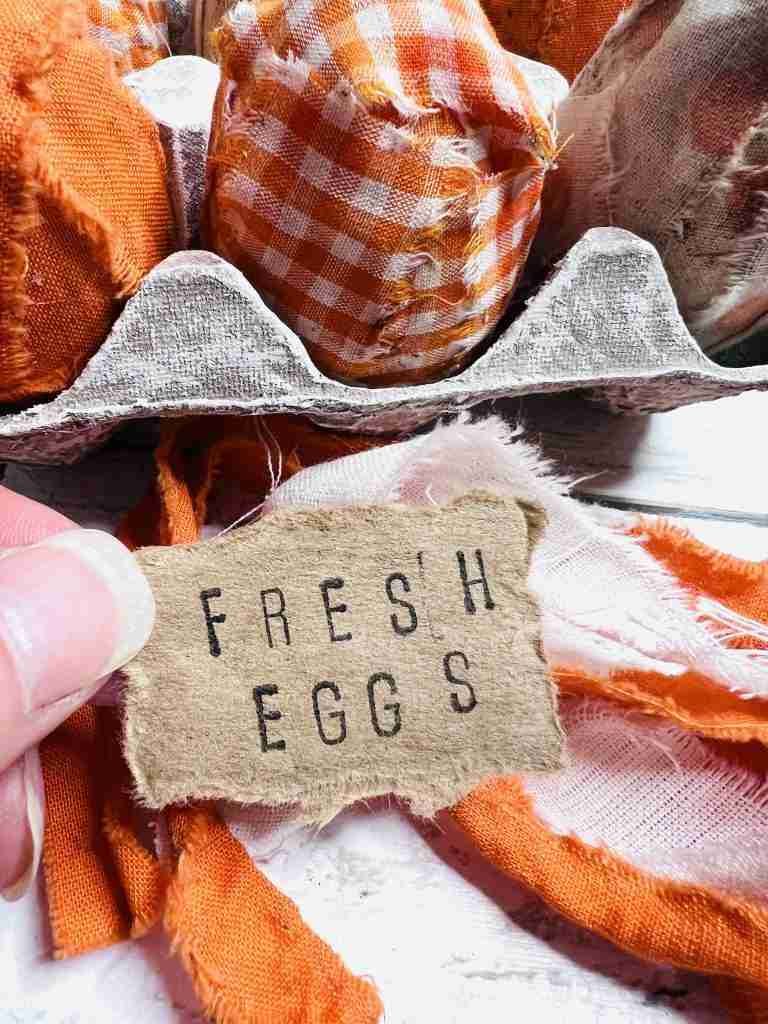
These Dollar Tree eggs are screaming for a make-over so I’m going to combine them with some Dollar Tree material to give them a whole NEW look!! The eggs are in a cardboard crate so they’ll be perfect to use in a vignette for Easter and spring! Let’s see how this Dollar Tree plastic egg make-over turns out!!

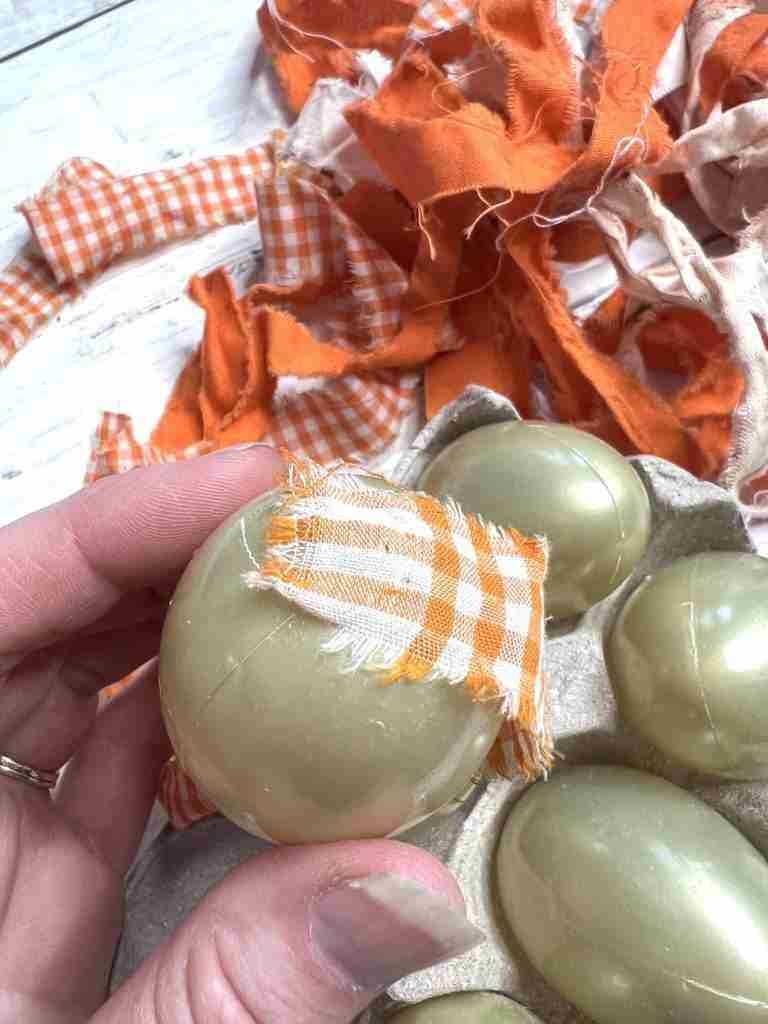
First up I want to tear my material into strips that I’ll be coffee staining. If you don’t like the “grunge” look the staining step can be skipped. The orange and polka dot material is from Dollar Tree but the orange check is from Hobby Lobby.

Now I’m ready to attach the material strips to the eggs, so I’ll start with a dab of hot glue on the bottom and start wrapping the strip around the egg. I’ll use craft glue to smooth the strip down as I go. I found that cutting the strips into small sections worked better.
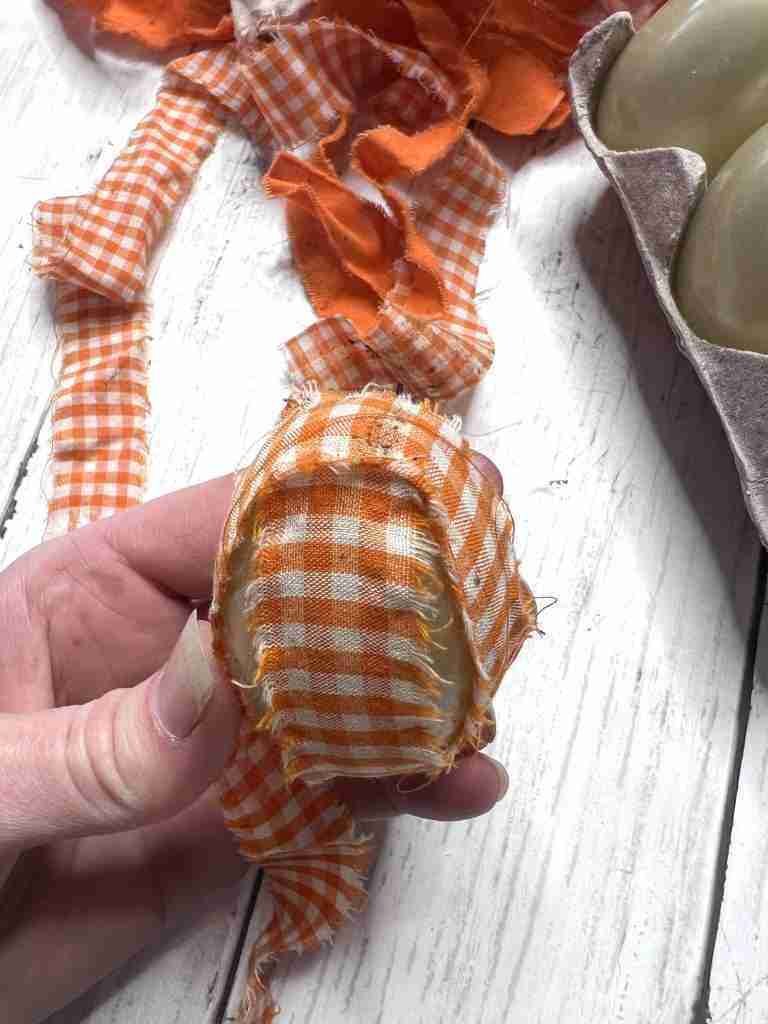

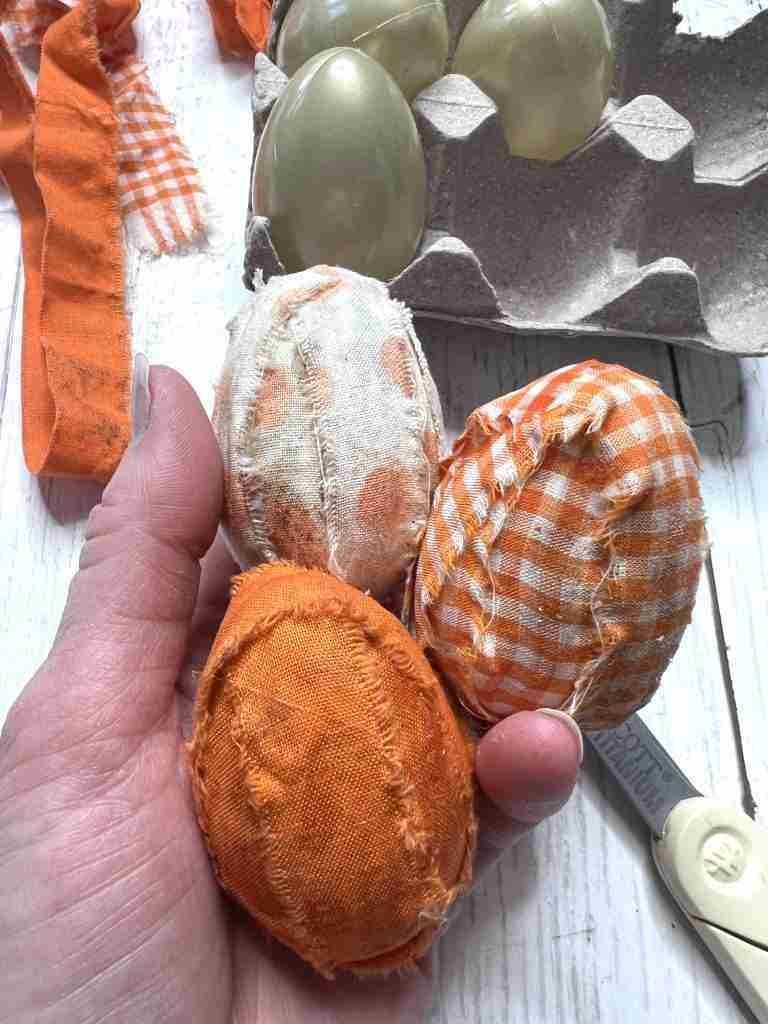
Now craft glue can be brushed on to smooth down the edges if desired. I’ll leave my material a little more loose on these eggs.
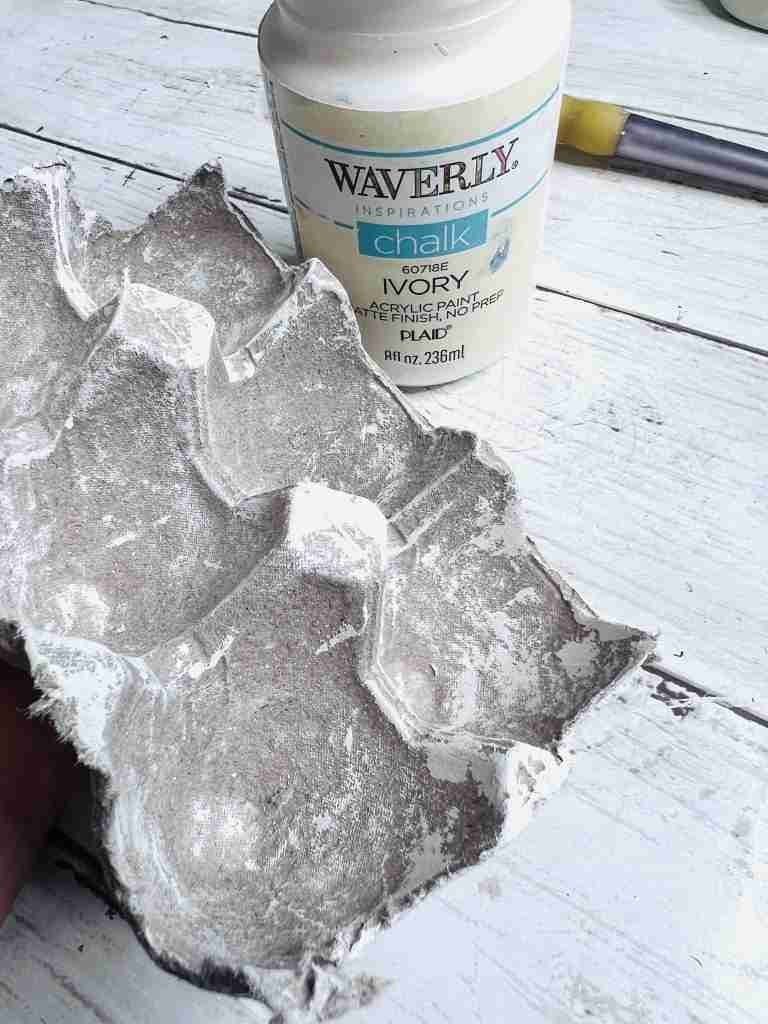
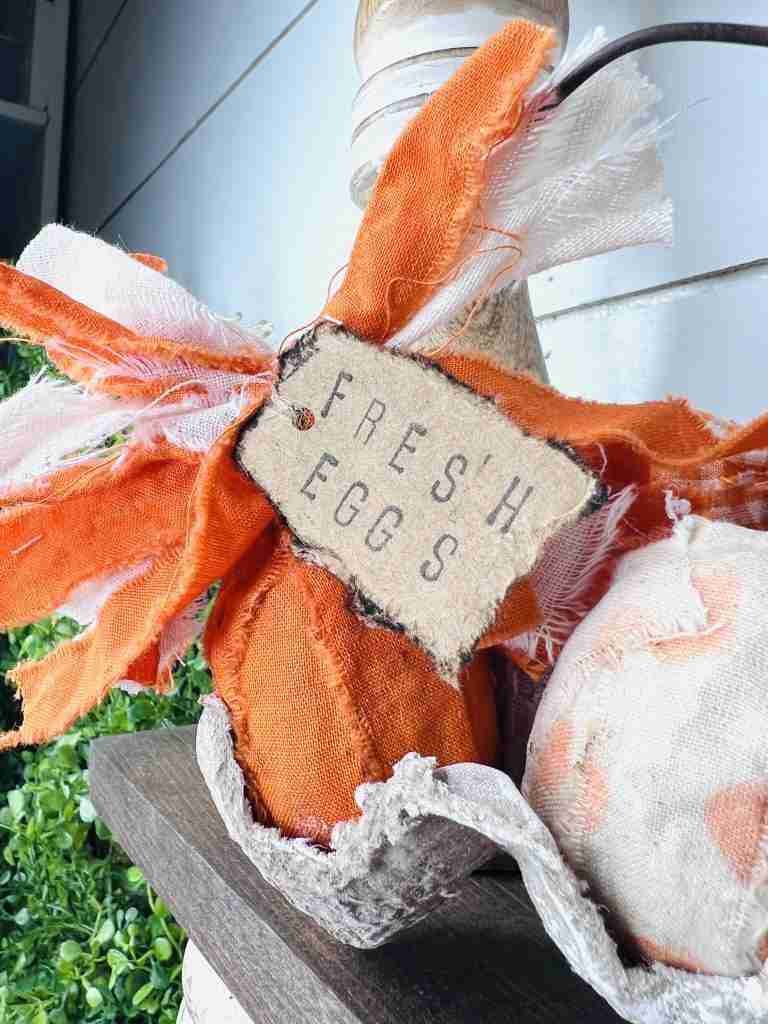
The Carton…
Now, for the cardboard carton I’ll just brush on a little Waverly Ivory chalk paint and attach a handle using some old wire.
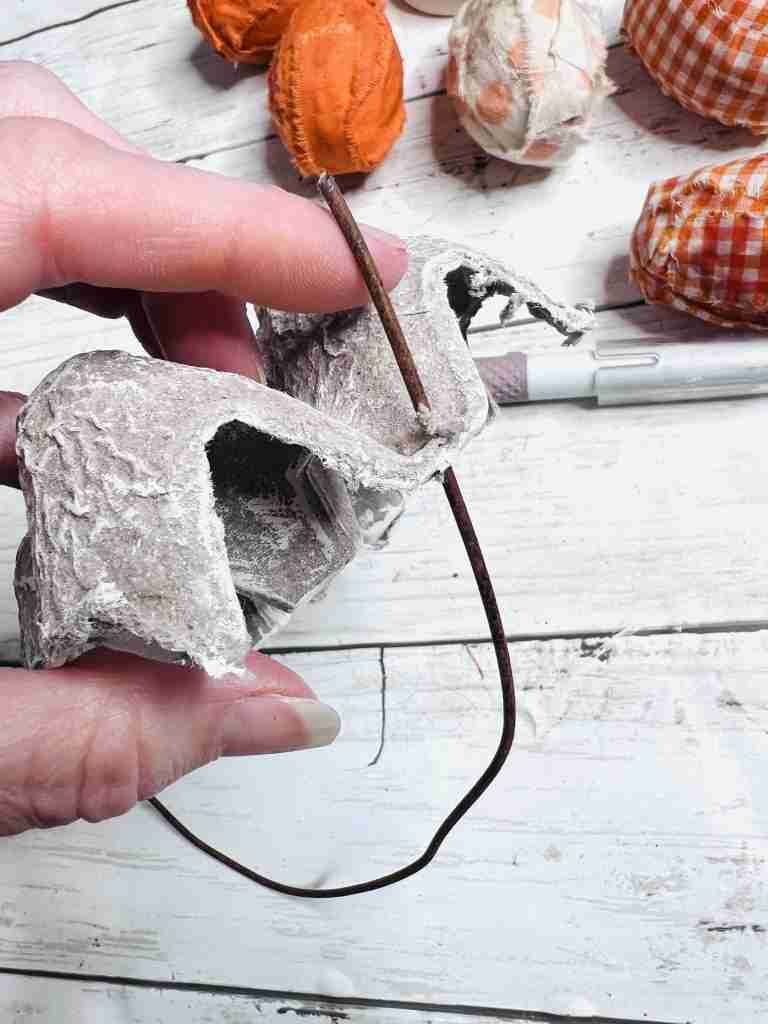
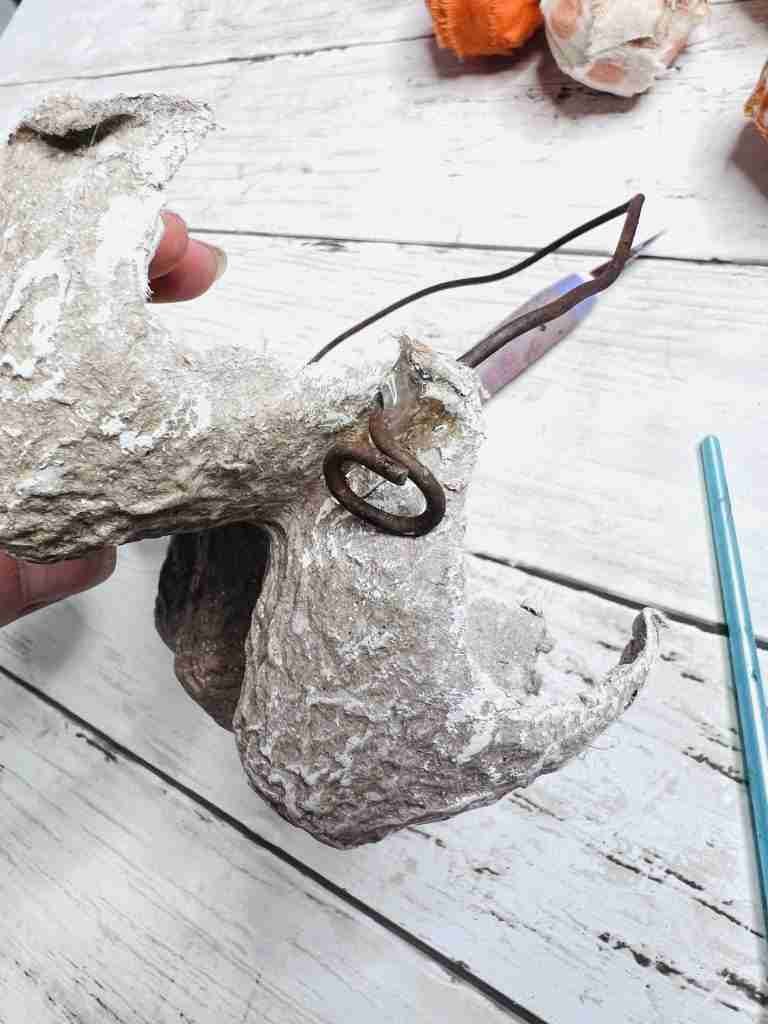
I’ll poke a hole into the cardboard and then secure the coiled wire ends with some hot glue.
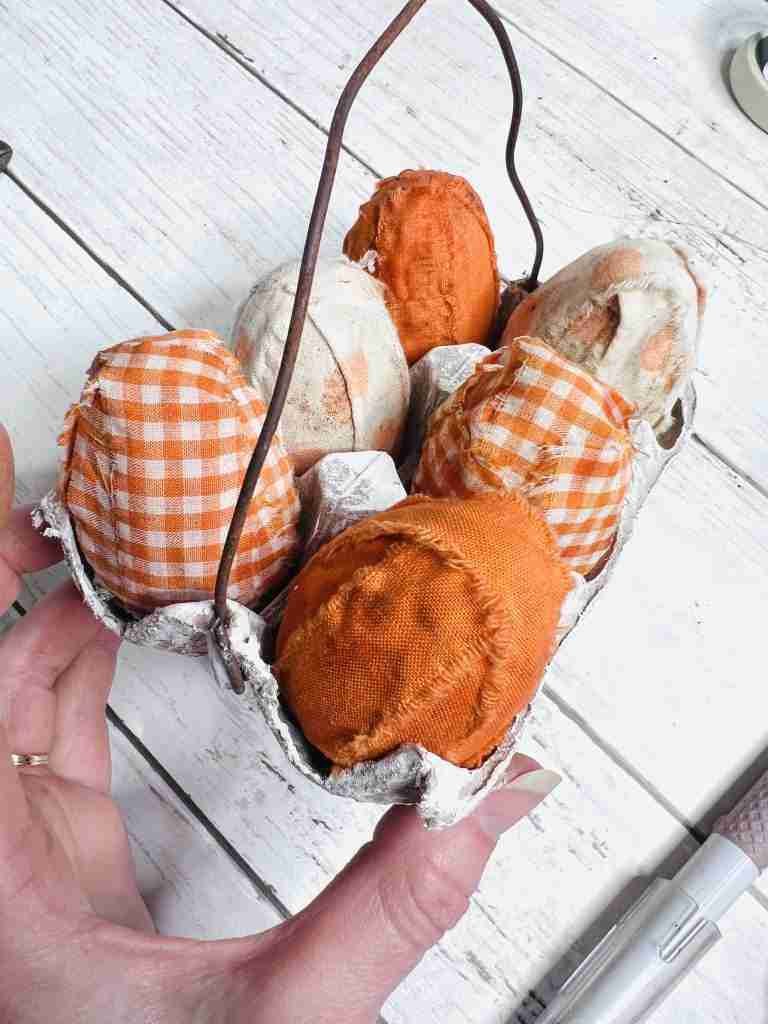
Lastly I’ll attach a fun rag bow and stamped kraft paper tag! This project has turned out so sweet y’all! If you’re looking for something fun and budget friendly definitely give this Dollar Tree plastic egg make-over a try!!


How to Create Textured Tissue Paper Eggs