I found this little metal bucket at Dollar Tree and I know it will be perfect to add a rust effect and maybe some carrots for spring! I don’t do a lot of primitive style decor but I’m excited to give this one a try! Come on in and join me for this Dollar Tree metal bucket with easy rust effect tutorial!!
*This post contains affiliate links which means if you choose to purchase I may receive a commission.

We’re starting with little galvanized Dollar Tree bucket but we’ll need a few more items too.
- Dollar Tree Galvanized Bucket
- Black/Brown/Orange Acrylic Paint
- Strip of Light Colored Material
- Distress Ink
- Cinnamon
- Brown Kraft Paper
- Chip Brush
- Small Stamps

First, I’ll add some paint to a plate, a little of each color. Then I’ll start with the black and use my chip brush to “stipple” or lightly pat the color on. Gradually add in the brown and then the orange to get a rust effect. Continue working with the colors until you get the look you like. I’m adding a little cinnamon in with my orange paint to add some dimension.


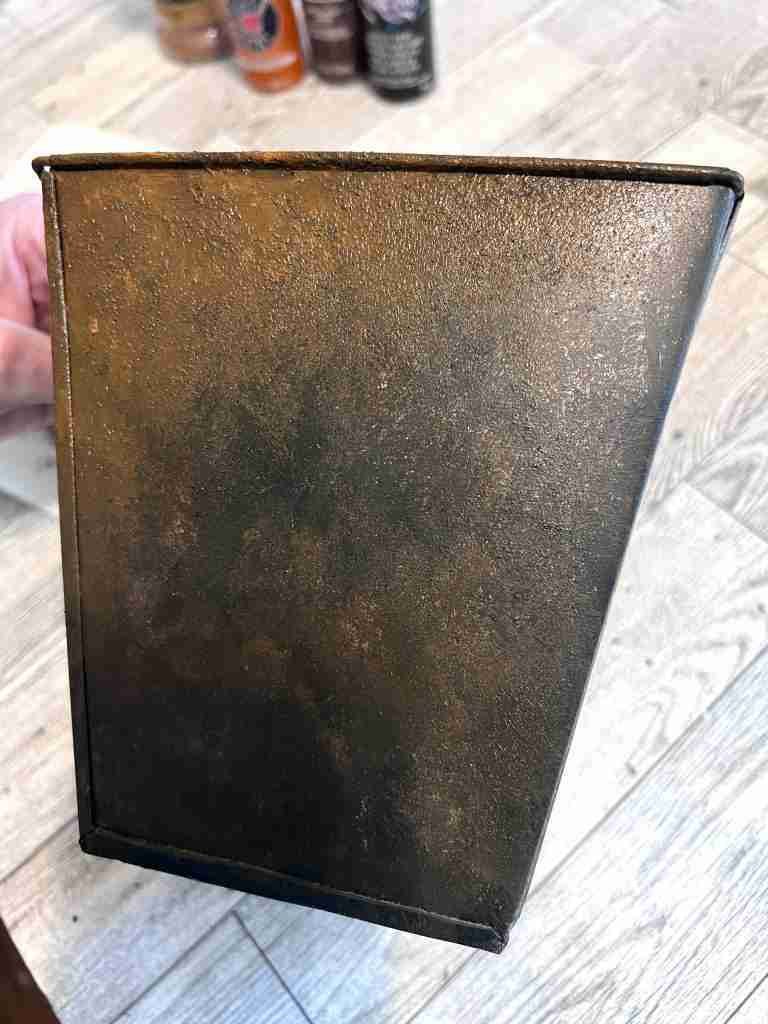
Once all the sides and bottom are covered set aside to dry. There is a slight cinnamon smell but you could add a spray sealant to help with this. I did not cover the inside since I knew the contents would cover those.

Now that everything is dry we can add contents. I’m adding Spanish moss and my Dollar Tree piping bag carrots.

Finally, I’ll tie a strip of material that’s been distressed with Distressing Ink around the bucket, along with a fun tag! I have just fallen in love with this rust technique! It all came together perfectly! Let me know what you think of this one!!


Simple Dollar Tree Riser DIY – Word & Home
Easy Flocked Dollar Tree Spring Bunny