There’s not many crafting supplies more budget friendly than cardboard so what’s not to love?? It has the potential to add so much texture to any project and most of us have some laying around just begging to be recycled into an adorable craft like this easy and budget friendly cardboard spring bunny!

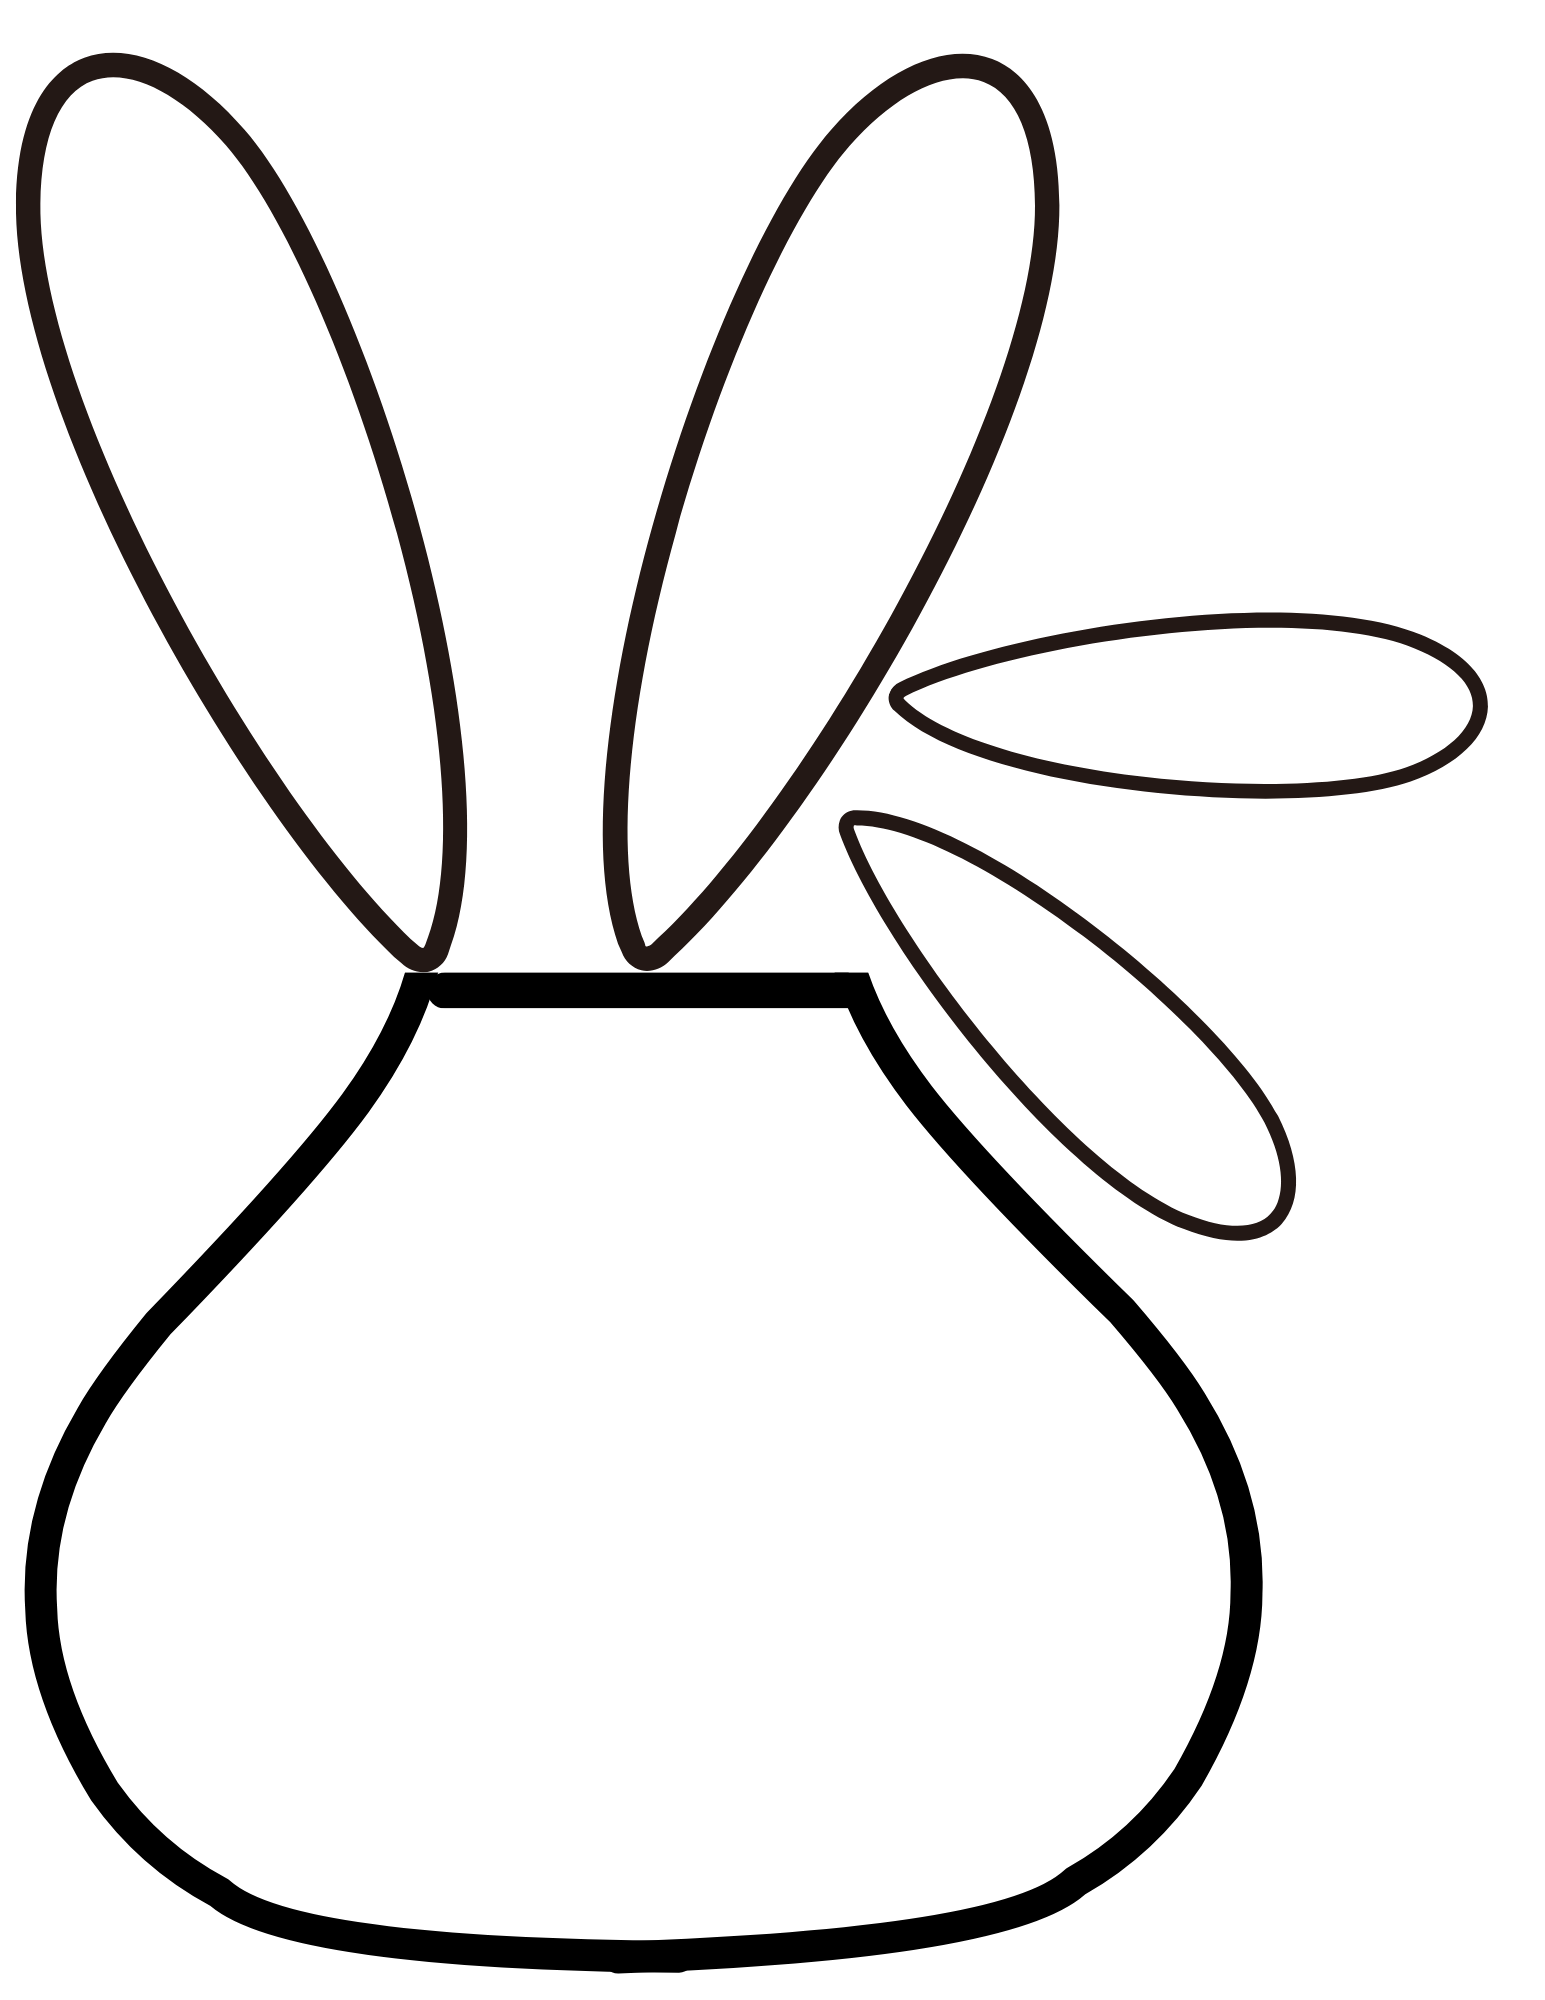
First order of business is to use a template or just freehand the shapes we need. I’ve created a template here that you are free to use for personal projects.
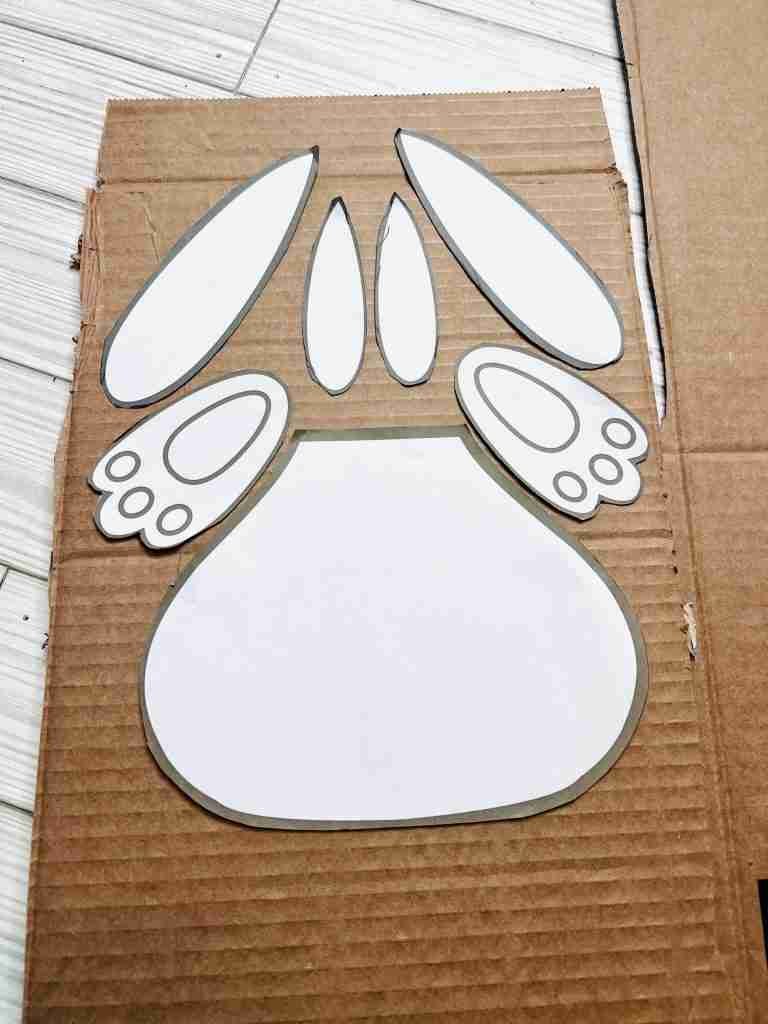
Next, cut the template out, lay each piece on cardboard, trace, and cut out.


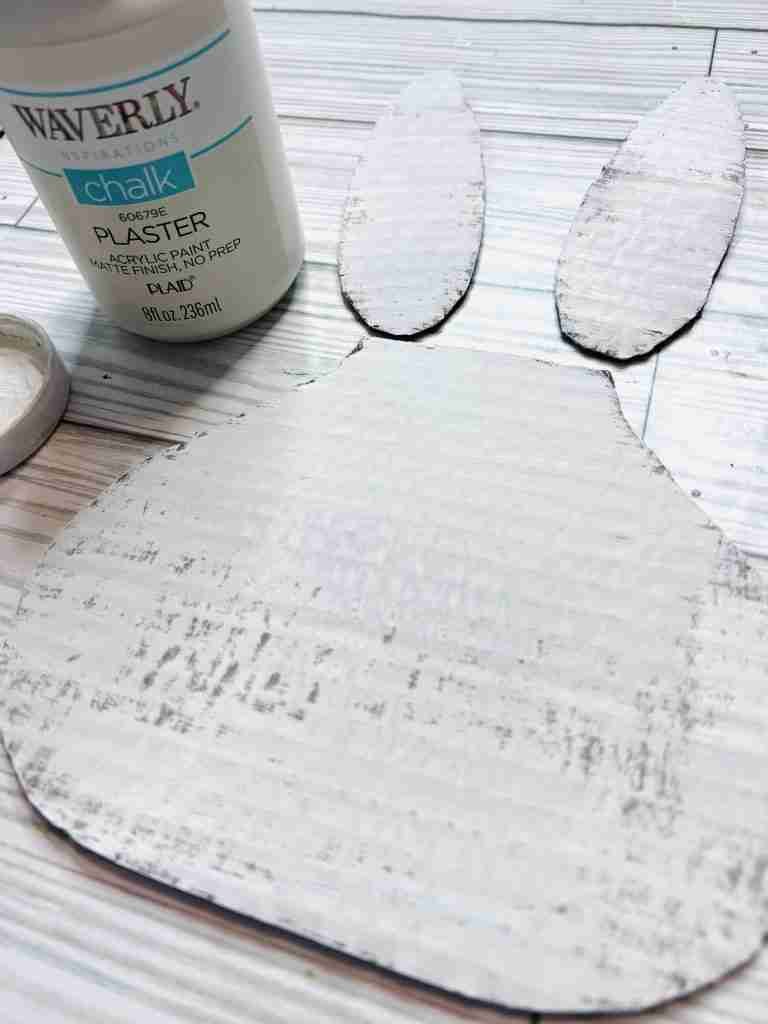
Now the pieces can be painted any color you like. I’ll paint the ears and body with Waverly chalk paint in Plaster.
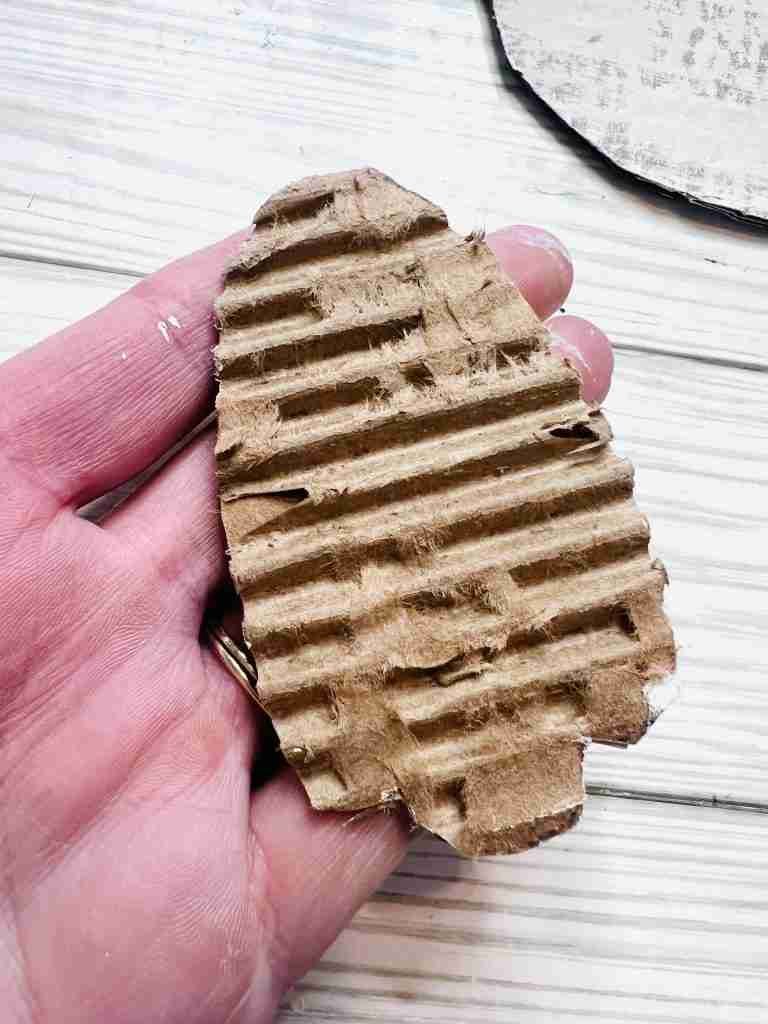
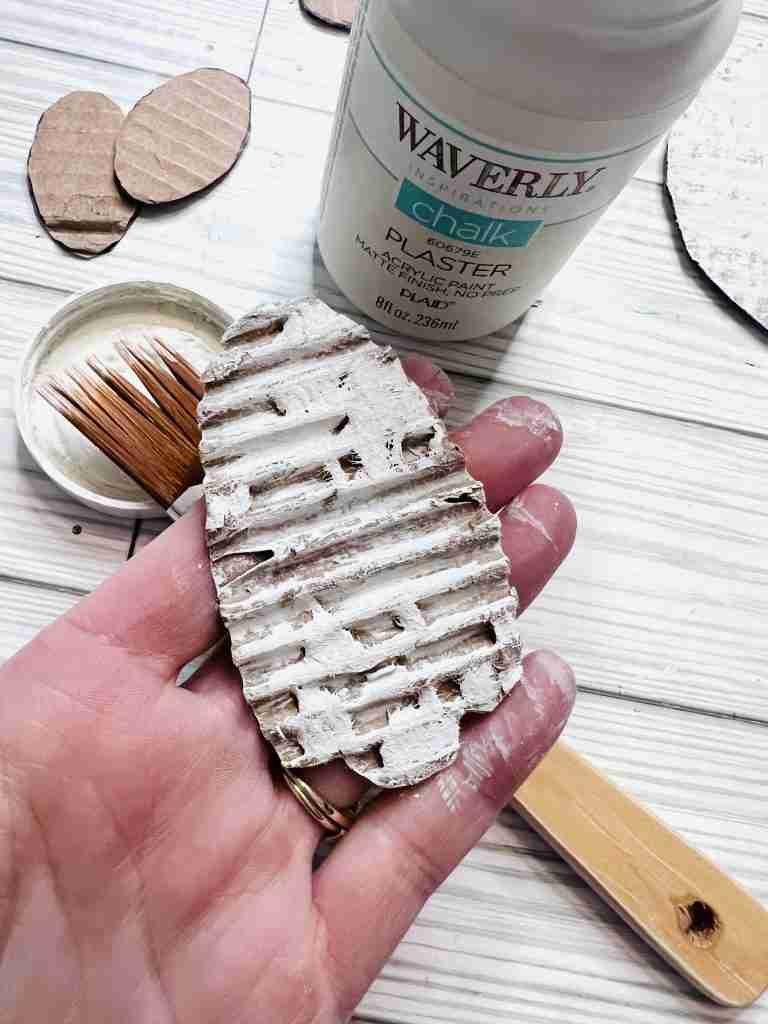
For the bunny feet I’ll peel away part of the top layer of cardboard, exposing some of the corrugation.
Now I’ll paint the feet using the same Waverly Plaster color, but not completely cover the brown cardboard.
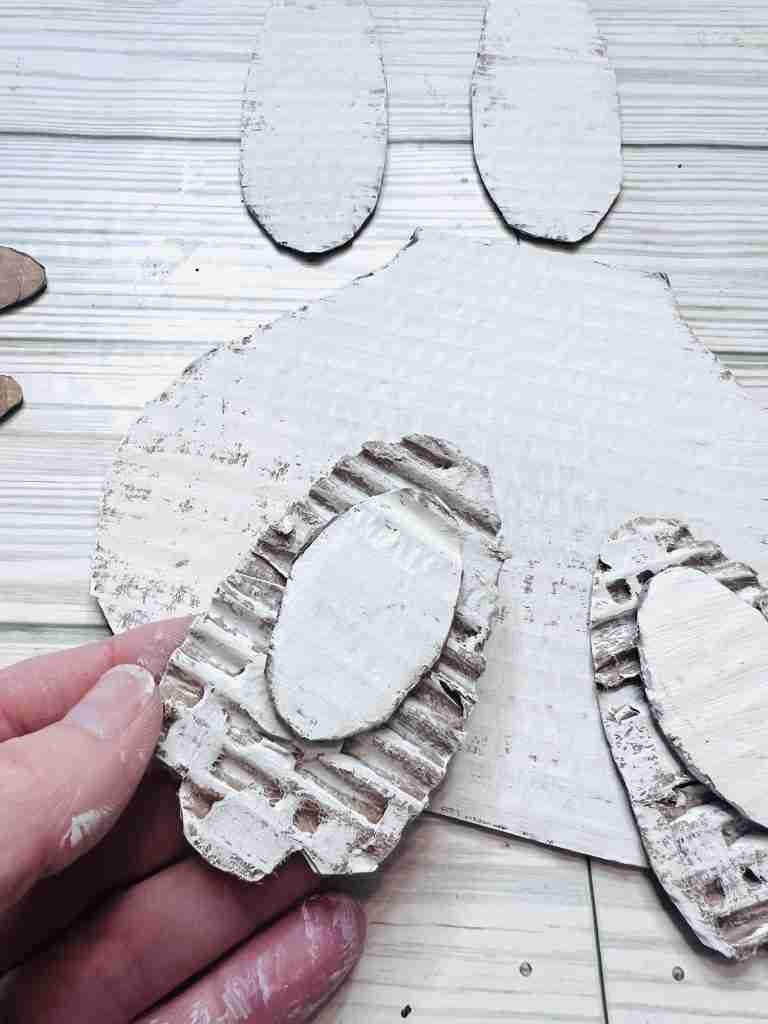
Once the feet are painted I decide to add ovals on the bottom of both. These aren’t included in the pattern above, but ovals can easily be cut out free hand.

Paint the ovals Plaster and then distress and darken the edges with Distress Ink.

Gluing All The Pieces Together…
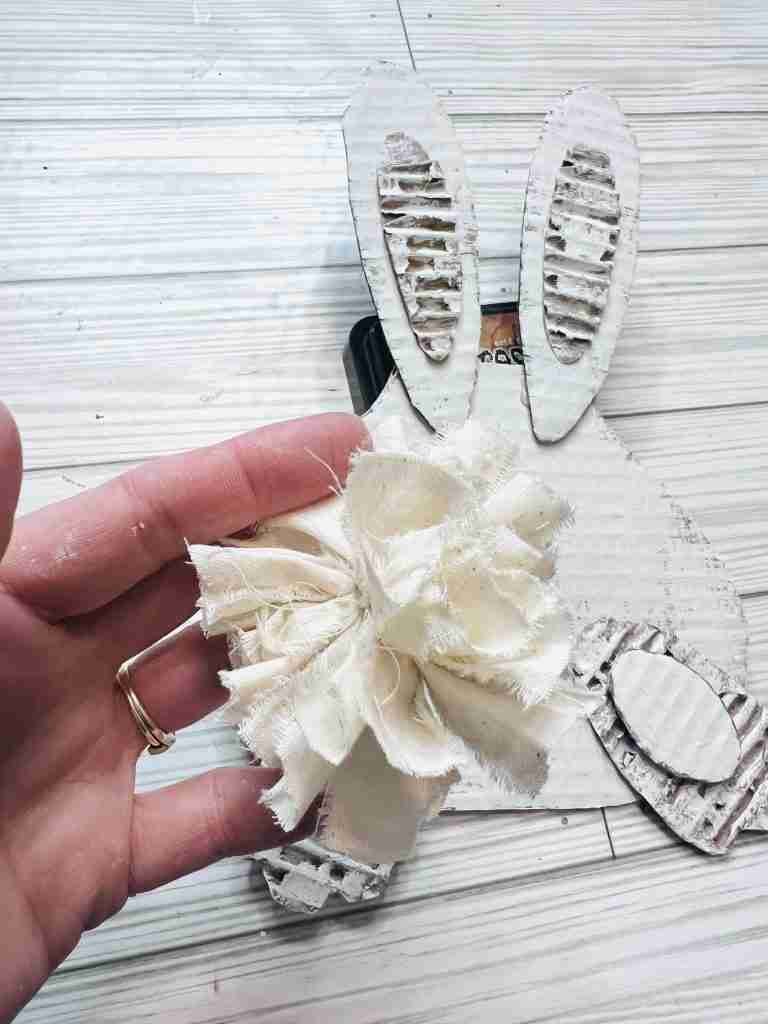
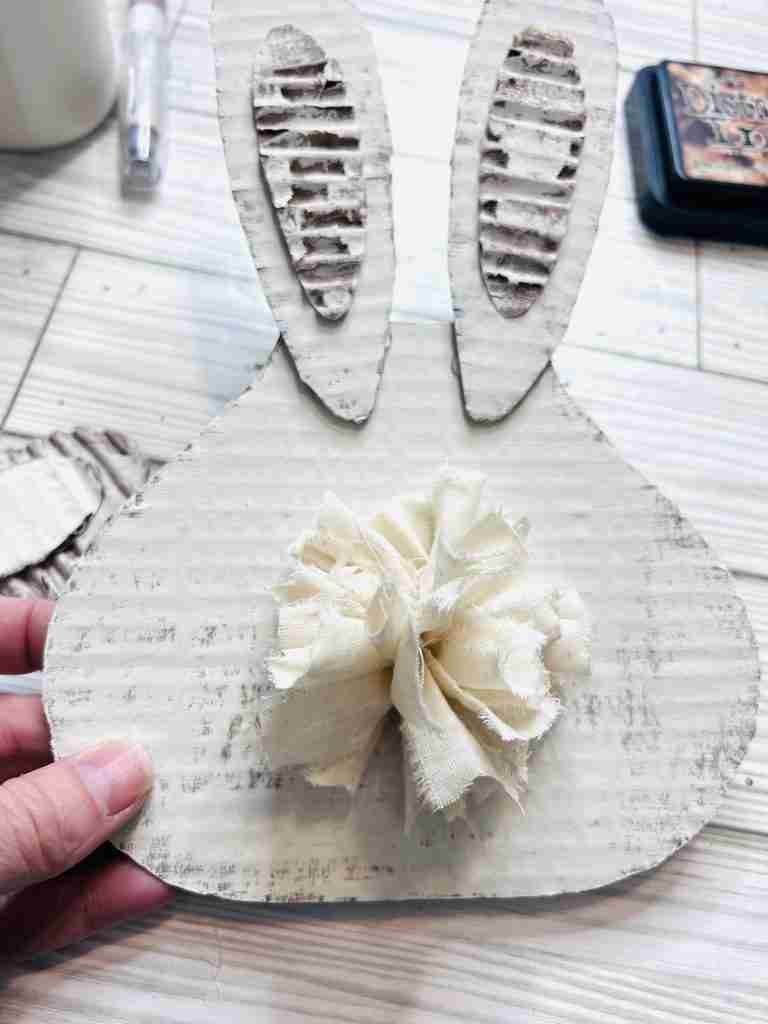
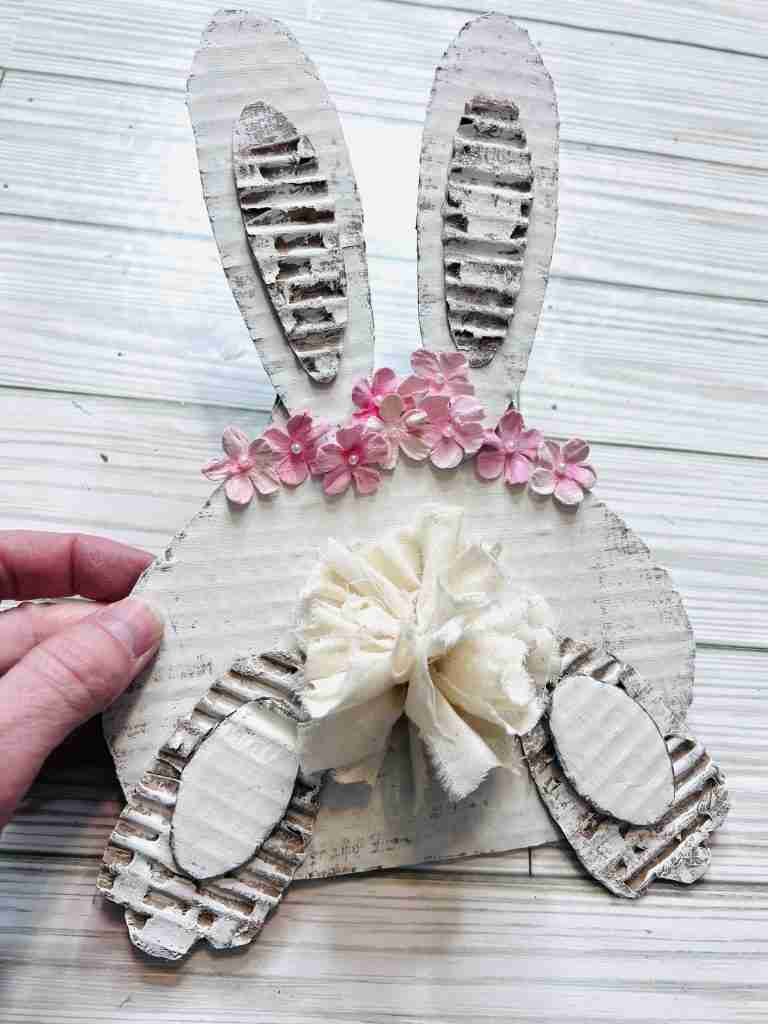
Now I’ll glue the parts together and add a fun pom pom tail I made from strips of material.
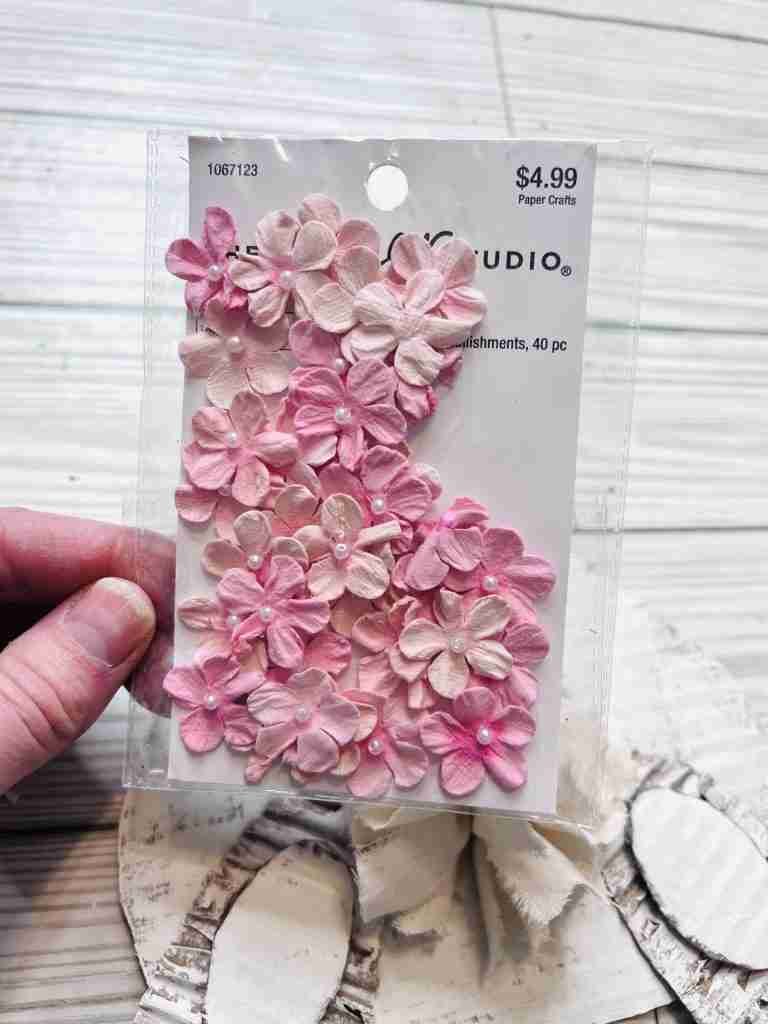
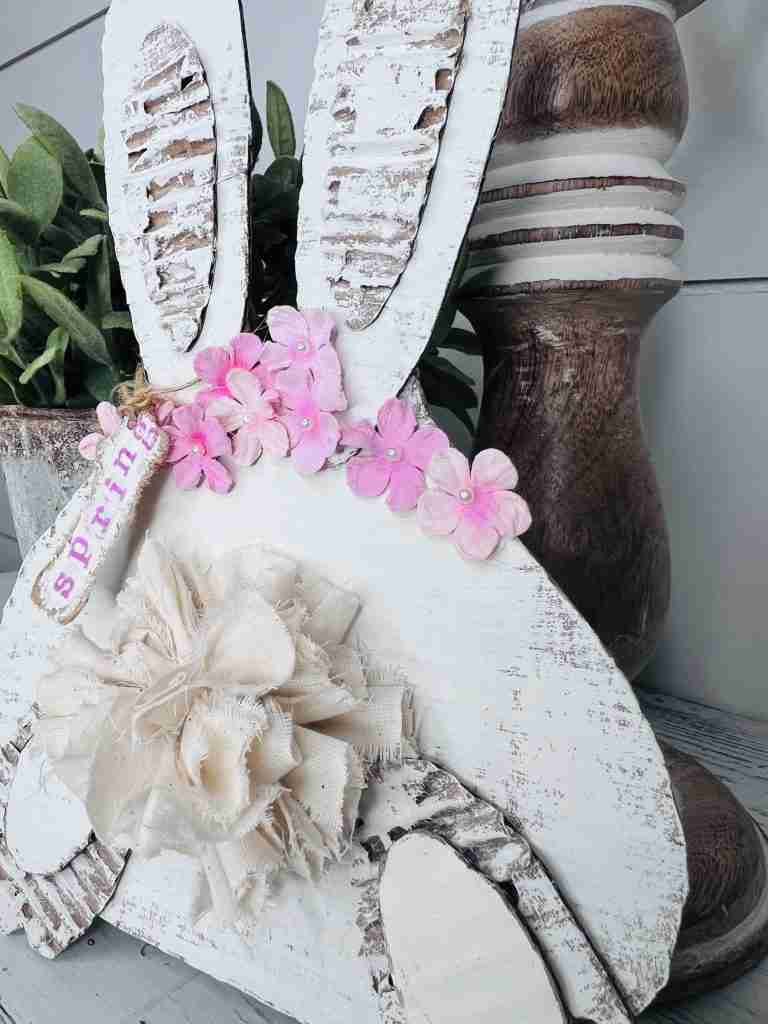
Finally, I’ll add some pretty pink flowers around the ears and top of the head.
Now our easy and budget friendly cardboard spring bunny is all finished and ready to be added to a vignette or used as a shelf sitter! Hope you enjoyed this little piece of spring and were inspired to create one for your own home!


How To Make A Tabletop Moss Bunny – Word & Home
Easy Dollar Tree Bunny Gnome Banner