I have BIG plans for my back yard this spring and summer and that includes an eye catching fountain with the relaxing sound of bubbling water. What I didn’t plan for was the price tag of $359.00 dollars and up! After some Pinterest inspiration I decided to give a faux concrete garden fountain a try and I’m sharing exactly how I did it below!
*This post contains affiliate link which means I may receive a commission if you choose to purchase.
Faux Garden Fountain Supplies
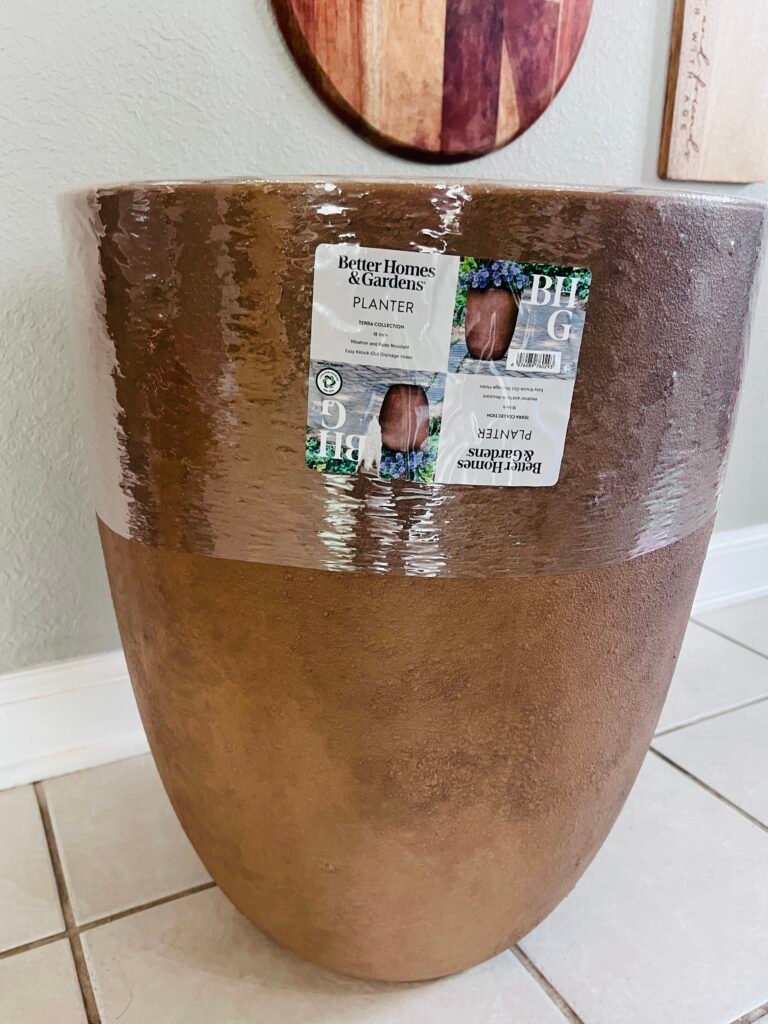
- Better Homes and Garden Plastic Planter (Walmart)
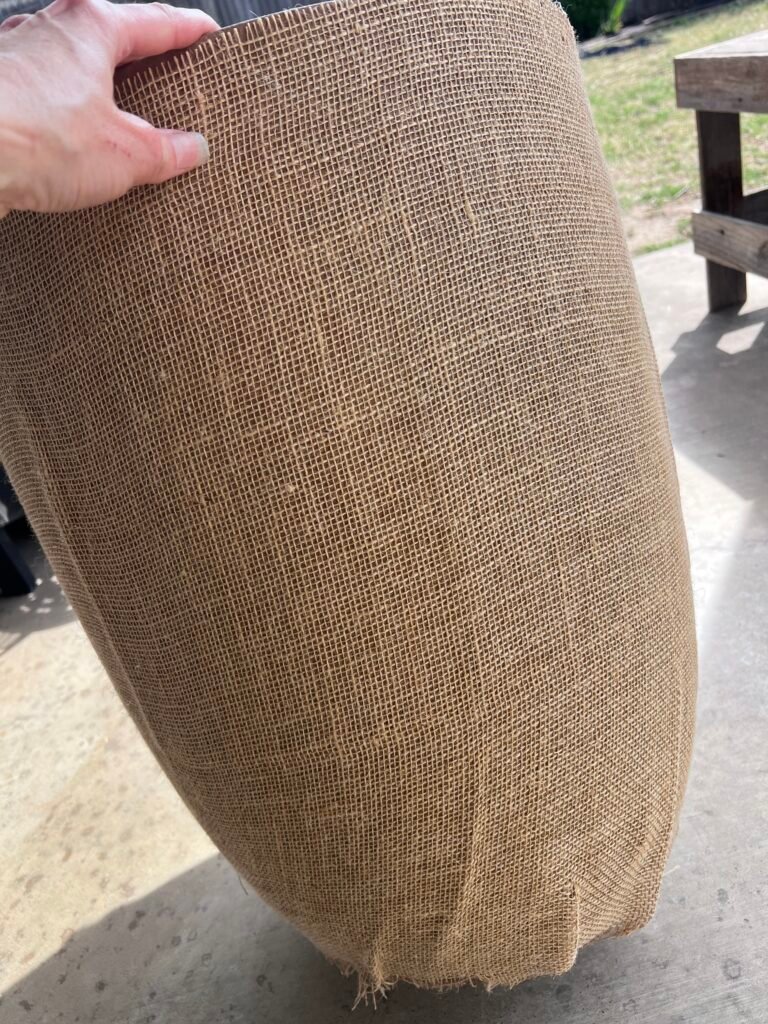
- Burlap (46 inches X 1 yd) I found mine at Ollies.
- Heavy Duty Spray Adhesive
- Solar Fountain Pump (This is my Amazon aff. link where I purchased mine.)
- Concrete Patch (2)
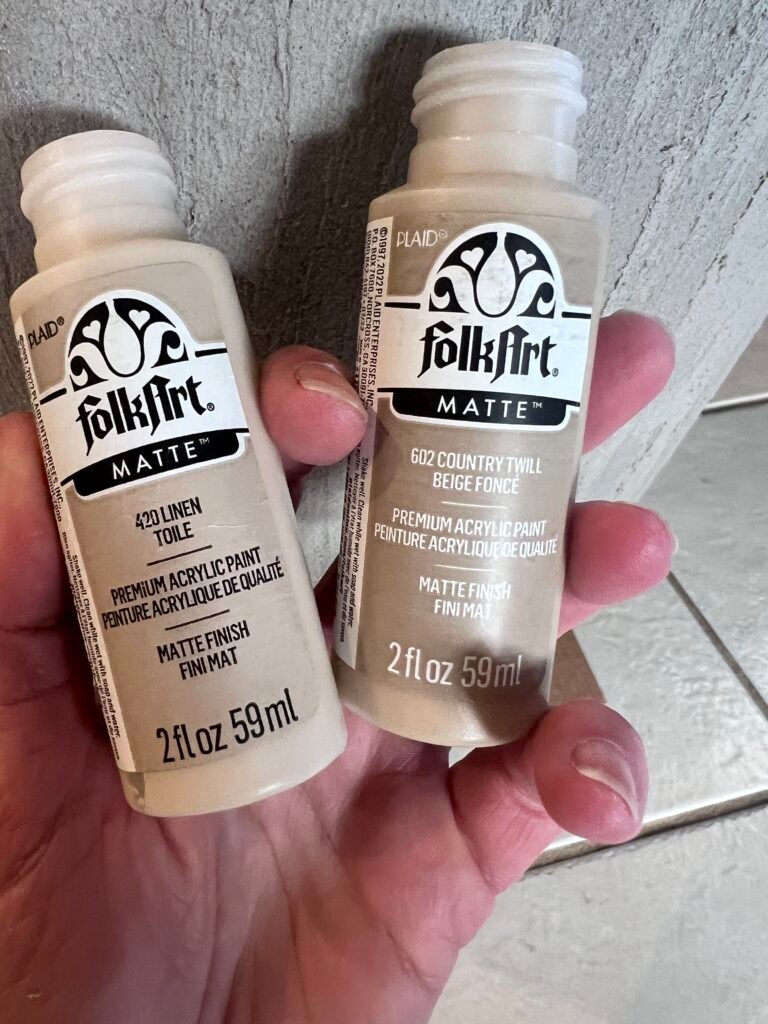
- Acrylic Paint in Lighter and Darker Shades of Brown
- Spray Sealant
- Plastic Gloves
- Plastic Drop Cloth of Table Cloth
Starting off I grabbed this large plastic planter from Walmart and I loved the look of it but really wanted it to look for like cement. I sprayed the planter with the spray adhesive in small sections and applied the burlap slowly until the planter was completely covered.

Adding the Concrete
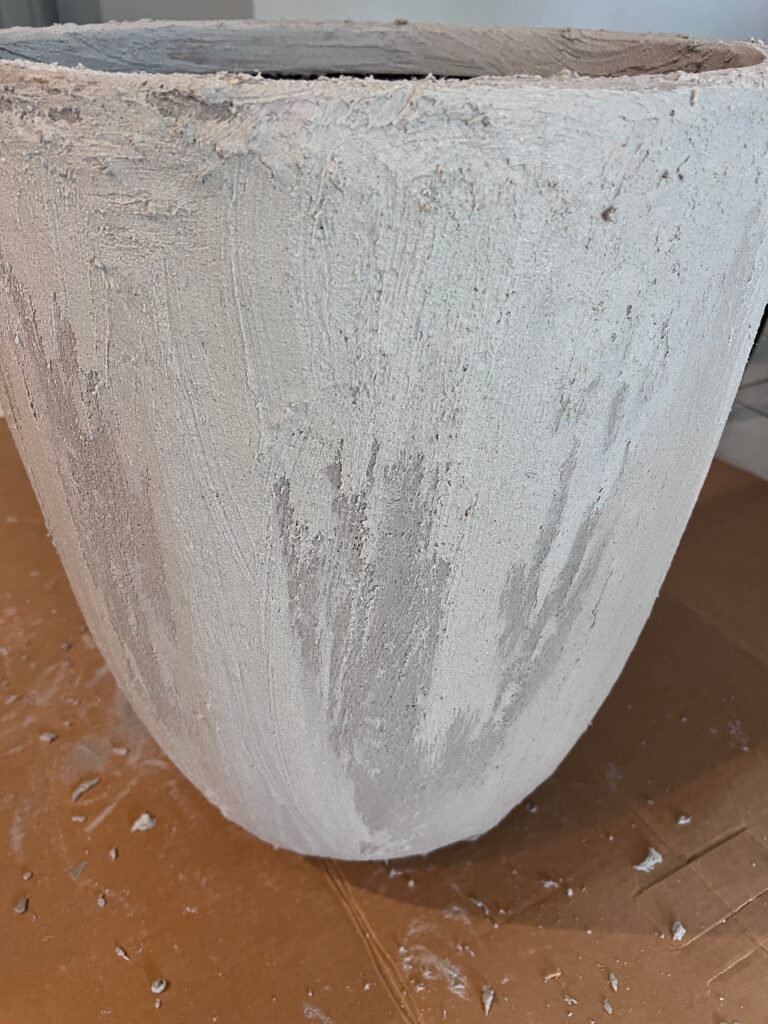
Next I’ll begin applying the concrete patch slowly. This part is a little messy so I suggest laying a piece of cardboard under the planter and wearing plastic gloves. There were a few spots on the bottom where my burlap pinched up a bit so I made sure to cover those spots with extra concrete. I also made sure to cover the top of my planter with concrete.
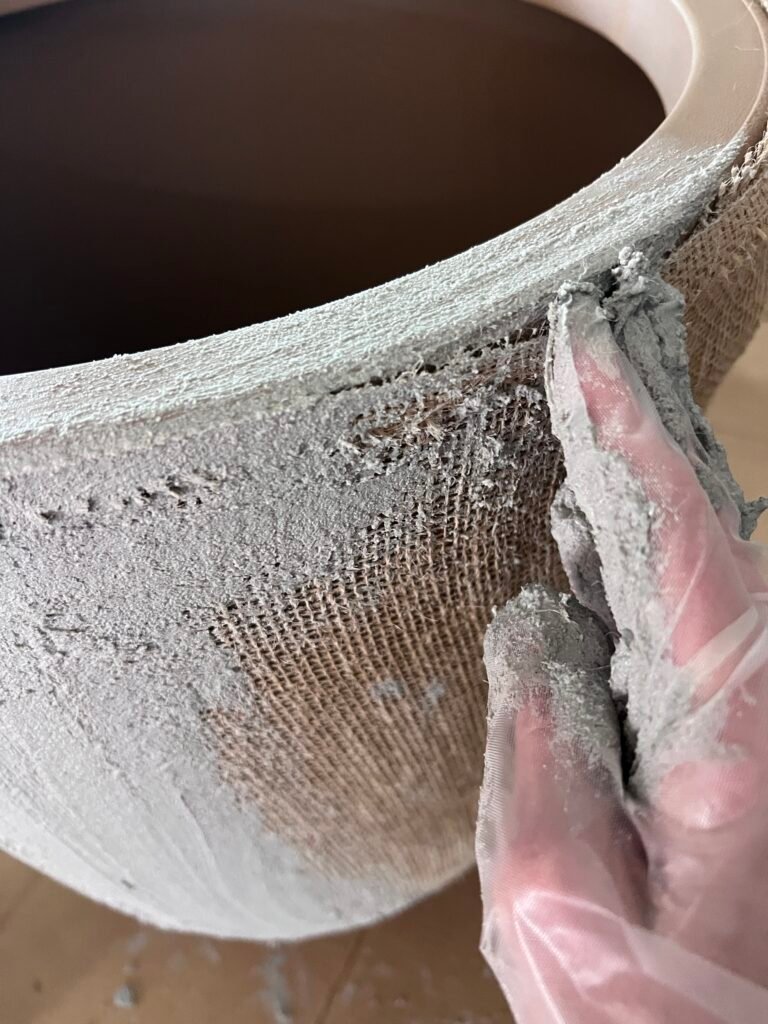
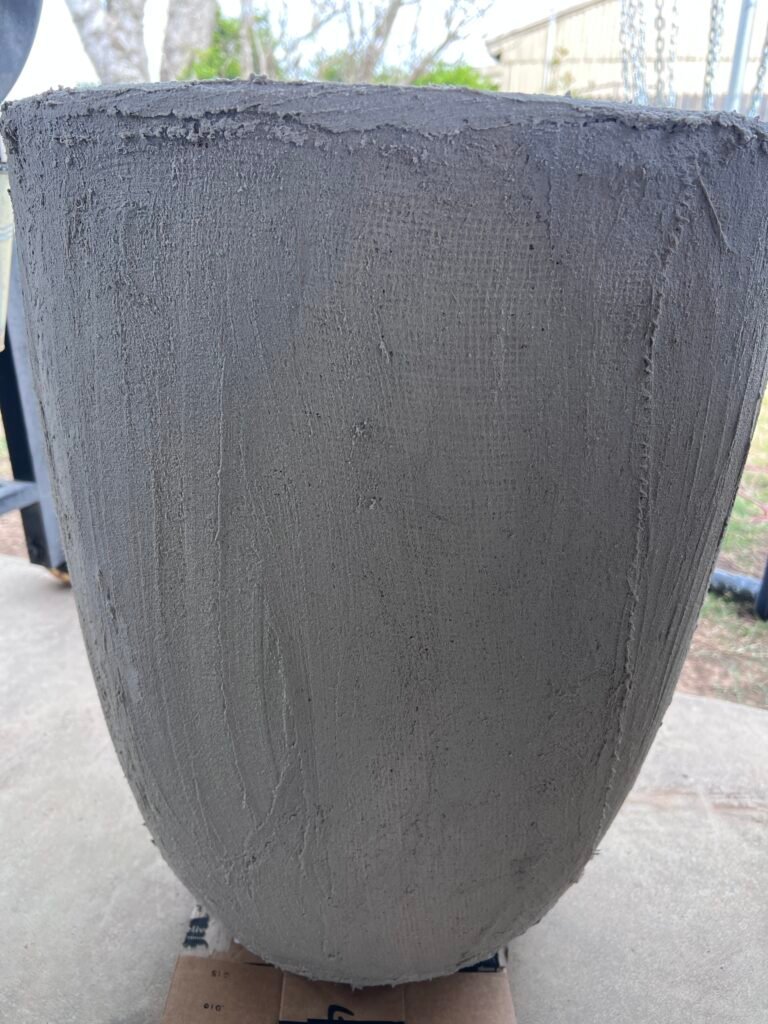
Once the concrete patch is applied I’ll go back and add a second layer. The picture below is after one coat and you can still see burlap. When it’s covered to my satisfaction I’ll allow it to set and dry for about 48 hours. I covered it with a piece of plastic so that it would dry slowly and not crack during the drying process.
Adding Color
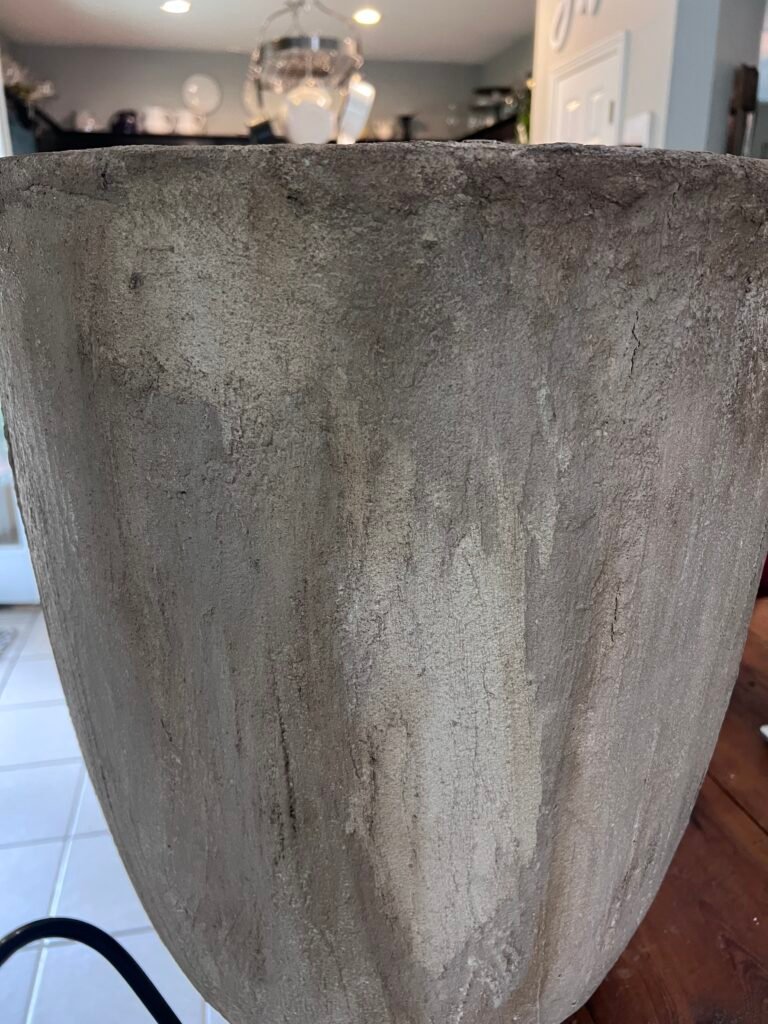
Next I’ll start adding the colors I want using some acrylic paint. I also added darker spots using some dark Behr wax. This part is definitely a process that takes time until you get the exact colors and look you want. I wanted an aged look so I left some places lighter and some darker.
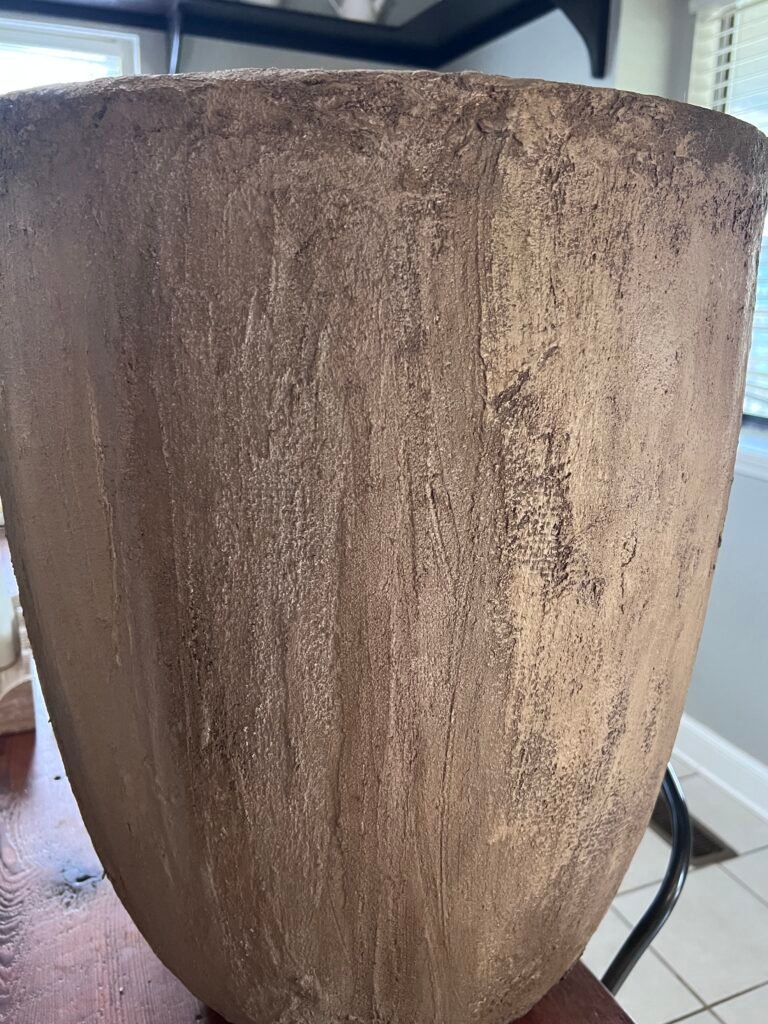
I brushed on the wax and you can see where it settled into the some spots more than others to give me just the look I was going for. Once everything dries down I’ll coat it with a spray sealant from Rust-Oleum. I’ll use a satin and it will take most of the can since this will be out in the elements I want to give as much protection as I can. I used several coats and allowed dry time in between.
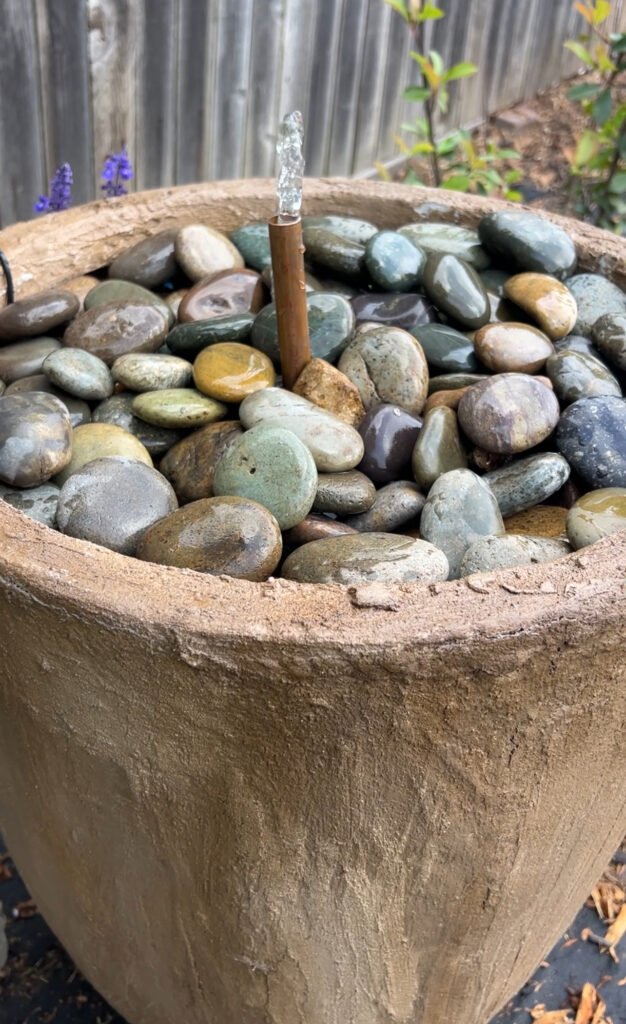
Finally, I added the solar fountain to the bottom of the container and pulled the plastic tubing that comes with the fountain through a piece of copper pipe I had left over from our bathroom remodel. My husband had the idea to add a piece of hard plastic to the top to hold rocks. He added an old plastic pot to the inside of the planter for the plastic shelf to sit on. You can easily just add rocks to the bottom of the planter on top of your fountain mechanics to hold it in place which was my original intent. All in all I love how it turned out and can’t wait for the garden to grow in around it!

Easy Scrapbook Paper Pinwheels