I love patriotic decor and this year is extra special being that it’s America’s 250th year! I needed the perfect surface and I didn’t want to spend time building it so I searched the Wood Pile aisle at Hobby Lobby for the perfect fit for this how to make a patriotic sign DIY.
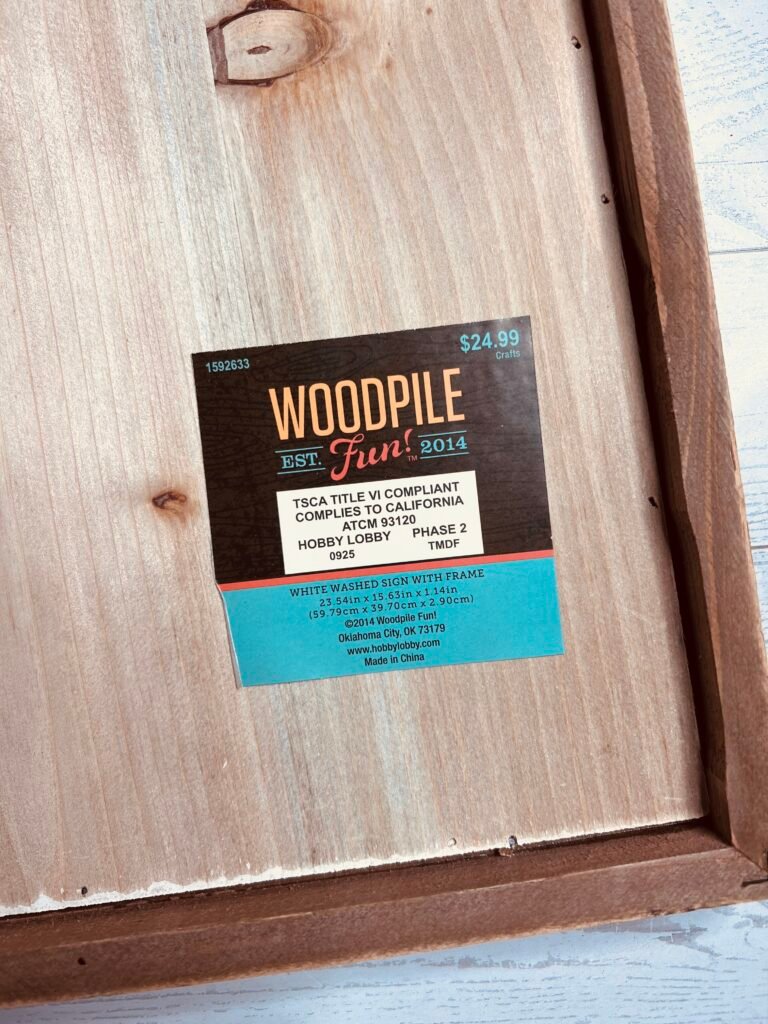
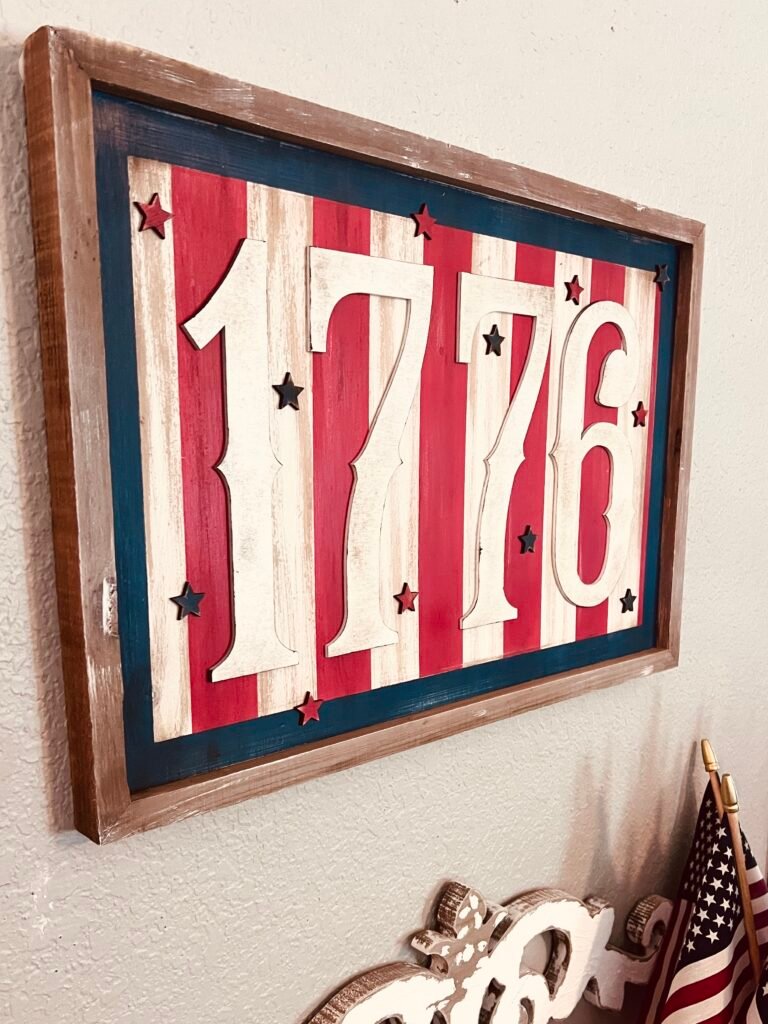
This frame measures about 24″ X 16″ and will be perfect for this project! It was on sale for $15.00.
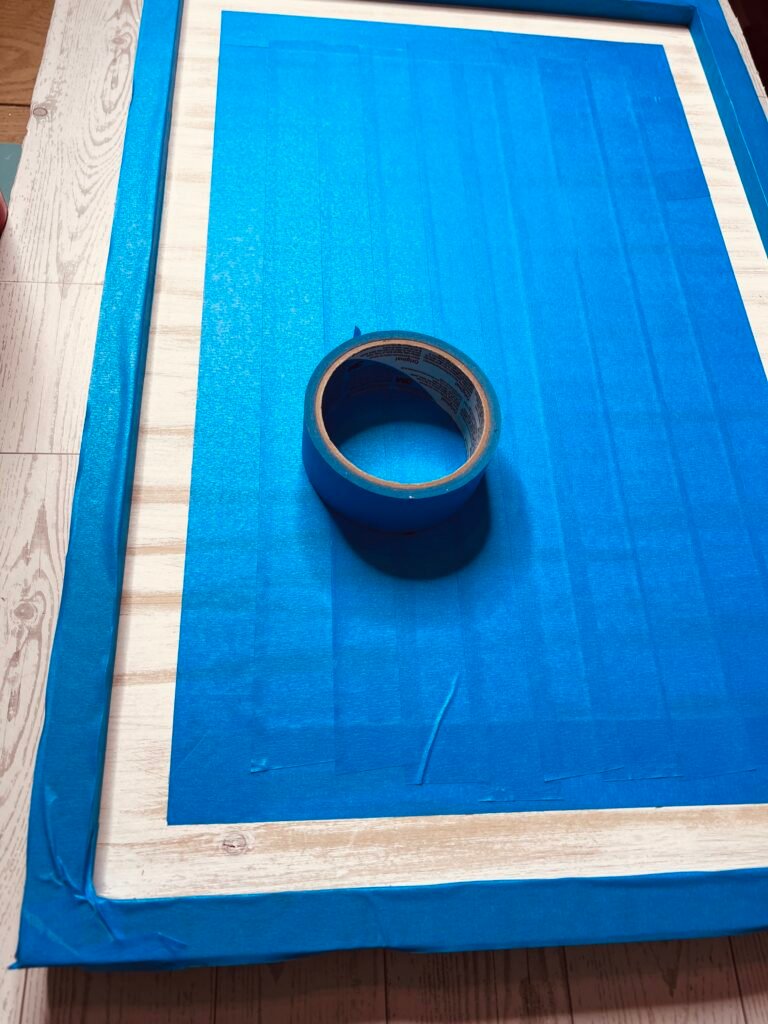
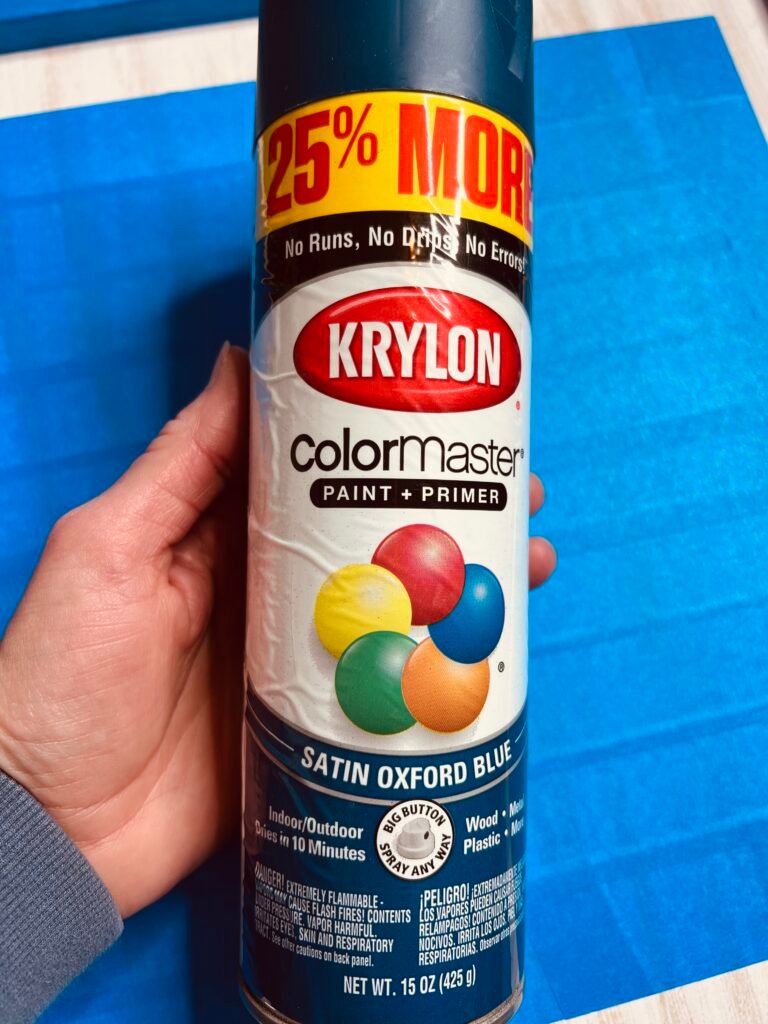
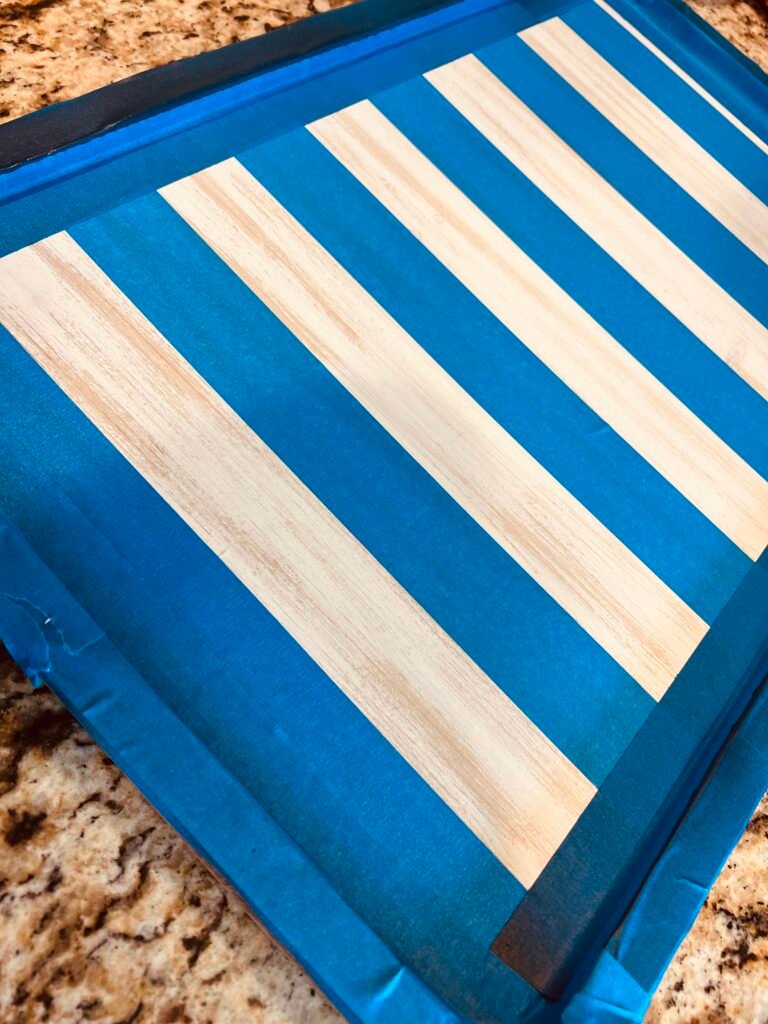
First I’ll need to tape off sections to be painted certain colors. I’m using a blue spray paint first to add a border that you can see above.
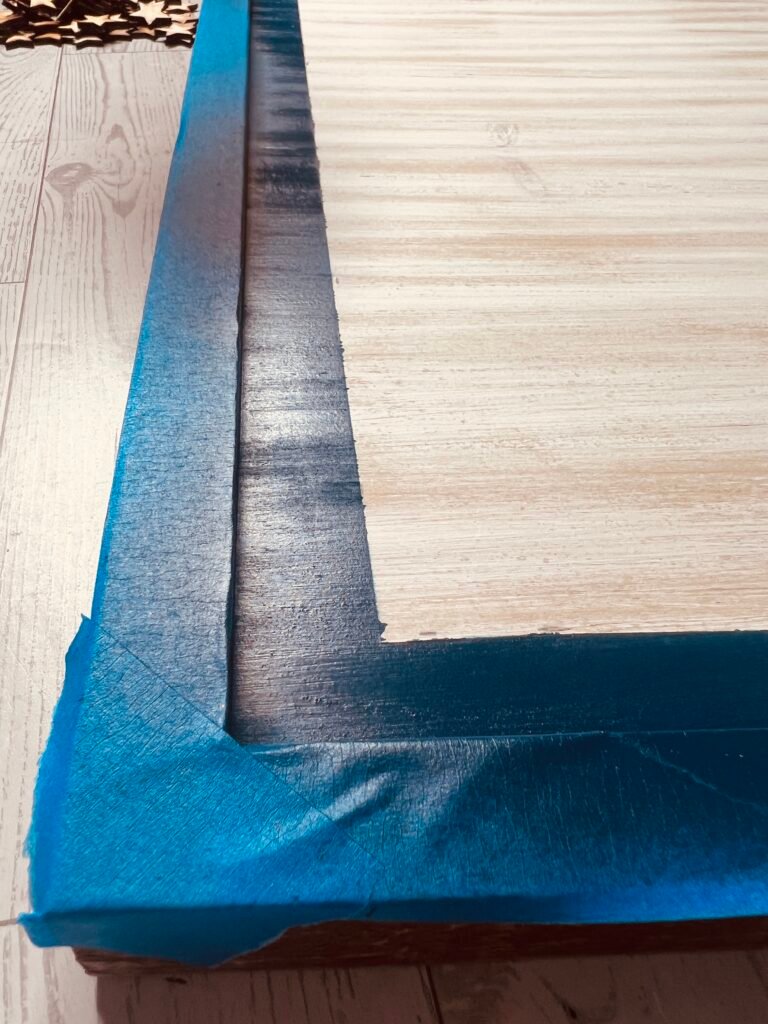
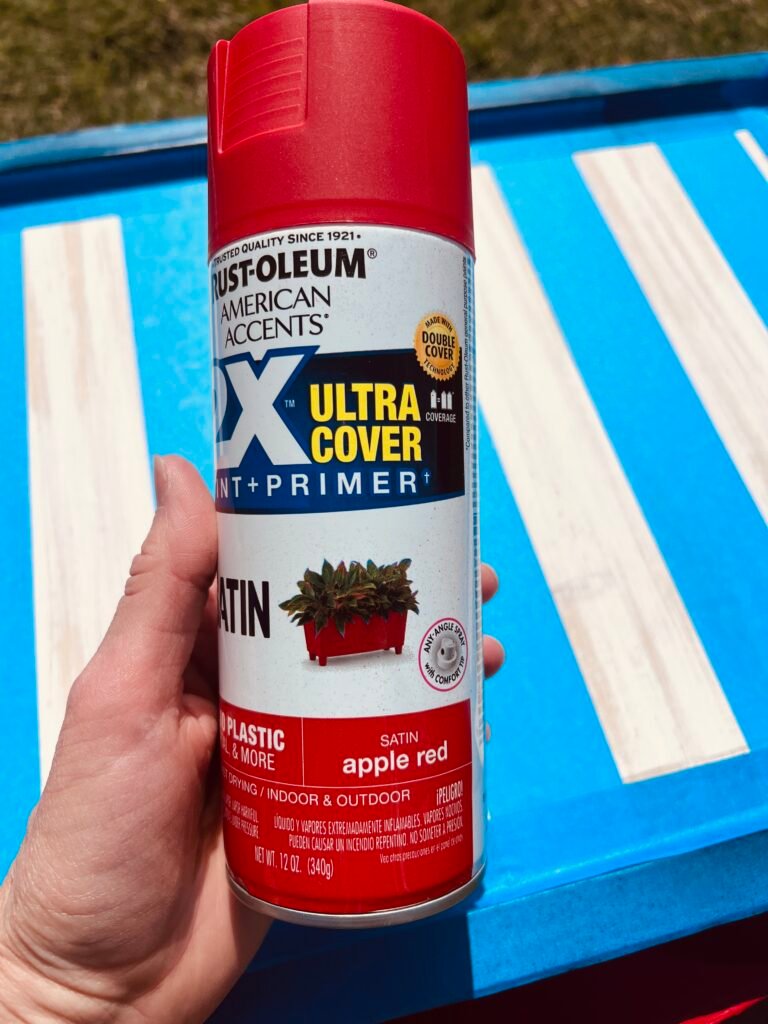
Once that blue paint is completely dry I’ll remove the tape from the inside of the frame and go back with strips of tape to add red stripes. I didn’t get a picture, but I used small sections of tape to measure the distance between my strips of tape. I’ll make sure to press the edges down well to try and prevent bleeds.
Adding the Stripes
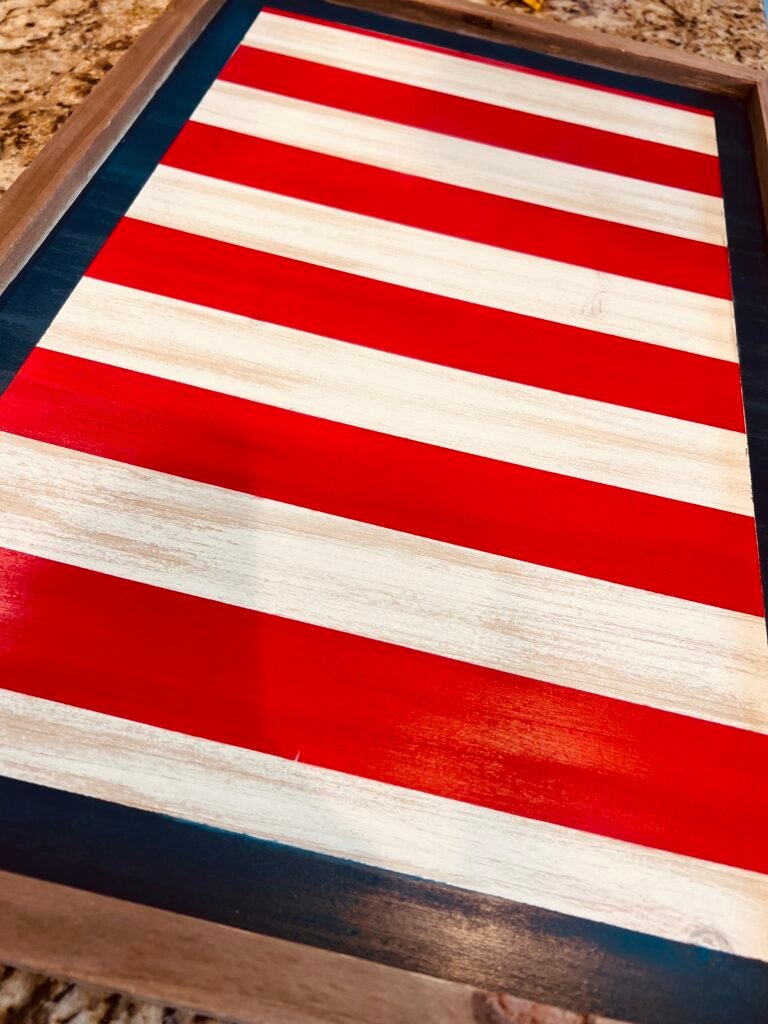
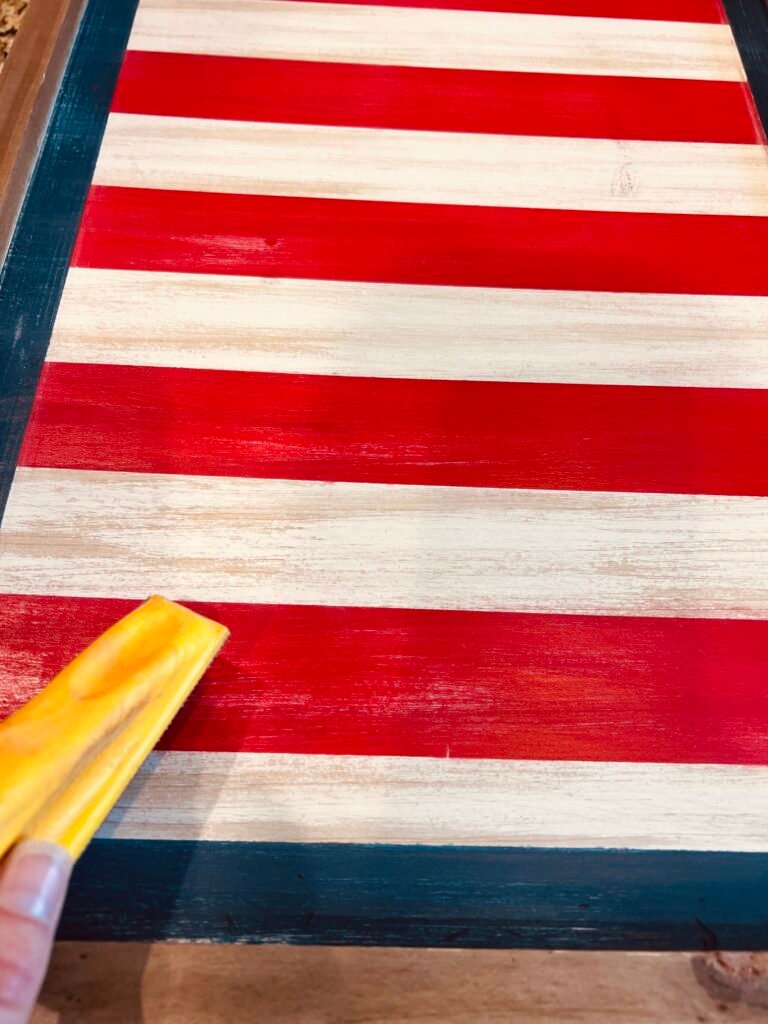
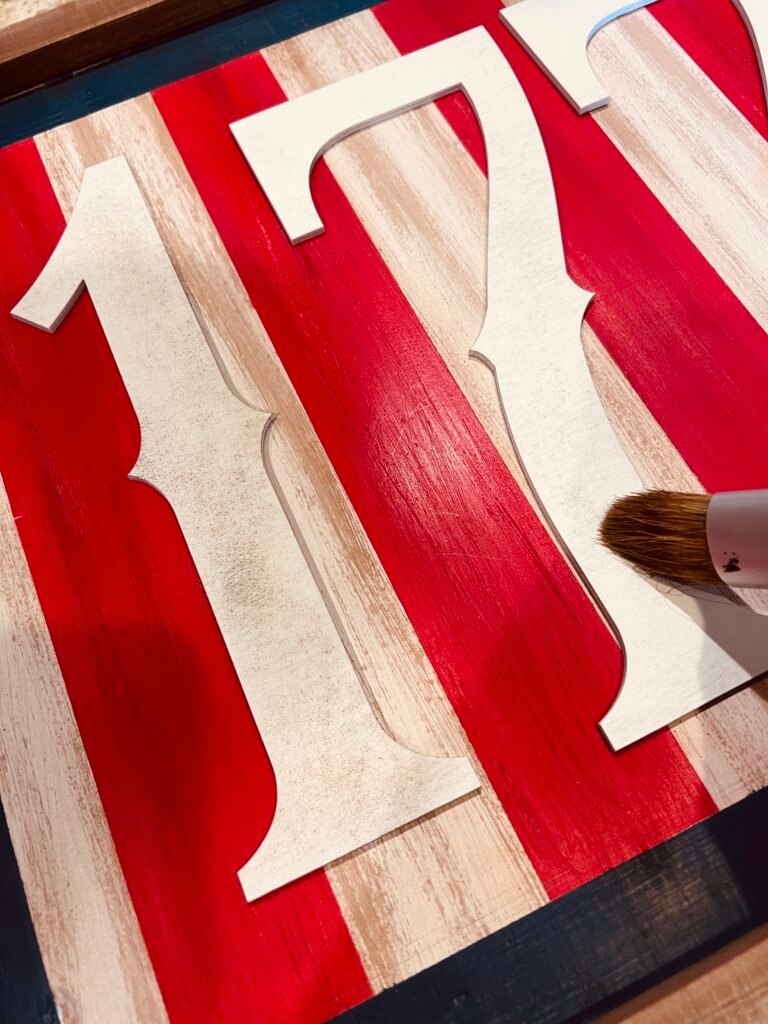
Now that the red striped are painted and dry the most time consuming part is finished. The sign already had the distressed white finish when I bought it and it worked perfectly for the white stripes. I’ll use a Gator sander to lightly distress the red to match more closely to the white finish. I’ll finish it off by wiping on Waverly Antiquing wax for a darkened, aged look.
Next it’s time to add some wood numbers and I’m using 1776 cut from my laser. I do have these available in my store if you’d like to purchase. You could also use a stencil to paint 1776 or even freehand it with a paintbrush. I spray painted the numbers white and brushed on some dark wax.
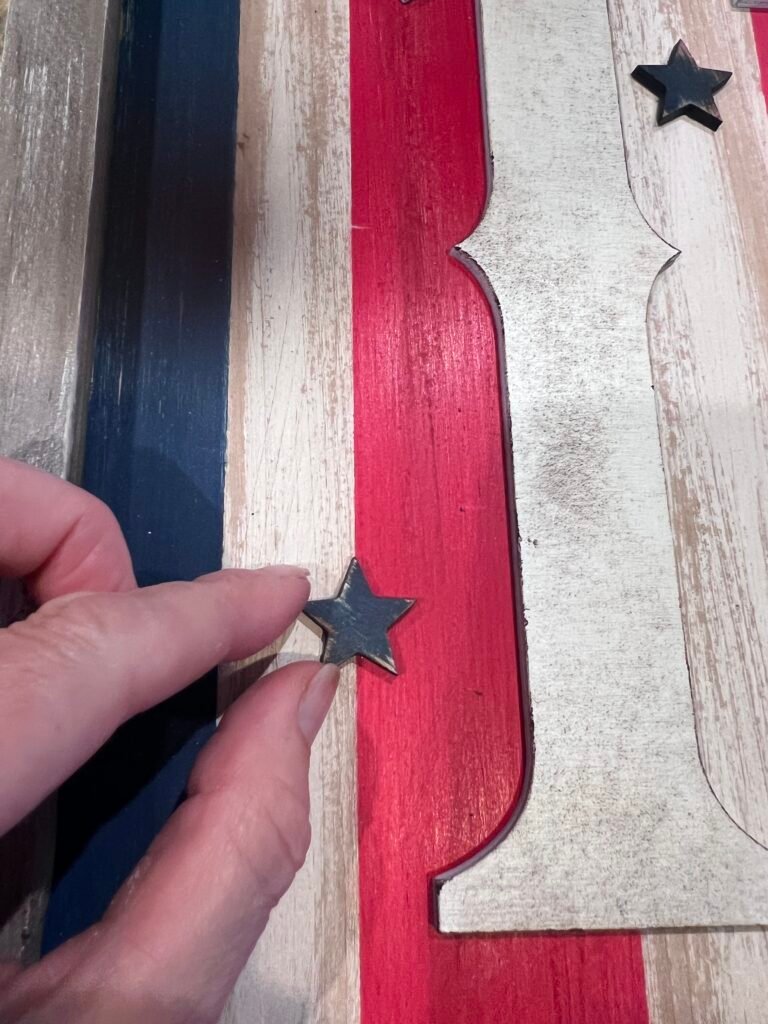
Finally, I’ll add some painted and distressed wood stars to a few places on the laser cut numbers.

I’ll be paring this sign with several other patriotic inspired pieces for red, white, and blue Memorial Day and Fourth of July decor. I would love to know if you were inspired to create something like this for your home!

Vintage Inspired Tin Can American Flag Display
Easy Dollar Tree Napkin Candle