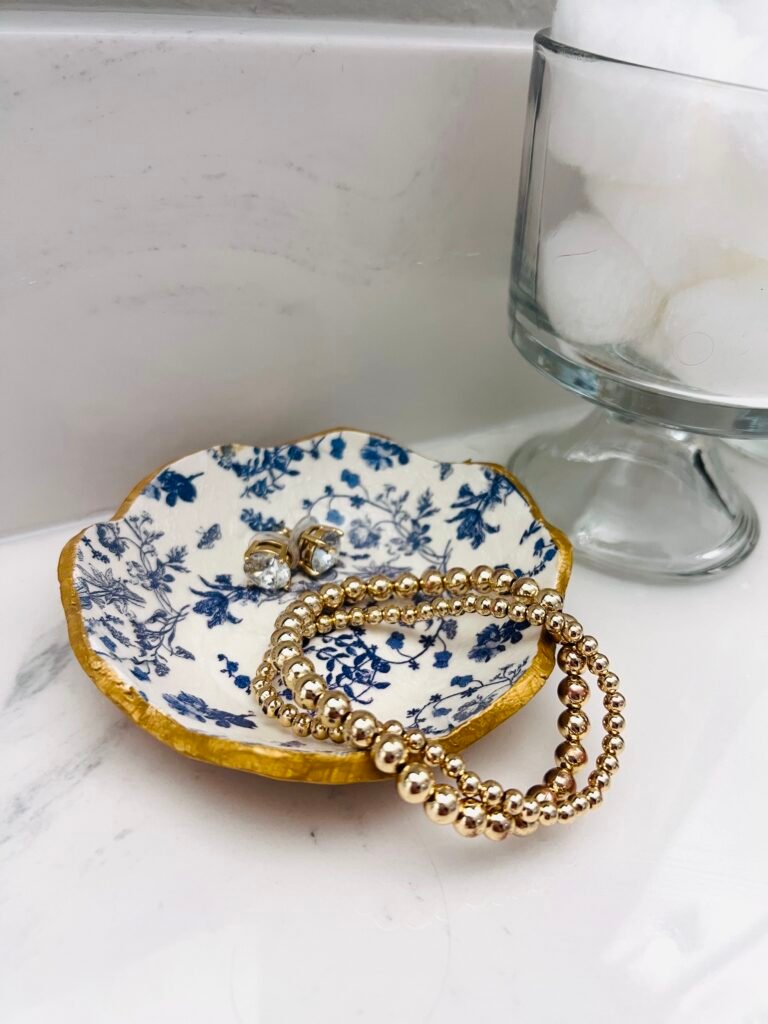
I love to use little trays or bowls to hold jewelry and small items than can easily get misplaced around the home. This air dry clay trinket bowl DIY is a fun way to stay more organized AND can be easily made to suit your style and color scheme! Check out the tutorial below that includes a supply list and easy instructions.
*This post contains affiliate links meaning if you choose to purchase I may receive a commission.
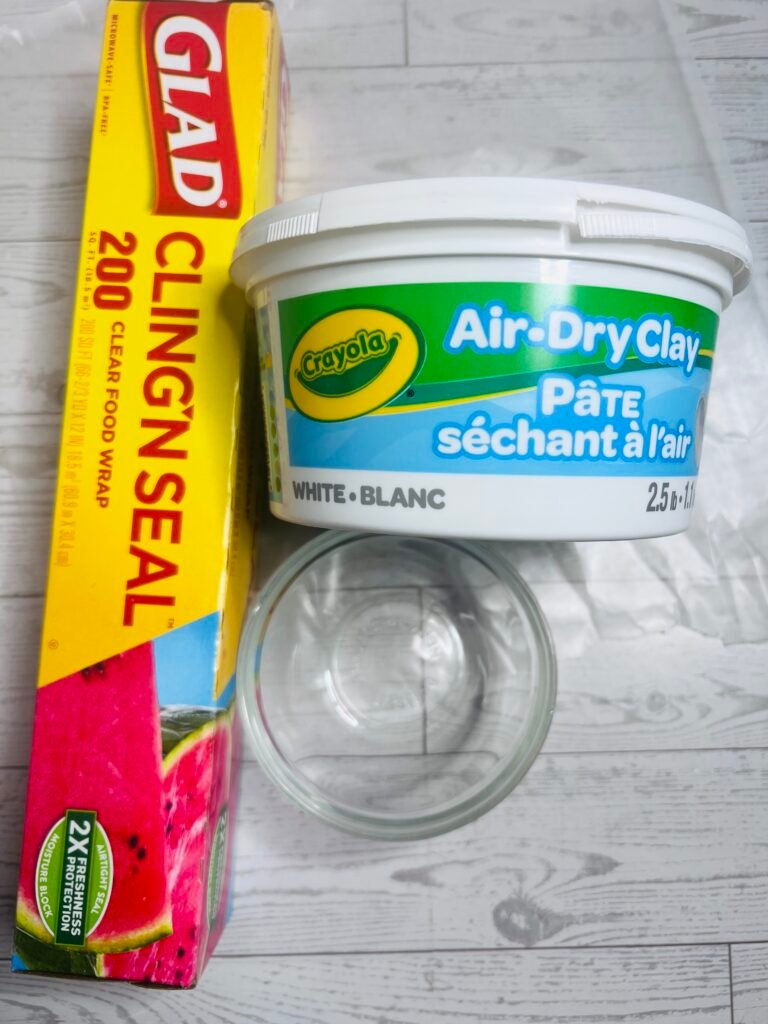
Supplies Needed:
- Plastic wrap & Wax Paper
- Small Glass Bowl (Size depending on how large you’d like your trinket bowl.)
- Rolling Pin
- Crayola or Other Brand of Air Dry Clay
- Your Favorite Printed Napkin
- Craft Blade
- Gold Paint
- Round Cookie Cutter (Optional)
- Mod Podge
- Pouncer
- Sand Paper
- Gold Paint
- Spray Sealant

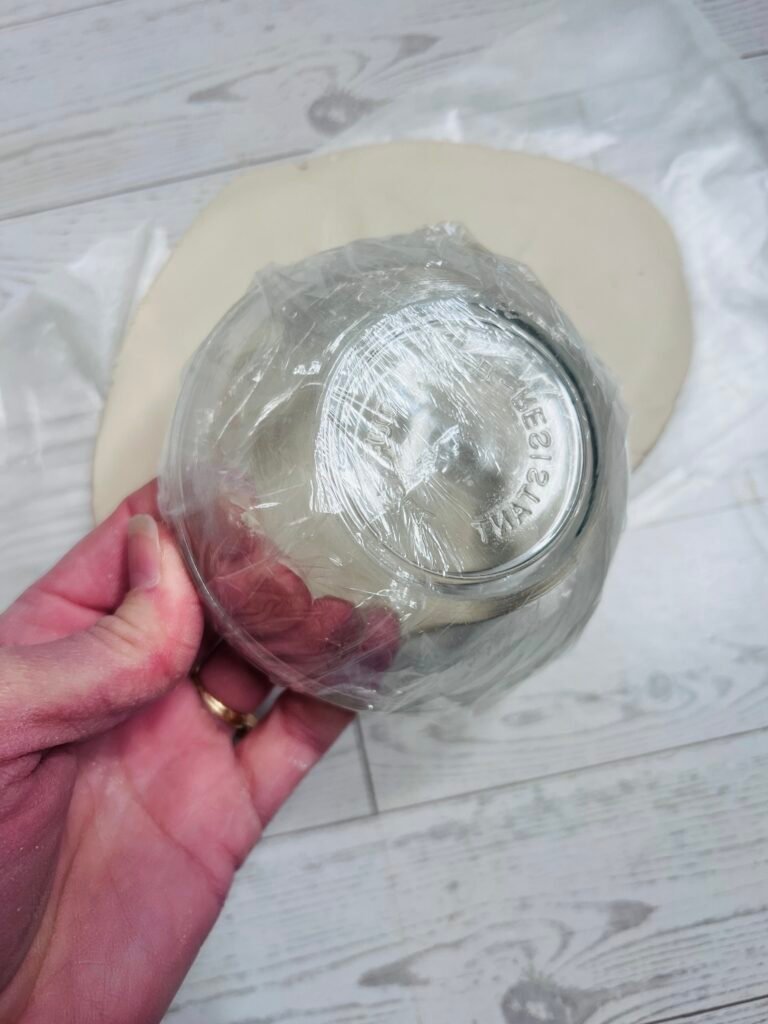
First, cover the bottom of the glass bowl with some of the plastic wrap. Then roll a good amount of clay out onto a sheet of wax paper. I aim for 1/8 to 1/4″ thickness.
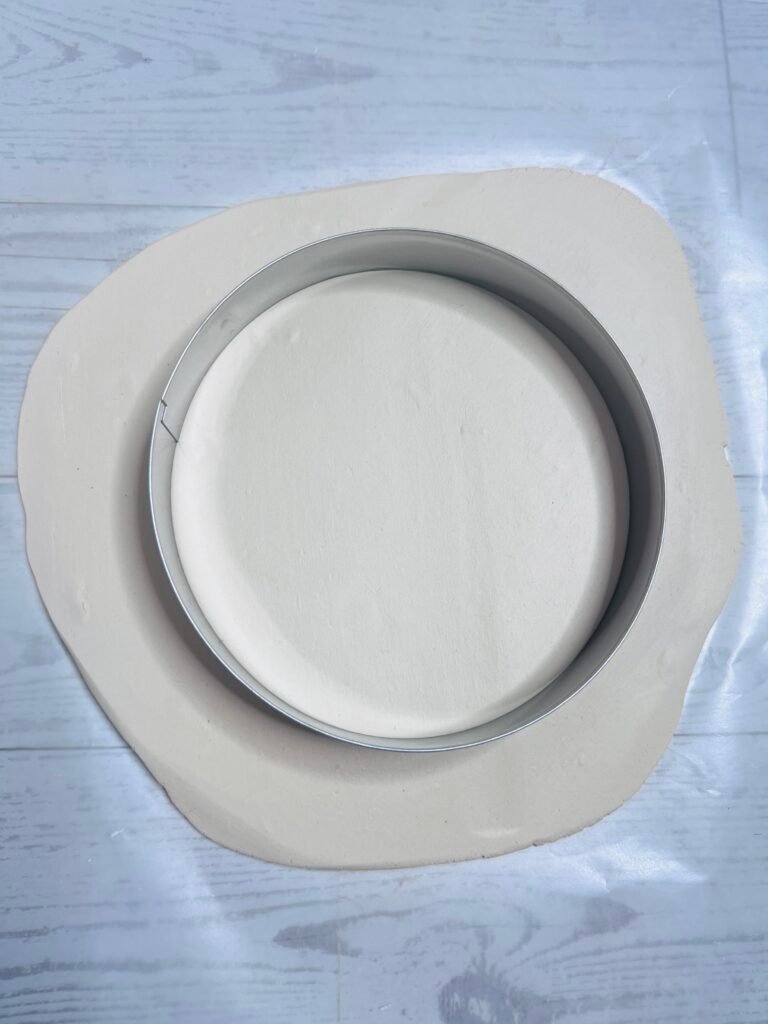
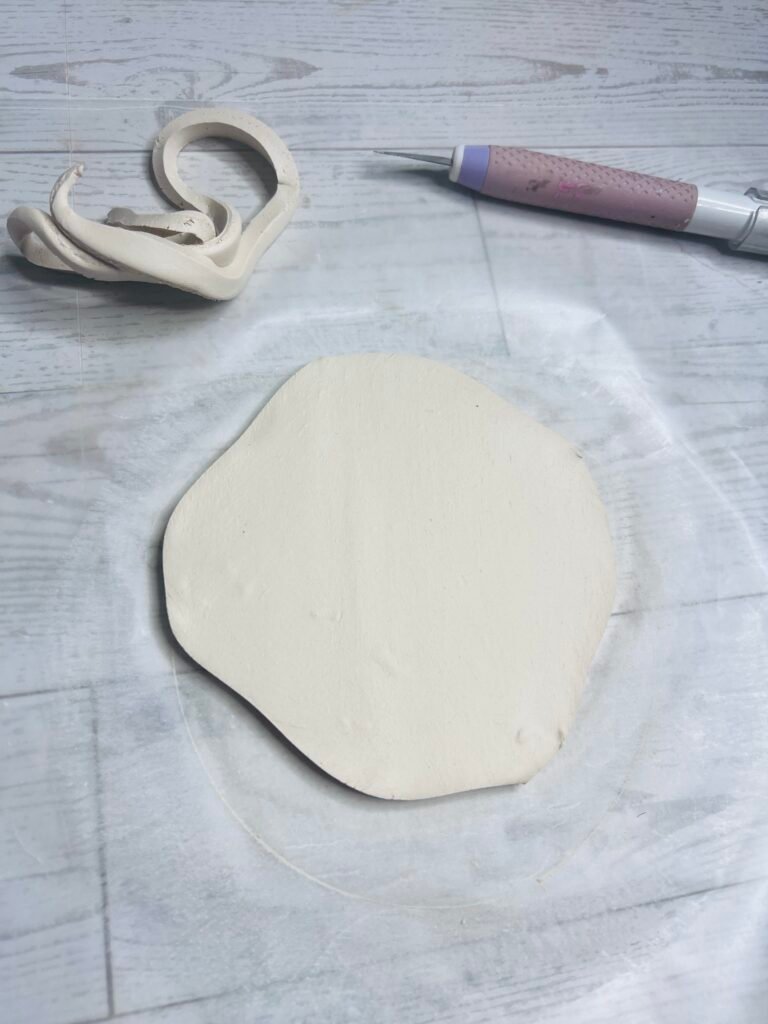
Next, I’ll be using the large, round cookie cutter to cut a circle in the clay. I’m wanting a more scalloped look so I’ll use the craft blade to cut and shape the edge.
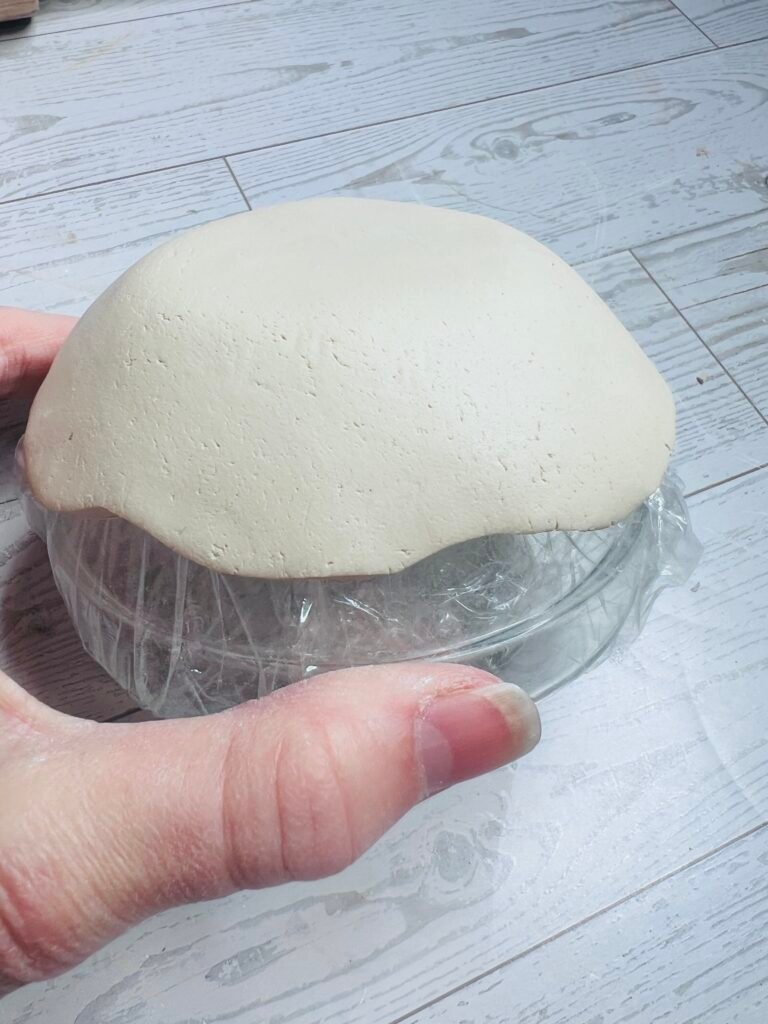
Next, press the clay on the bottom of the glass bowl, making sure to press it onto the bowl on all sides, and allow it dry at least 24 hours.
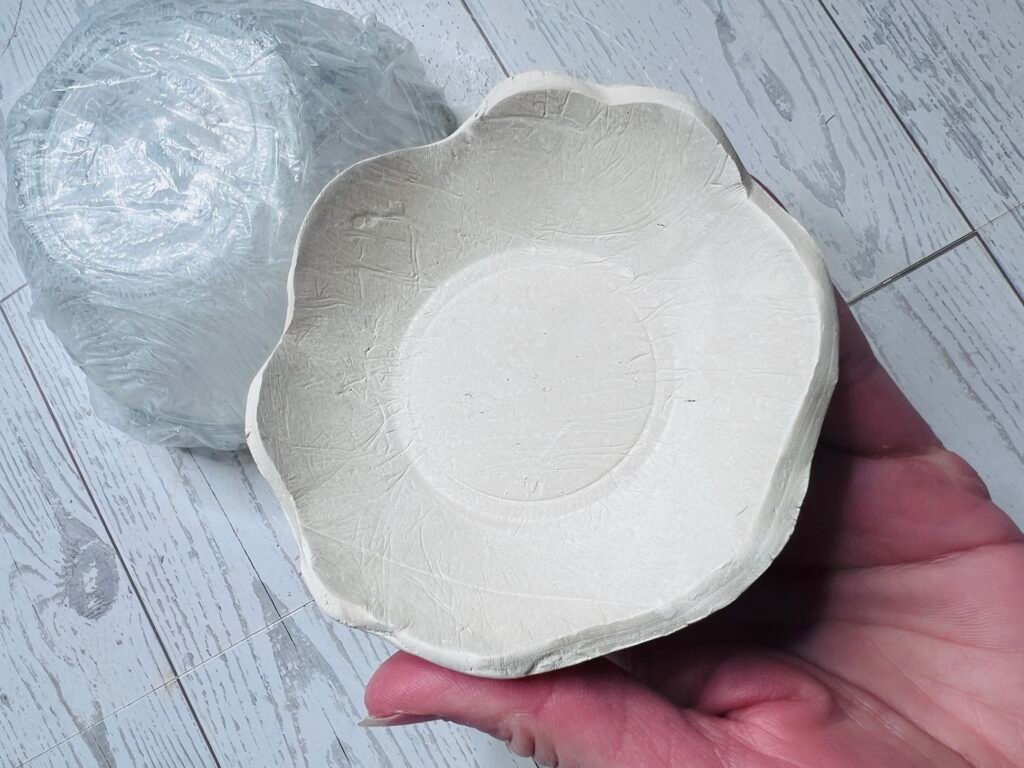
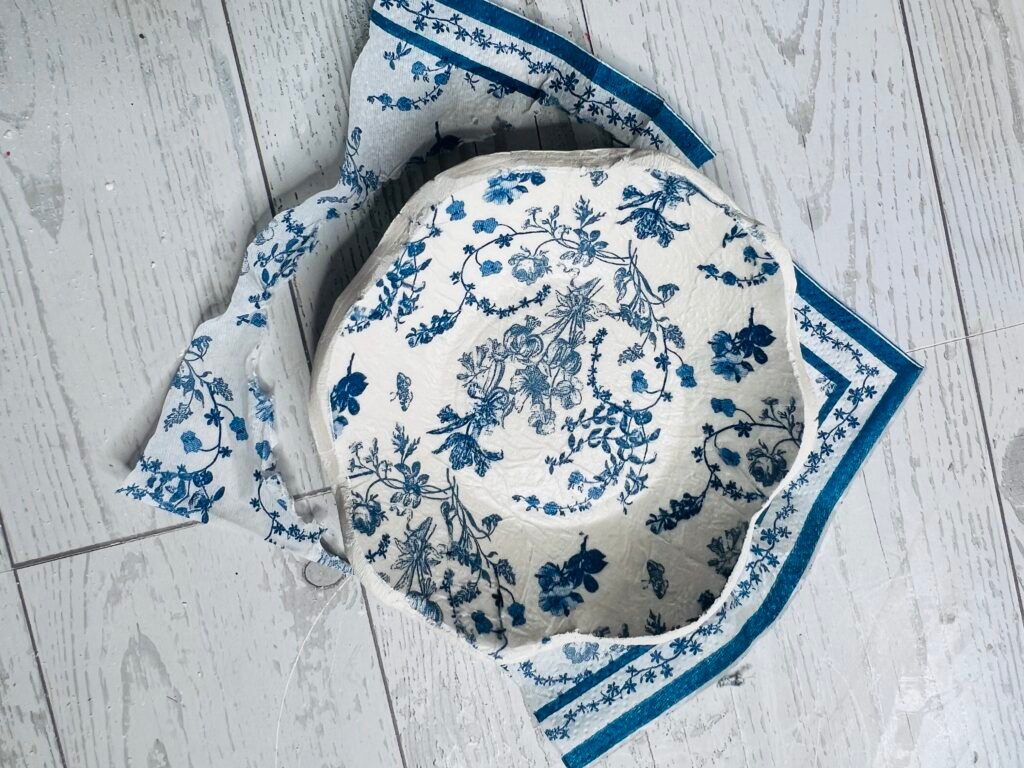
Once the bowl is dry we’ll be able to add our favorite napkin and give this air dry clay trinket bowl lots of personality!
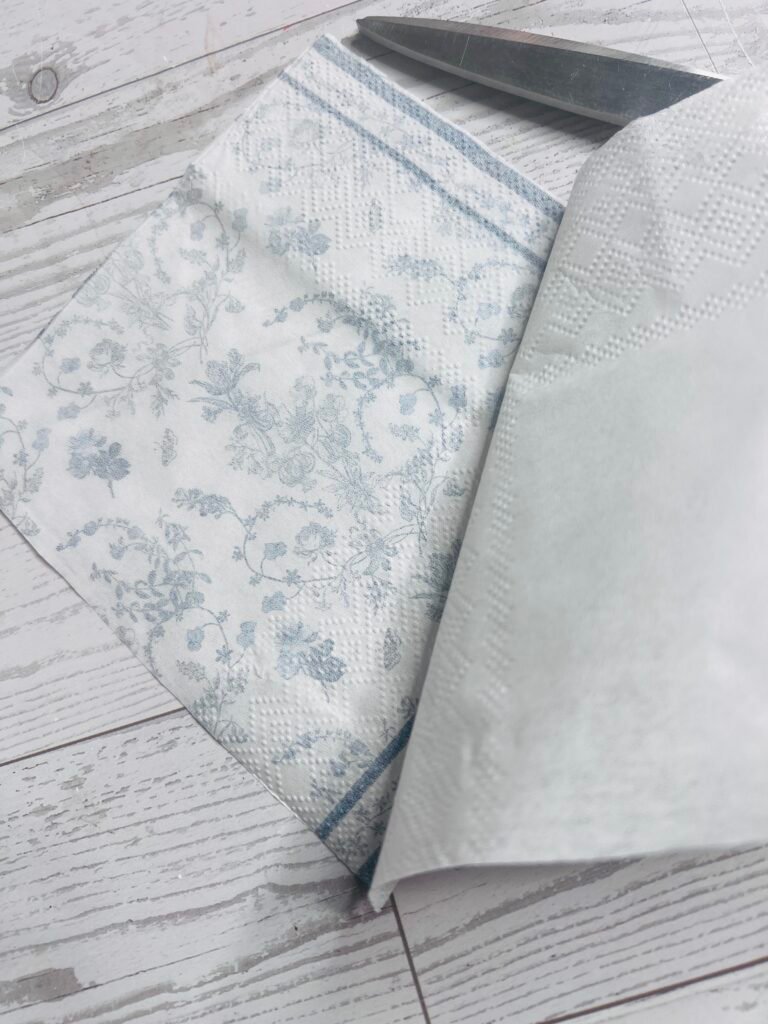
Now we’ll separate the napkin plys, using only the top ply to decoupage onto the clay bowl. Apply Mod Podge on the inside bottom of the bowl and sides. Use a pouncer to press the napkin down in the bottom first, and then the sides. Be sure to the napkin adheres well.
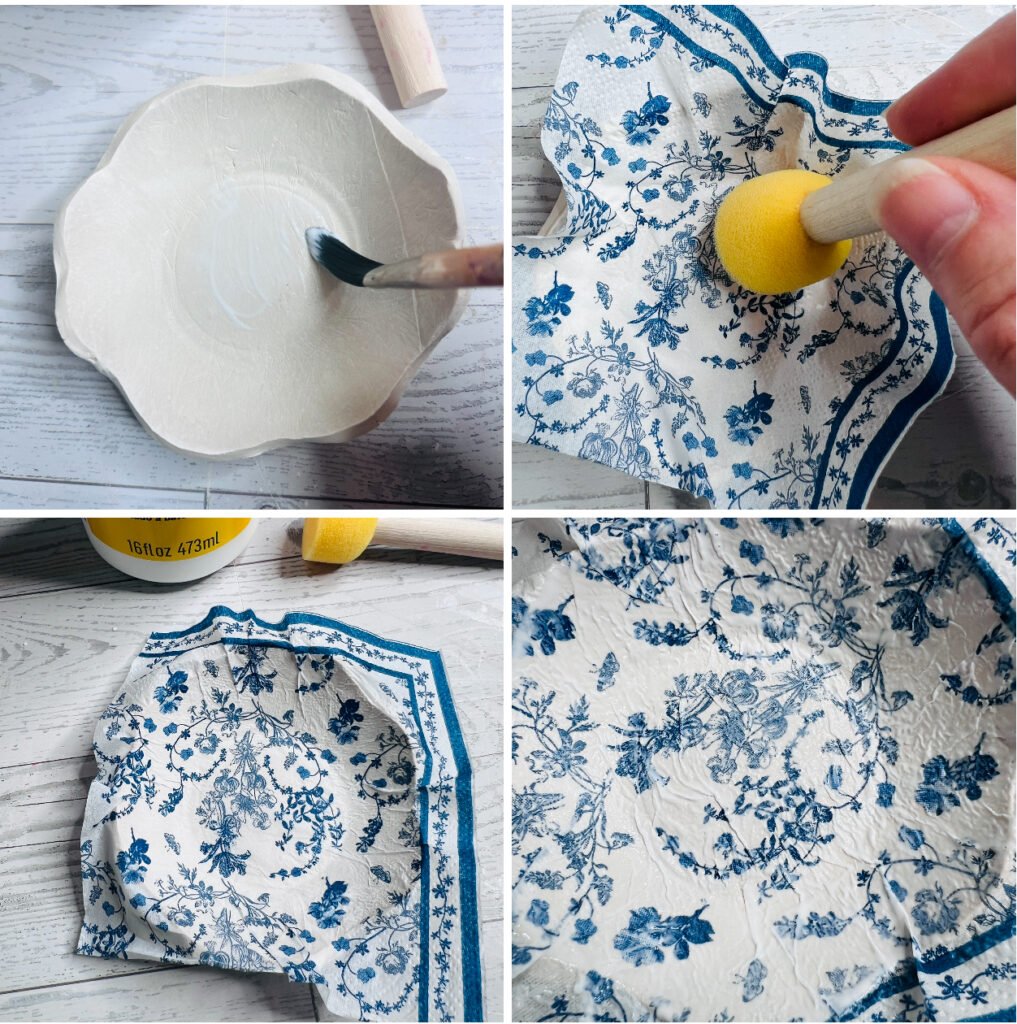
Lastly, add a layer of Mod Podge on top of the napkin and allow it to dry several hours or overnight.
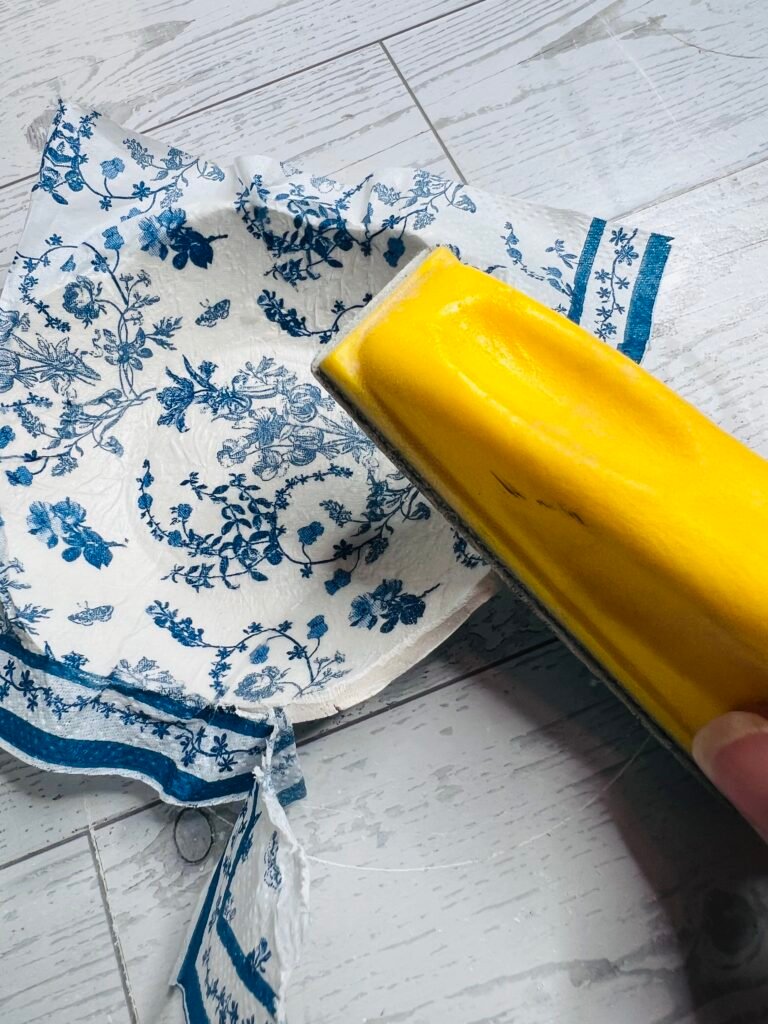
Use a piece of sand paper or a sanding block to remove the excess napkin after the Mod Podge is completely dry. Make sure to sand the edge clear of the napkin since it will be painted.
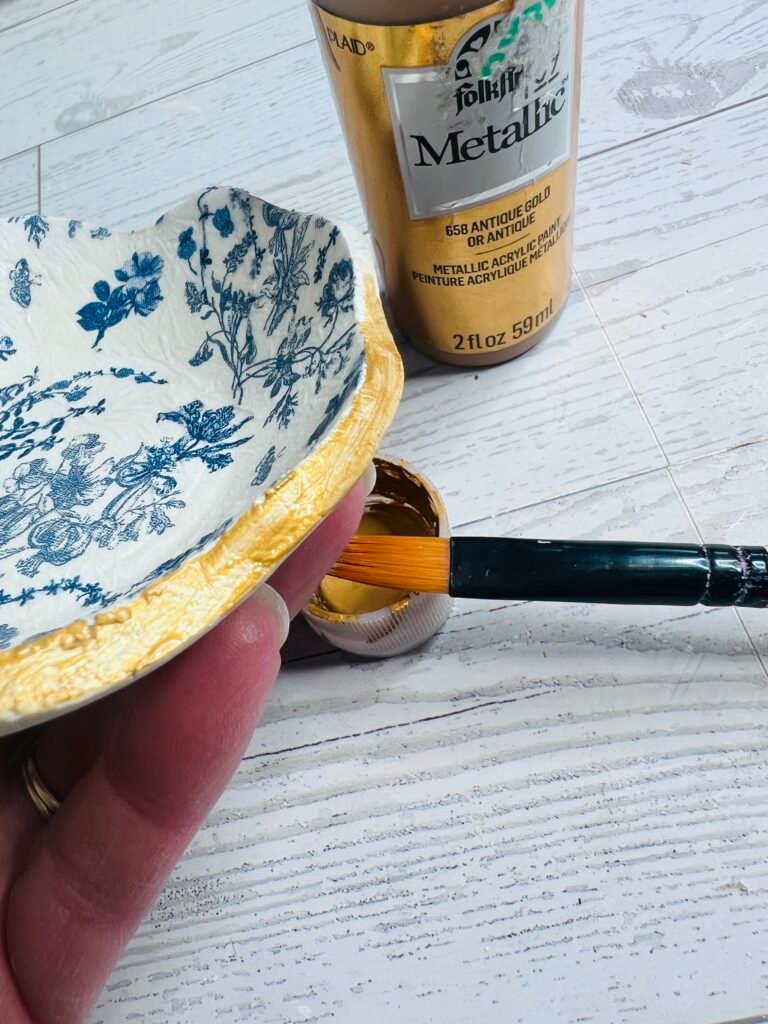
Finish the air dry clay trinket bowl by adding gold paint to the edge and bottom of the bowl. This will take a few coats. Allow the paint to completely dry and then use a spray sealant in a well ventilated area to seal. Enjoy!

Valentine’s Day Wood Heart with Clay Embellishments