If you have excess buttons in your stash stay tuned for this fun and easy Christmas DIY! Use buttons of all shapes and sizes to add character AND even if your buttons are different colors that’s an easy fix too! I’ve got all the details below on how to make this easy DIY button Santa and a complete supply list to go with it.

Button Santa Supply List
- Buttons (Various Shapes & Sizes)
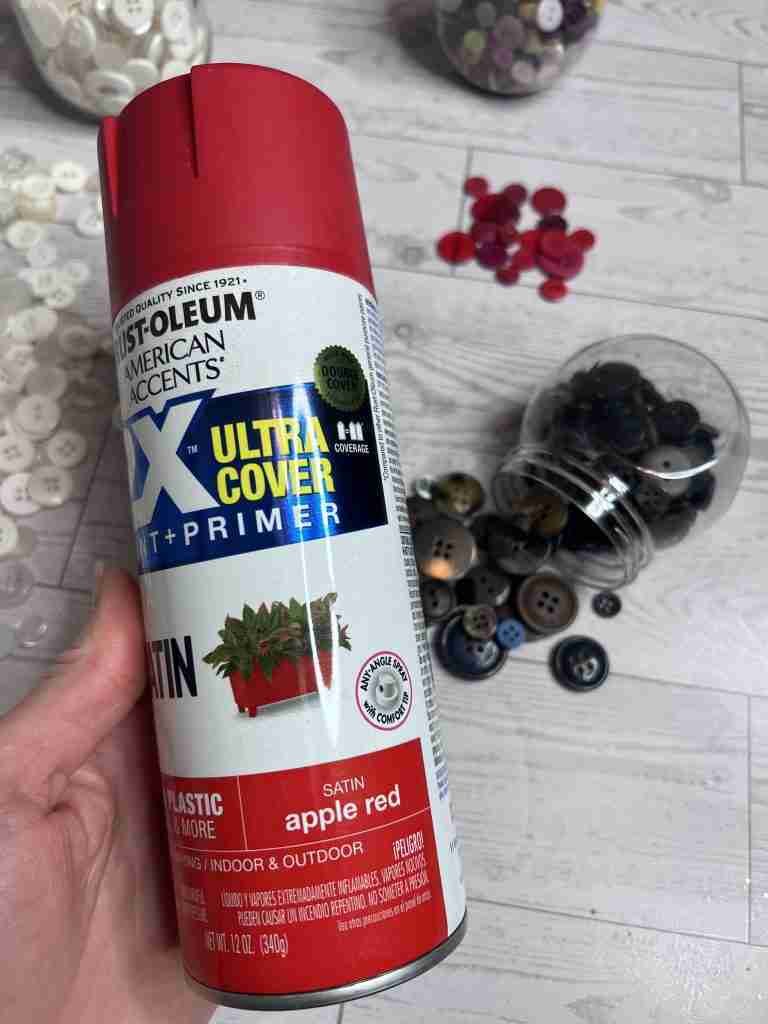
- White/Red Spray Paint
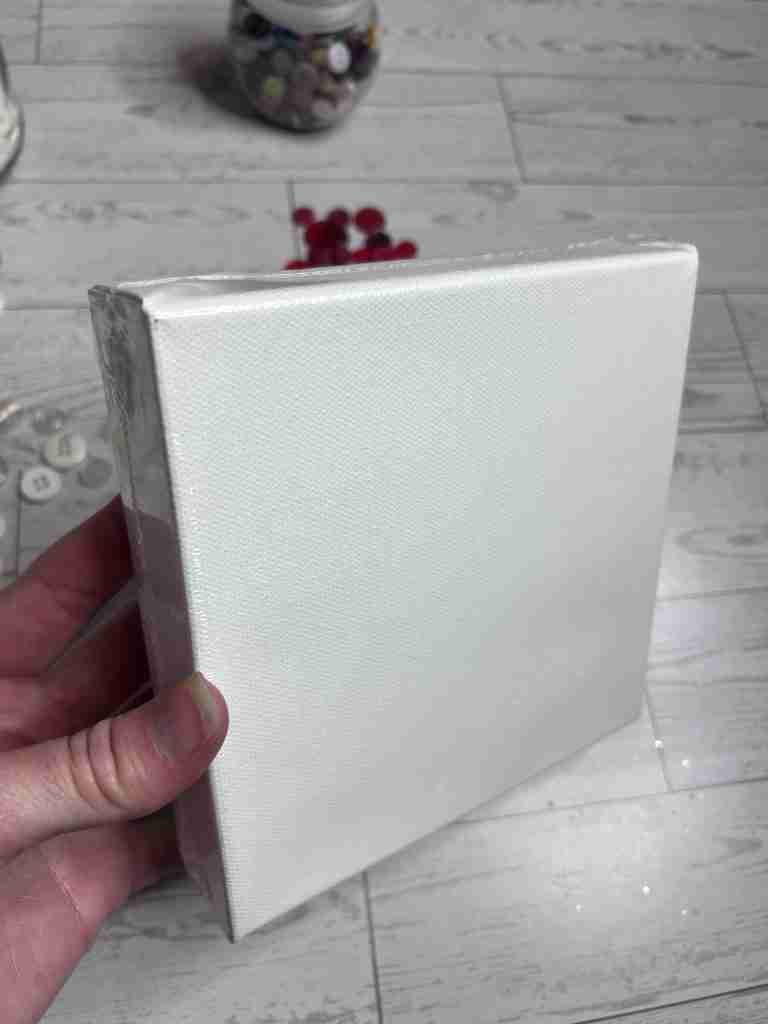
- 6″ X 6″ Canvas
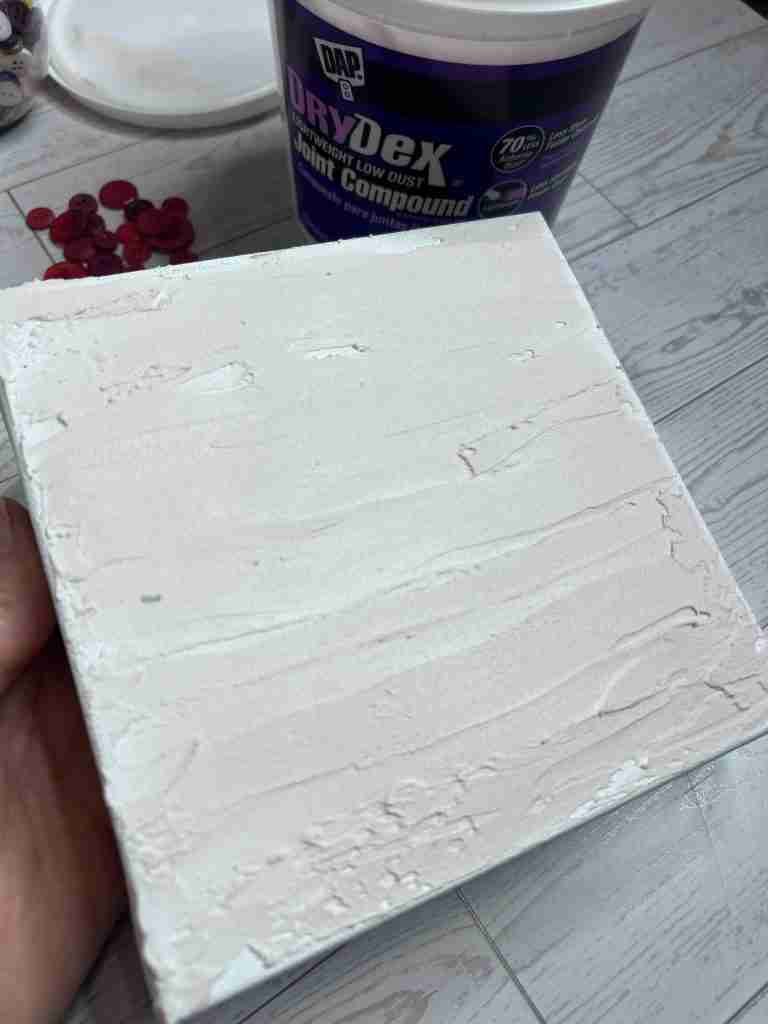
- Joint Compound or Spackle
- Small Rusty Bell
- Black/Flesh Color/Pink Paint
- Stylus to paint the eyes
- Half Wood Bead
- Thin Strip of Felt
- 5 Eight Inch Fabric Strips (white or cream)
- Craft Glue
Creating the Button Santa
First of all, I gathered all of my buttons. I’ll be using white and red buttons and I had plenty of white but needed to paint some red, so I grabbed my spray paint in apple red.
Next, while the red spray paint was drying I grabbed my canvas and add a light layer of joint compound to create a little bit of texture. Set aside and allow the joint compound to dry for a few hours.
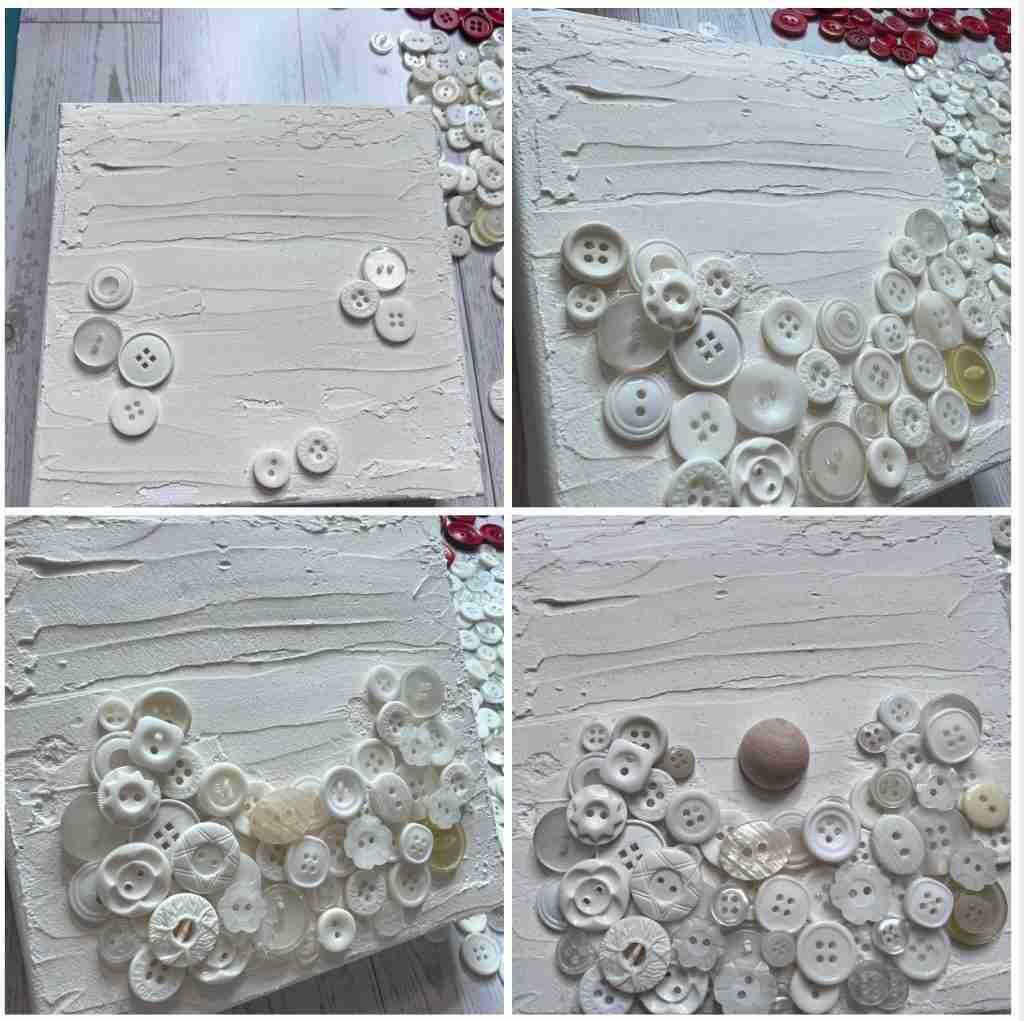
Now I’m ready to start adding the buttons, beginning with Santa’s beard.
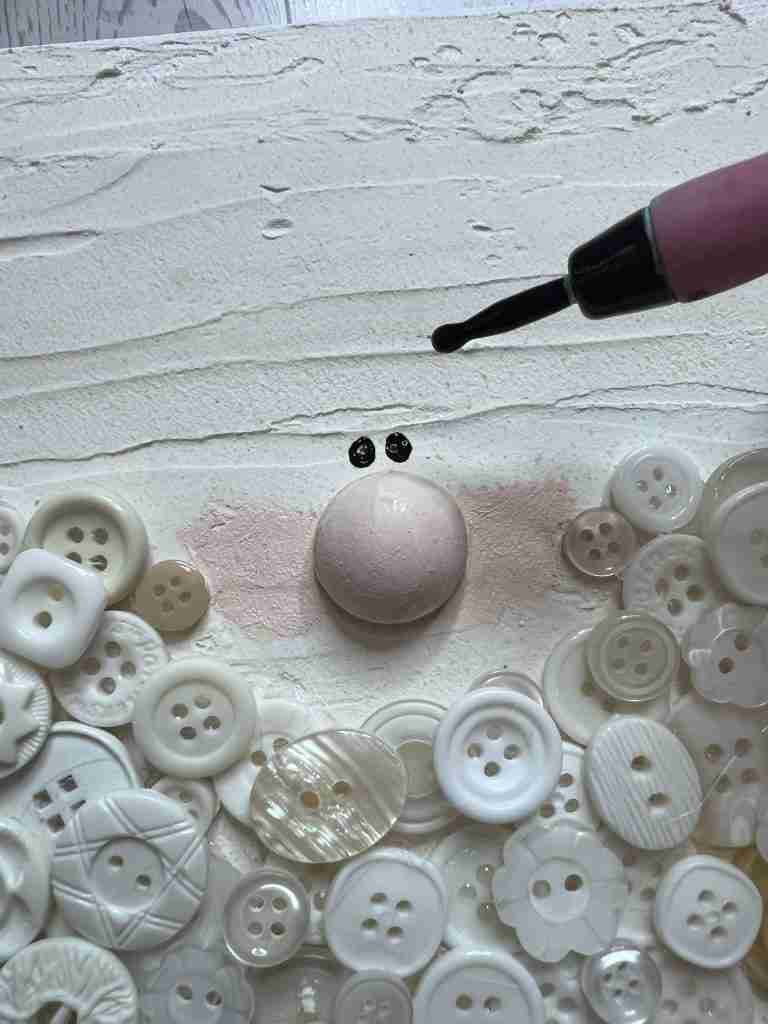
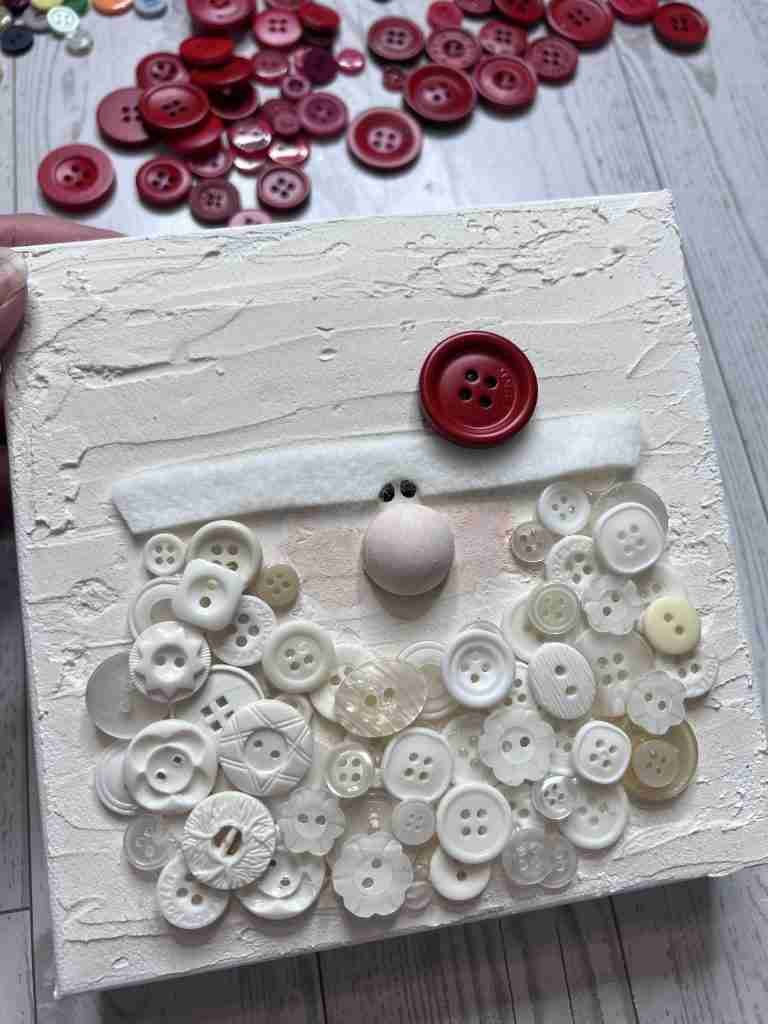
Once the beard is filled in with buttons to my liking I’ll go ahead and glue on the half bead for the nose. I’ll paint the half bead with the flesh and pink color paint.

Next, I’ll finish the face by adding eyes and pink for the cheeks.
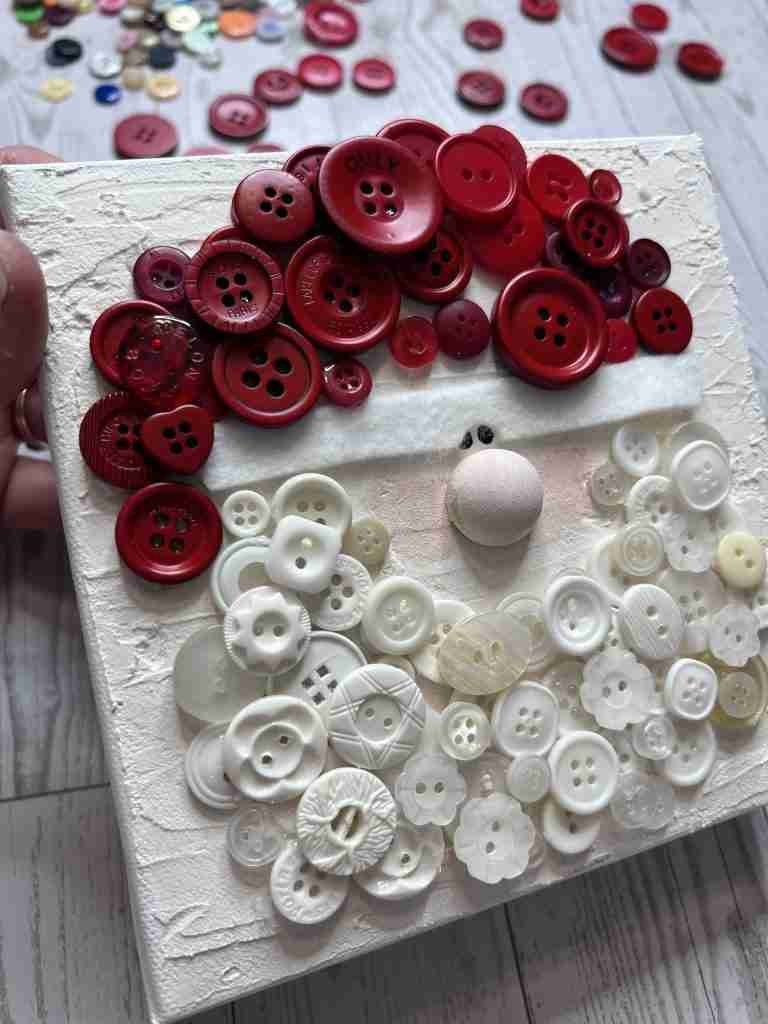
Finally I’m ready to finish the project by using the red buttons for the hat. I’ll add a thin strip of felt for the hat brim.
To finish this easy DIY button Santa I’ll add a mustache made from the fabric strips and a small rusty bell to the end of the hat. Fold four of the strips together and in half. Then tie them in the middle with the fifth strip. Cut the folded ends with scissors to make a mustache as shown below.

He’s all finished now and perfect to sit on a shelf at Christmas to add a little holly jolly to your holiday! Let me know what you think of this project and if you’ll give it a try!

Dollar Tree Christmas Bells DIY
DIY Melting Snowman Christmas Decor