If you LOVE using cardboard as much as me you don’t want to miss this one! I created this easy DIY cardboard snowman ornament and you can too! Grab some cardboard and come get all the details!!
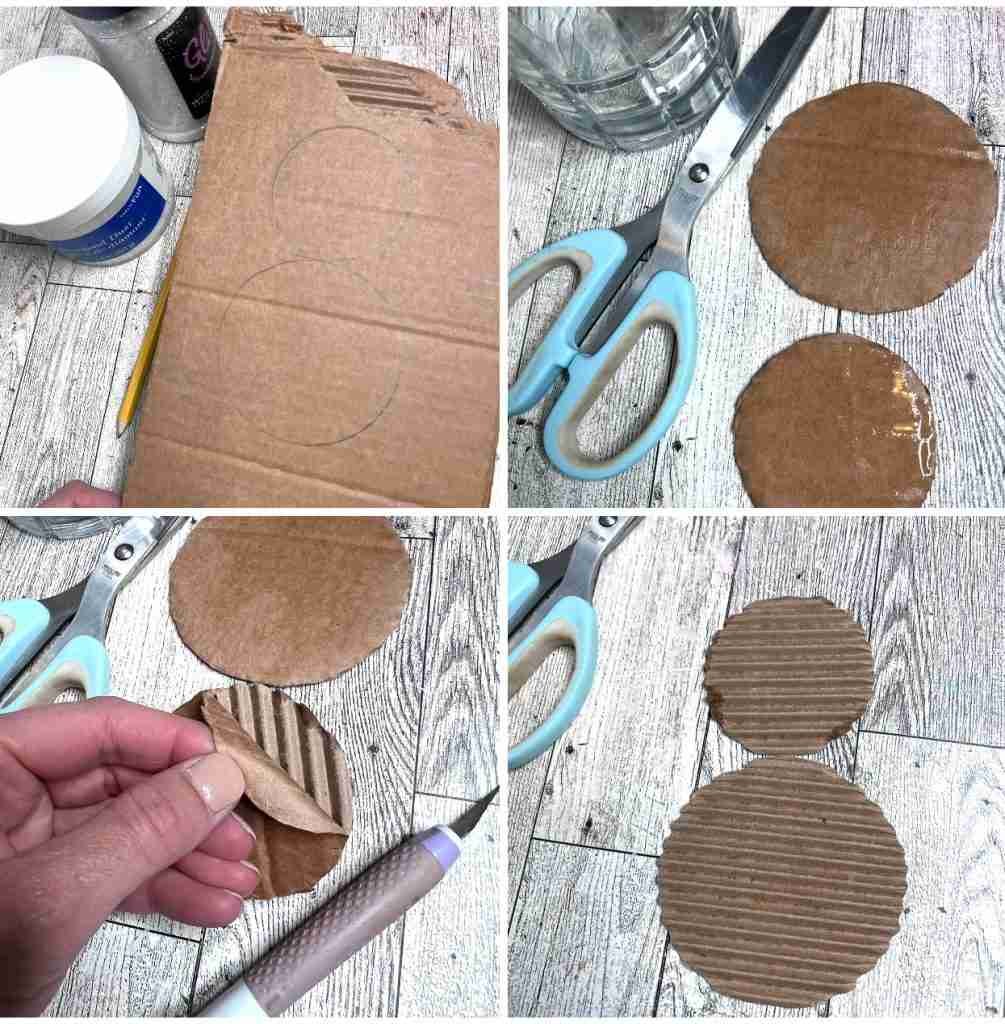
First, trace two circles, one a little smaller than the other. I used the bottom of my Diamond Dust and glitter. Cut out the circles and then dampen the top of each, peeling away the top layer to expose the beautiful corrugation!!
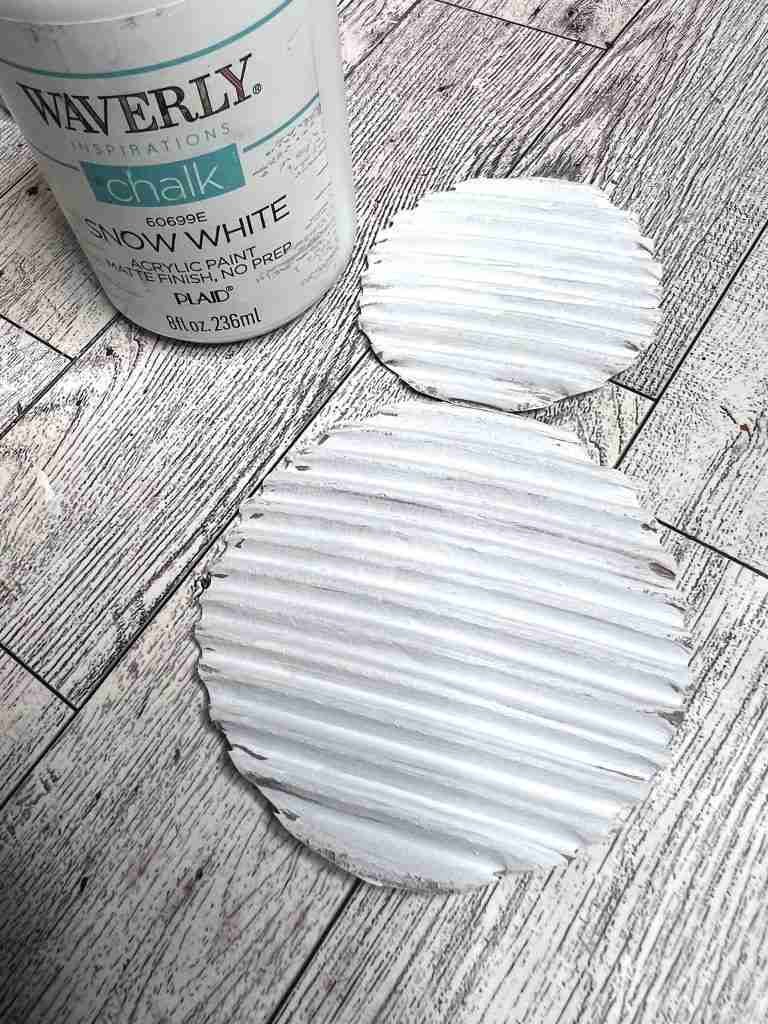
Next, paint the circles white and while they are drying draw a hat shape on cardboard and cut out. It should look something like the one below, but remember, it doesn’t have to be perfect. I punched a small hole in the top left hand corner to add string later.

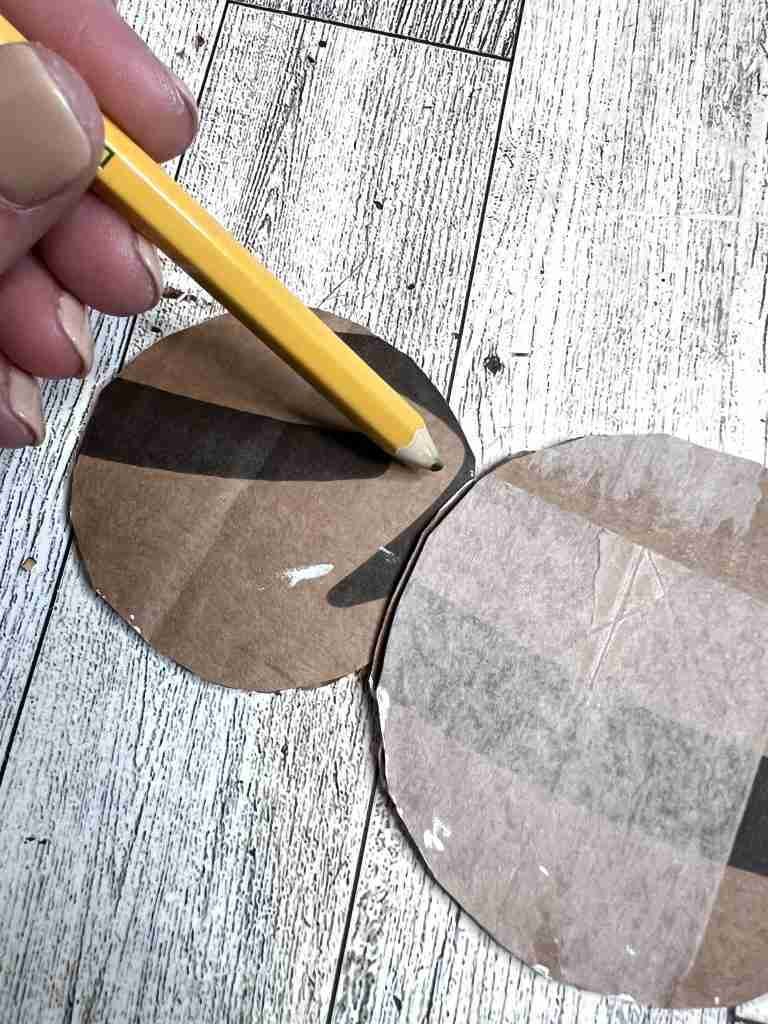
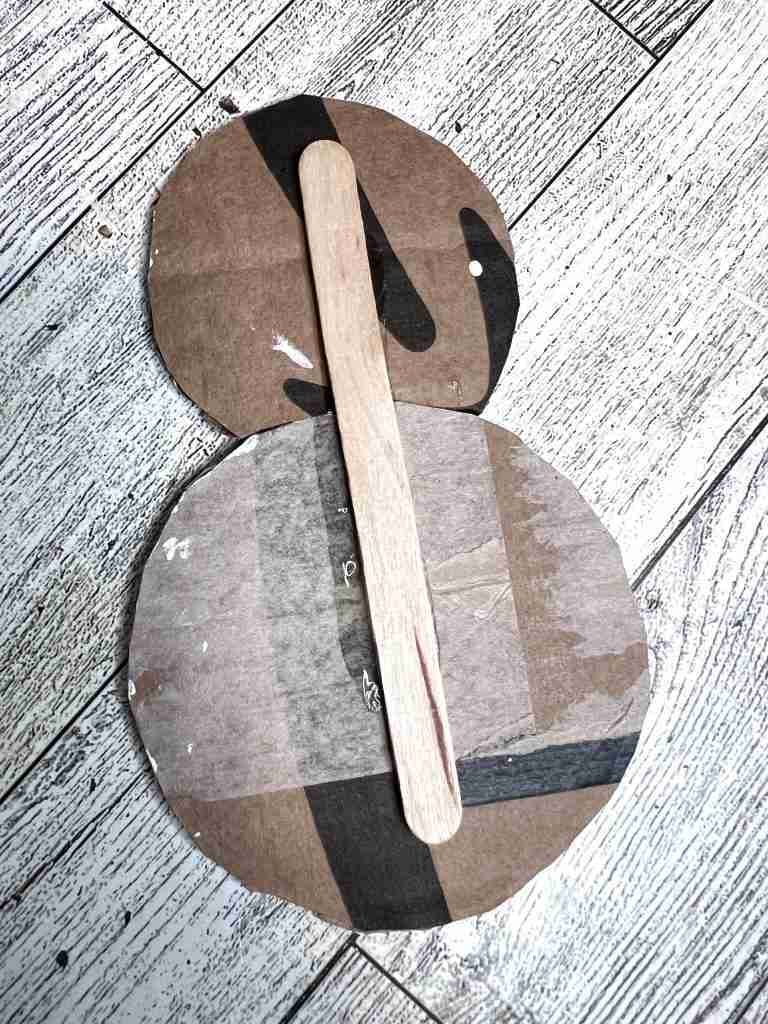
Now, cut a notch in the bottom of the smaller circle so that the circles can fit snuggly together and be glued. Glue a popsicle stick on the back to secure.
You’ll also need to cut out a cardboard nose and paint it. Once this is done you can glue everything together, add a scarf and Dollar Tree snowflake. I did add eyes and mouth with my Dollar Tree stylus just like I did on this project. I’m using some clearance ribbon from Hobby Lobby as the scarf, but you can use material or ribbon too.

Finally, I finished this easy DIY cardboard snowman ornament with some string to hang and I can’t wait to add this to my Christmas tree! What do you think of this one? Let me know if you’re going to try it!


Dollar Tree Snowman Ornament DIY