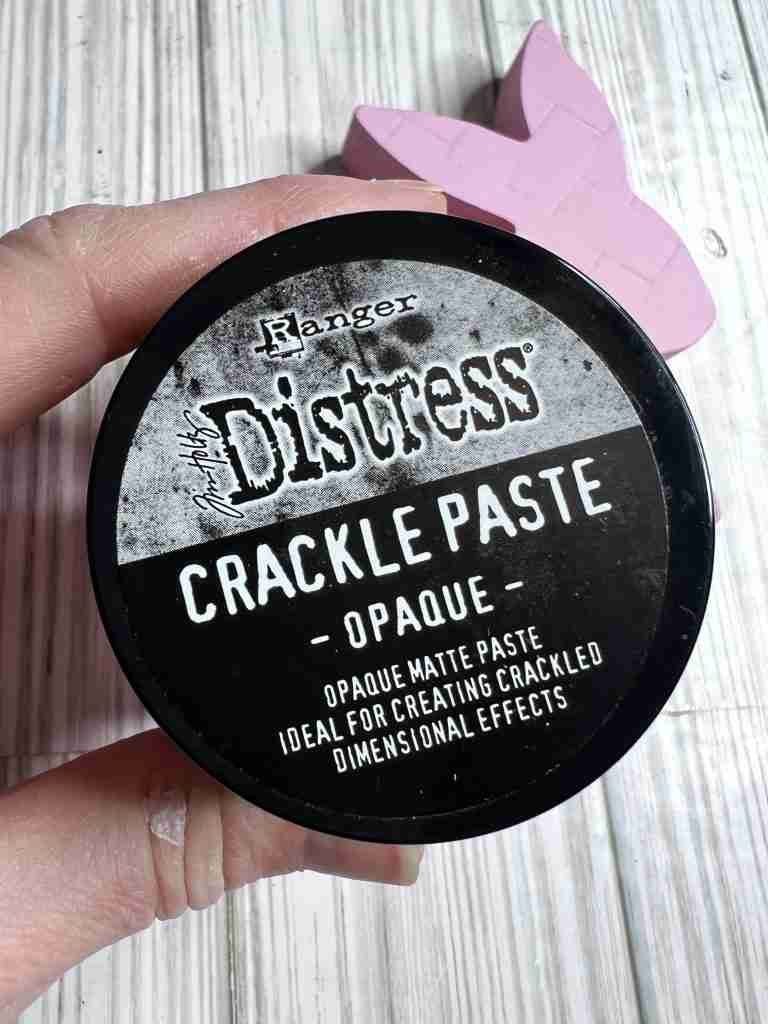
Easy and budget friendly make-overs are a favorite of mine. How about you? I found this wood bunny cut-out at Dollar General for $1.00 and it immediately inspired this easy Dollar General spring bunny make-over!
*This post contains affiliate links which means I may receive a commission if you purchase.
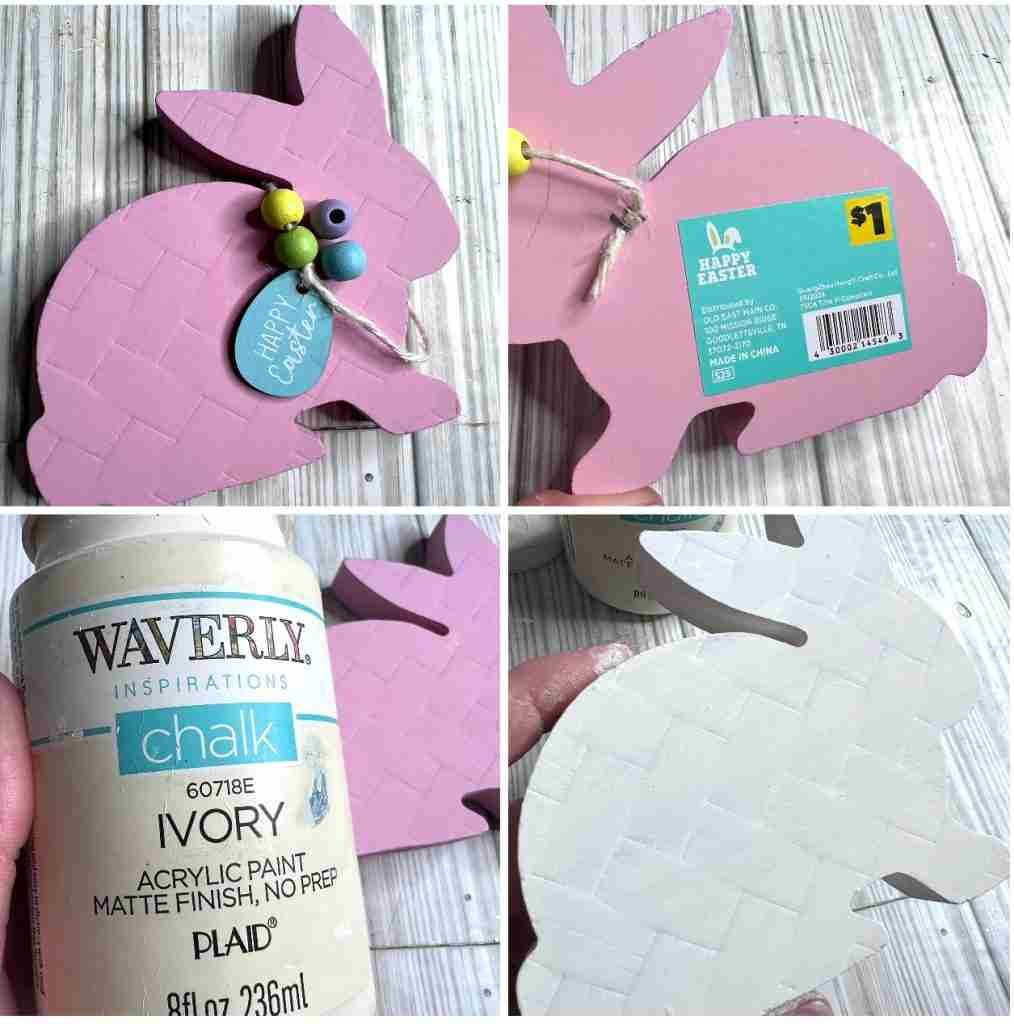
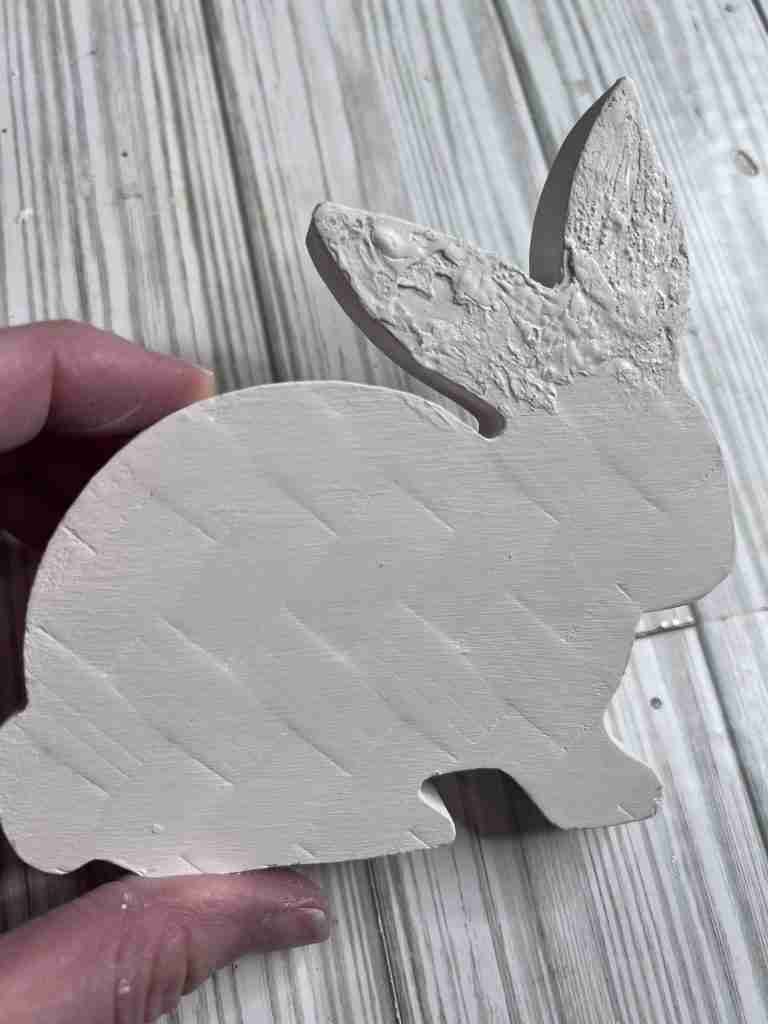
First off, I wanted to point out the pretty basket weave pattern on this little guy and I definitely don’t want to hide that and I know some dark wax will accentuate that pattern perfectly. I’m painting the bunny with Waverly chalk paint and then I’ll add a couple more components.
Once the bunny is painted I wanted to give it some more texture so I’ll use some crackle paste on the ears. It didn’t crackle like I expected, BUT I love the texture it gave.
Now I’m ready to really accentuate the basket weave and that new texture on the ears with some dark wax.
I’ll use a brush to lightly apply the wax and it will settle nicely in the grooves and texture.

What a difference the wax makes on this little guy! He does need a little color though, so let’s add a bow and reuse that egg that was on him in the beginning.
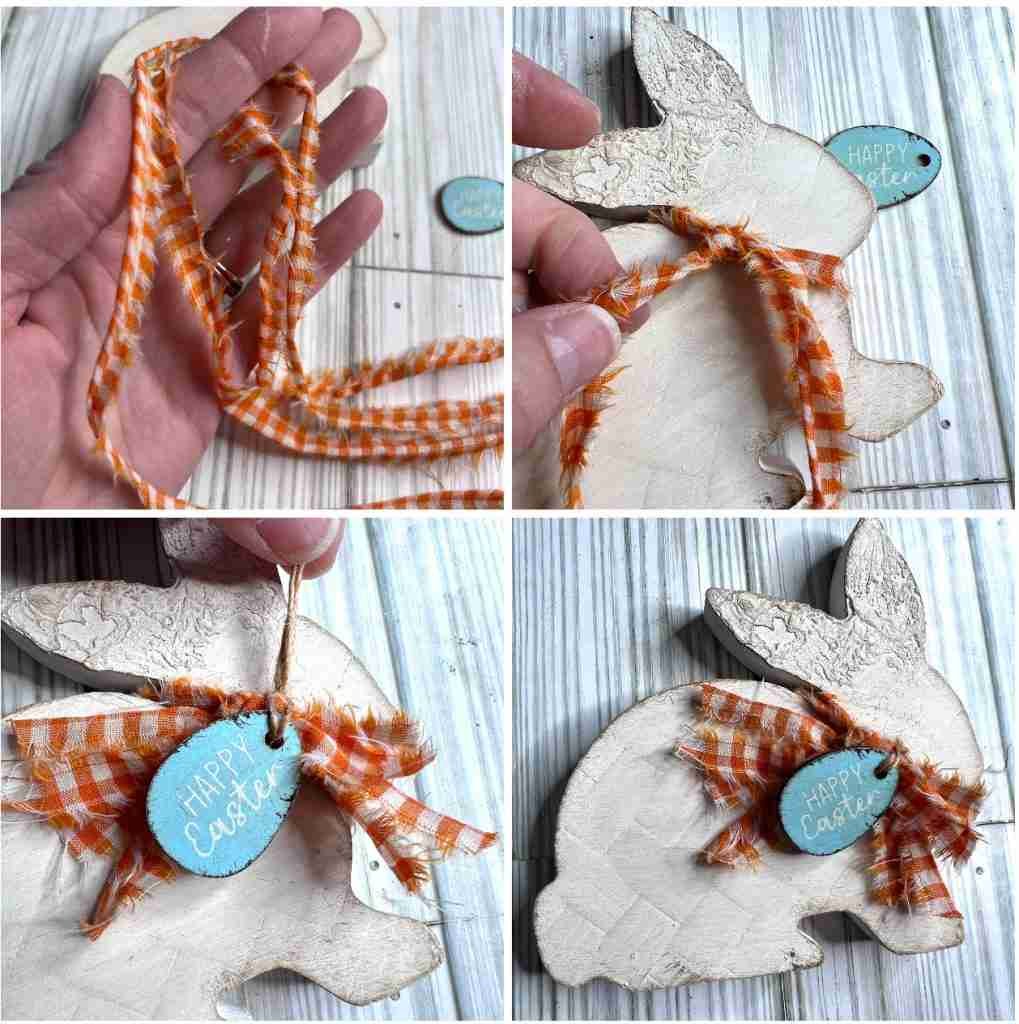
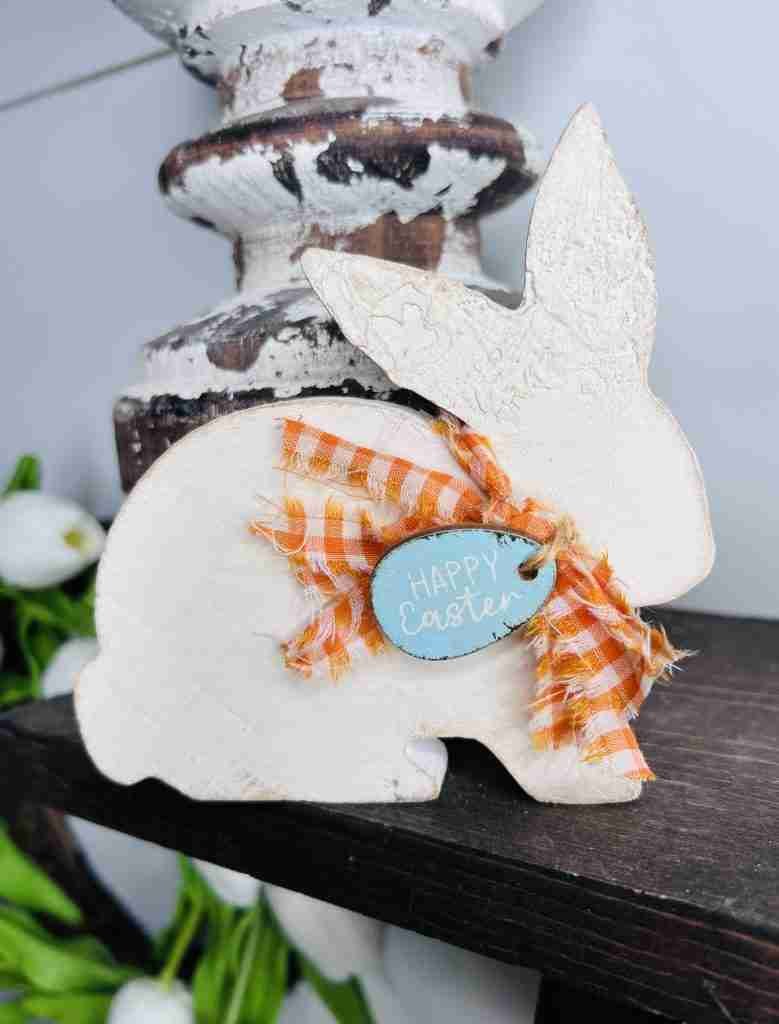
Lastly, I tied on the material strip bow and then added the blue Happy Easter egg. I had added dark wax to the edges of the egg and loved the blue and orange combination. This little DIY was so easy and it’ll look great tucked in a vignette or on a spring shelf. Let me know what you think of this easy Dollar General spring bunny make-over AND if you’ll give it a try!

Clearance SIgn Spring Make-Over – Free Printable
Gold Bunnies – EASY Hobby Lobby Transformation
How To Make A Tabletop Moss Bunny – Word & Home