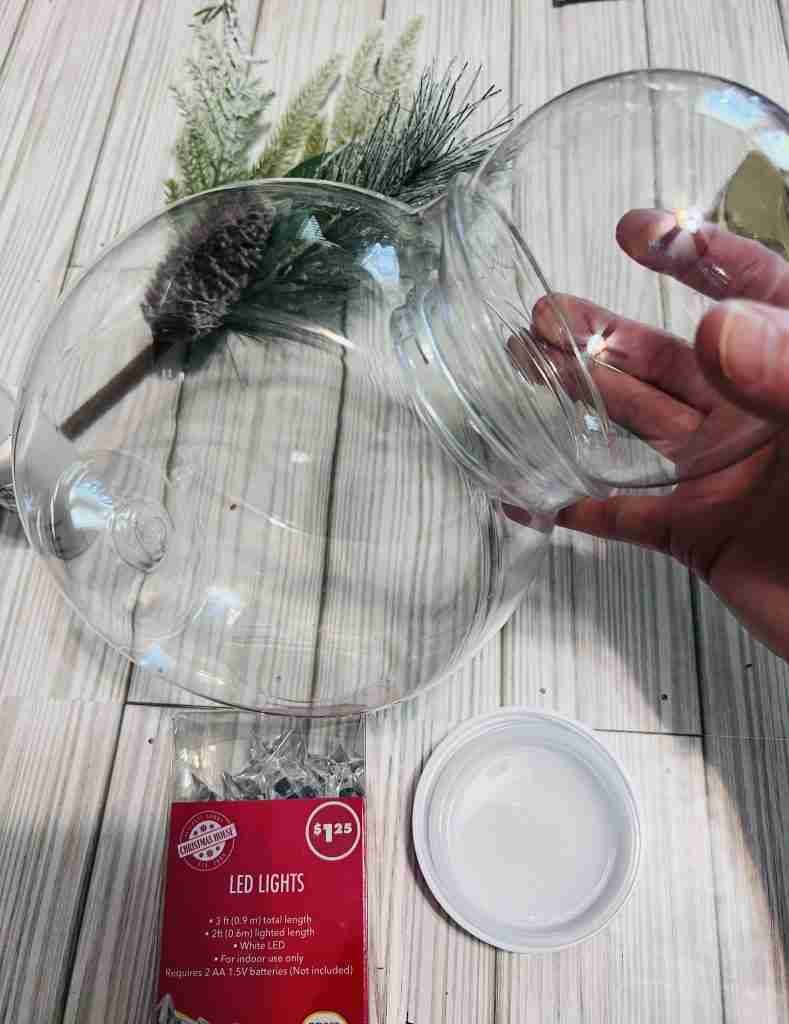
I’m always looking for fun ways to create snowmen for Christmas and winter, so when I spotted this clear plastic snow globe and candy container at Dollar Tree an idea was sparked! I’m going to add some pretty Christmas greenery to create a fun snowman snow globe and I’ve got all the details for you!

We’ll be using a small plastic Dollar Tree snow globe and a larger Dollar Tree plastic candy container. I was going to include lights but then decided against it.
First, I’m fitting the two together to see how it’s going to look and then I’ll use the metallic pearl white paint to coat the inside of the smaller plastic snow globe.
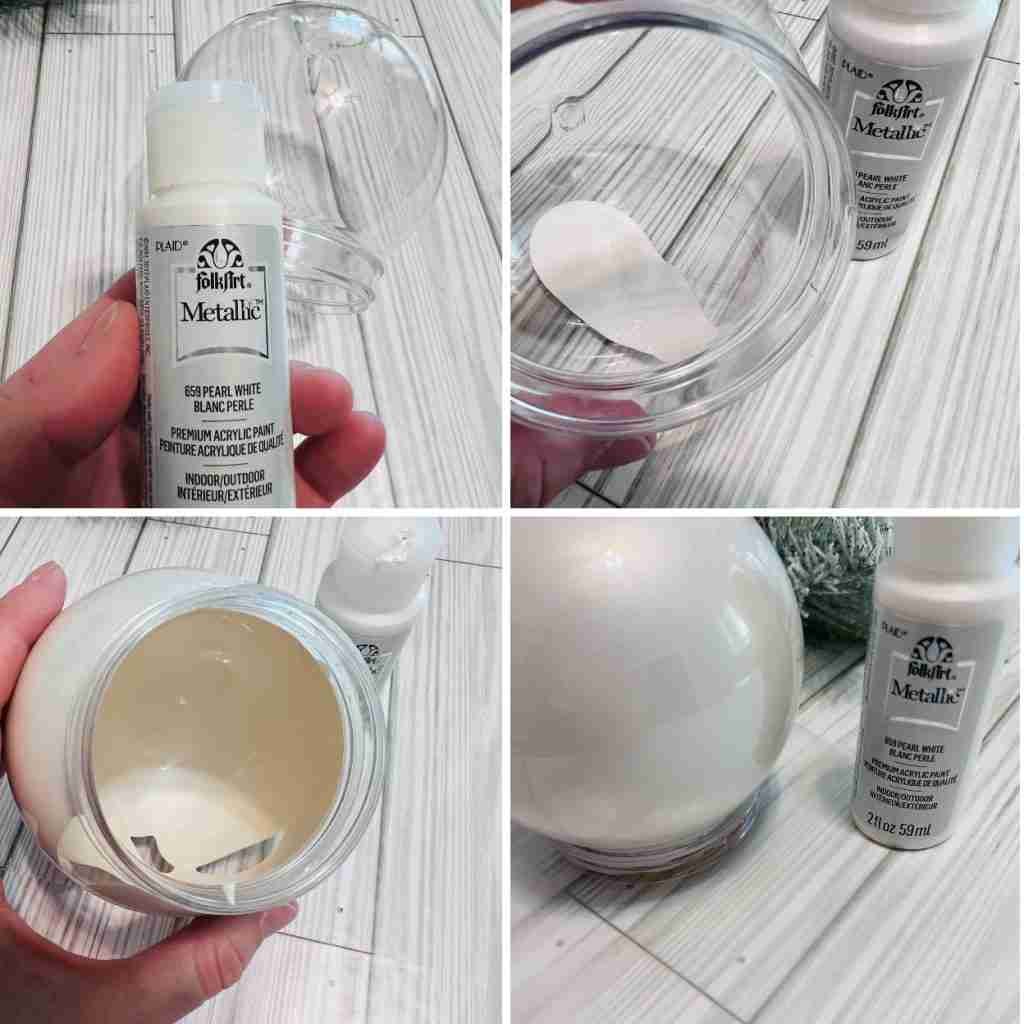
Once the inside of the small globe is coated in paint, turn it upside down on a piece of wax paper. I checked on it periodically and put the excess paint that had run out back into the bottle. This will need to set overnight to dry.

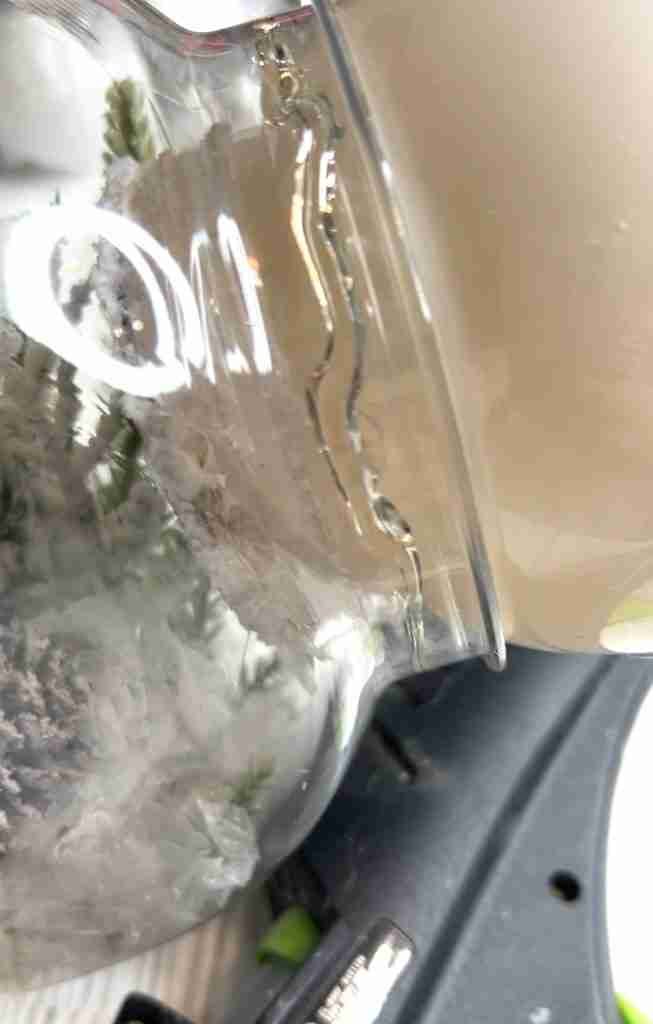
While the paint is drying in the globe, I’ll add faux snow and a .98 cent Walmart Christmas pick to the inside of the larger plastic container. Use a little hot glue to secure the pieces to the bottom of the container.
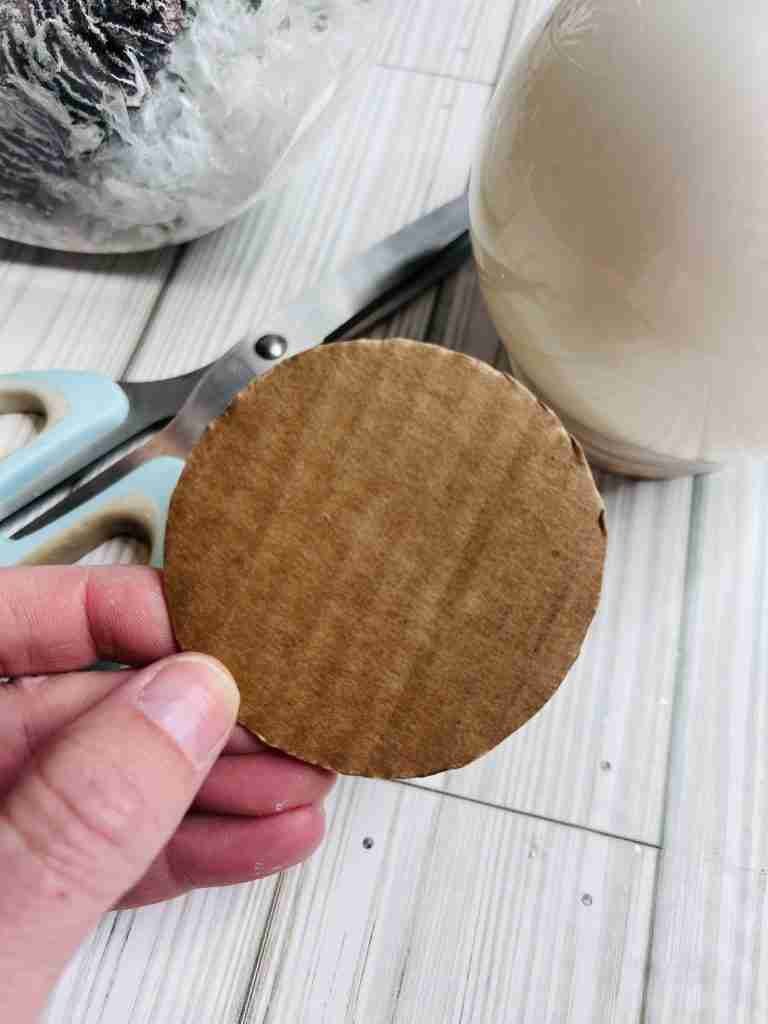
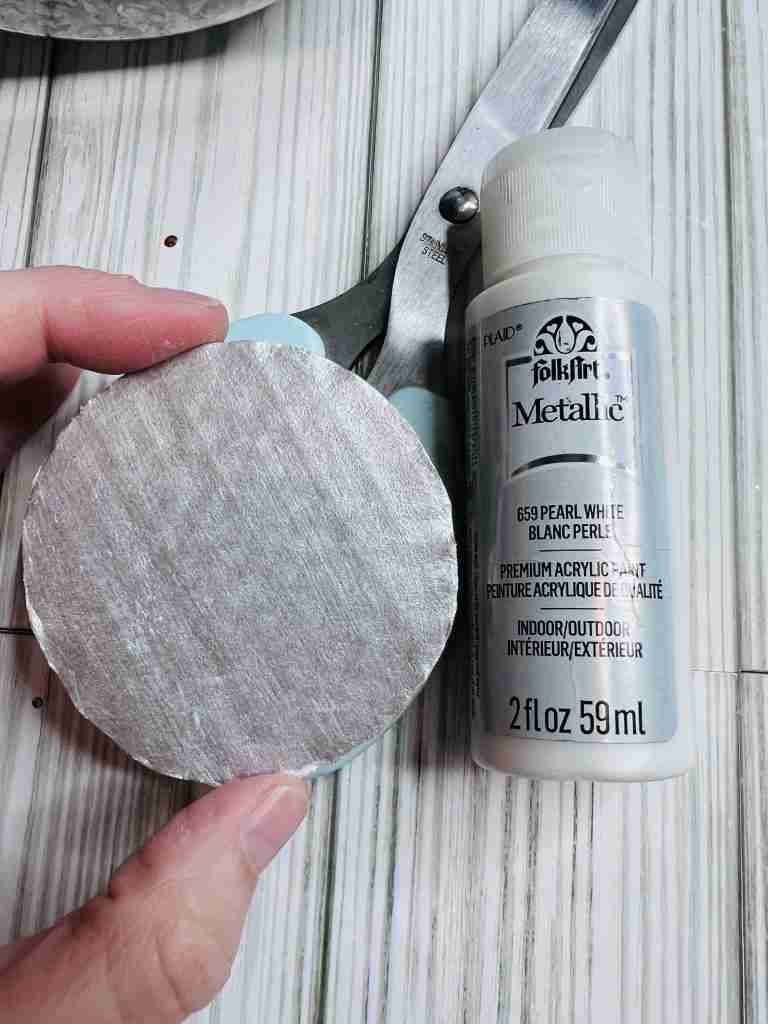
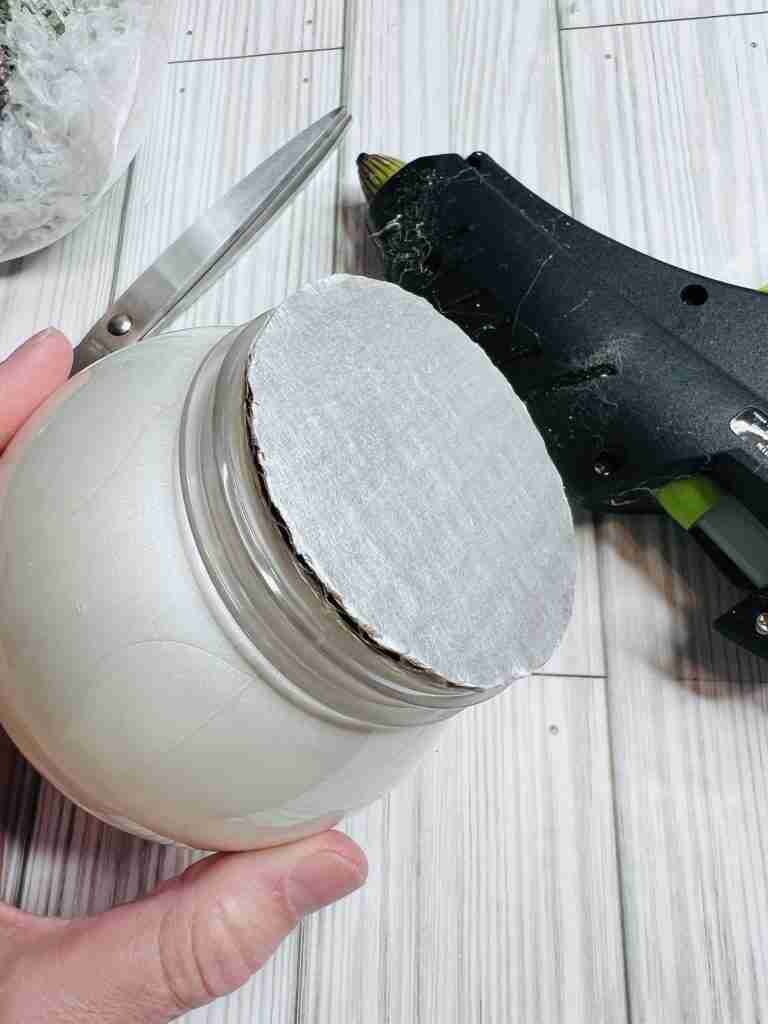
Now, I’ll cut a piece of cardboard to cover the opening of the plastic globe and paint it with the same metallic pearl white paint. I’ll also add some glue and adhere some snow and glitter to camouflage the cardboard.
Fit the smaller plastic globe into the top of the candy container and adhere with hot glue.
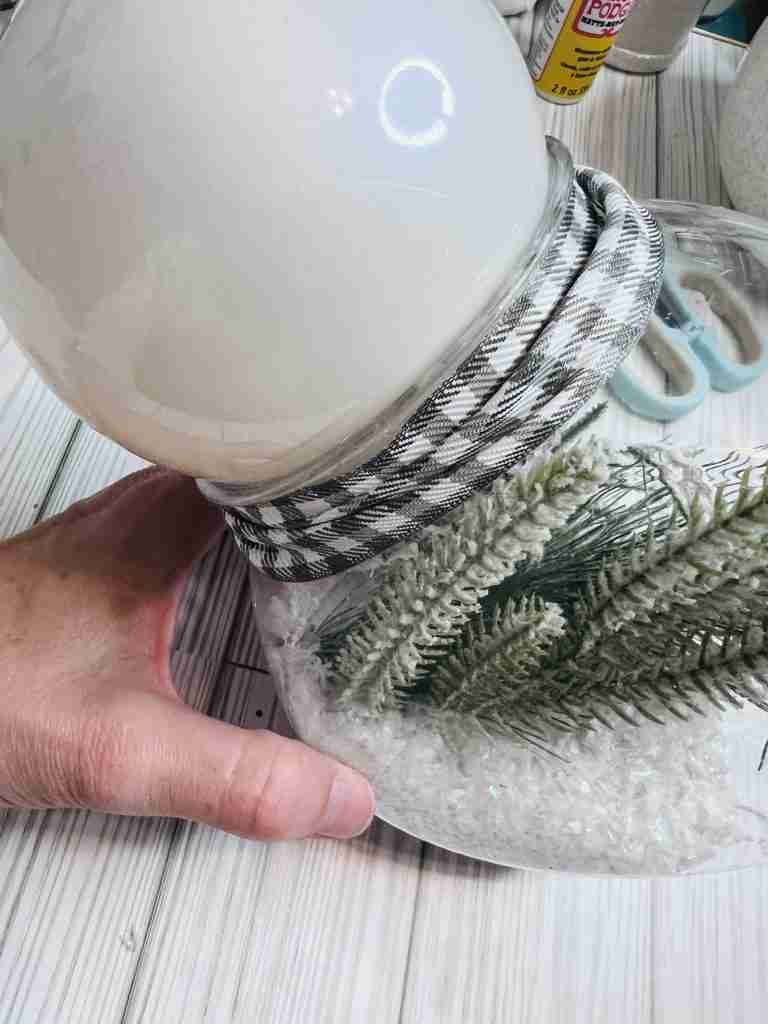
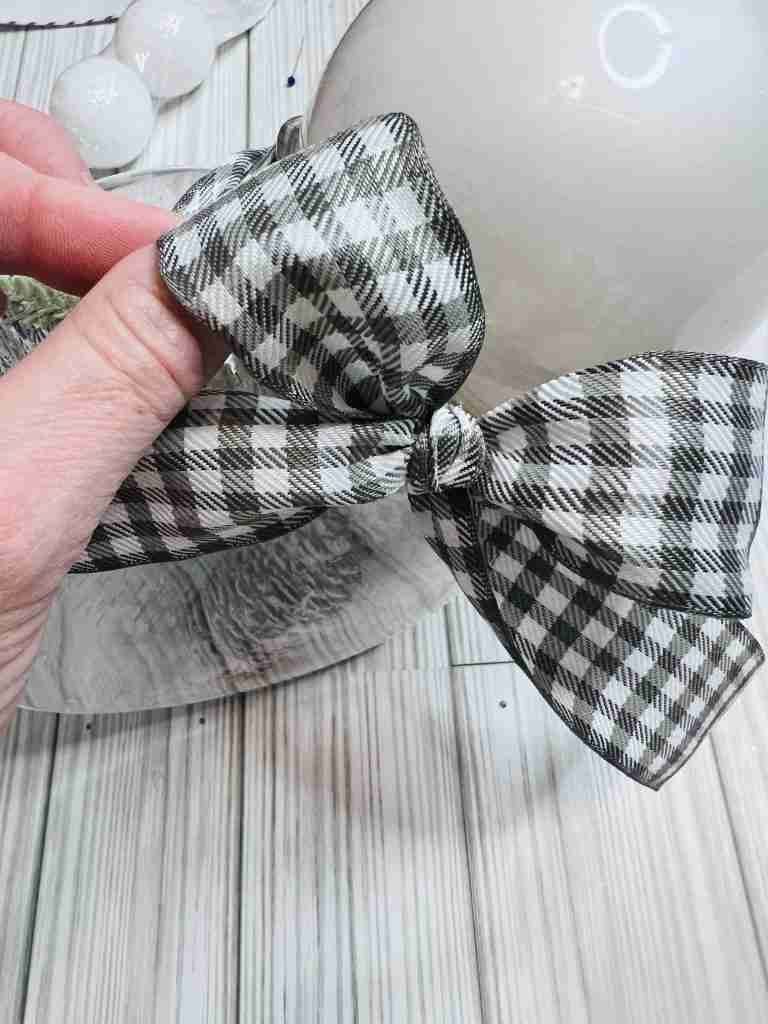
Next, glue ribbon around the “neck” area to cover where the two pieces are attached. I’ll also add a bow at the neck.
A Snowman Face
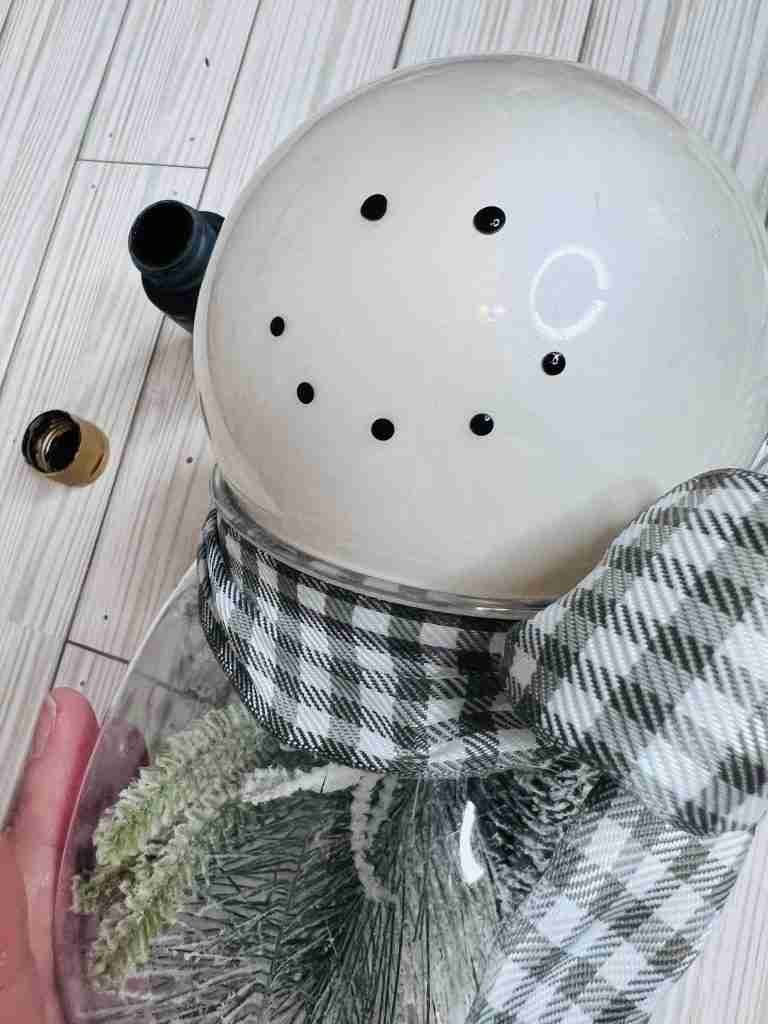
Finally, I’ll add a snowman face using my Dollar Tree stylus and black paint. I’m also adding a clay nose using Modelite clay and painting it orange. I’ll adhere it to the plastic globe with glue.

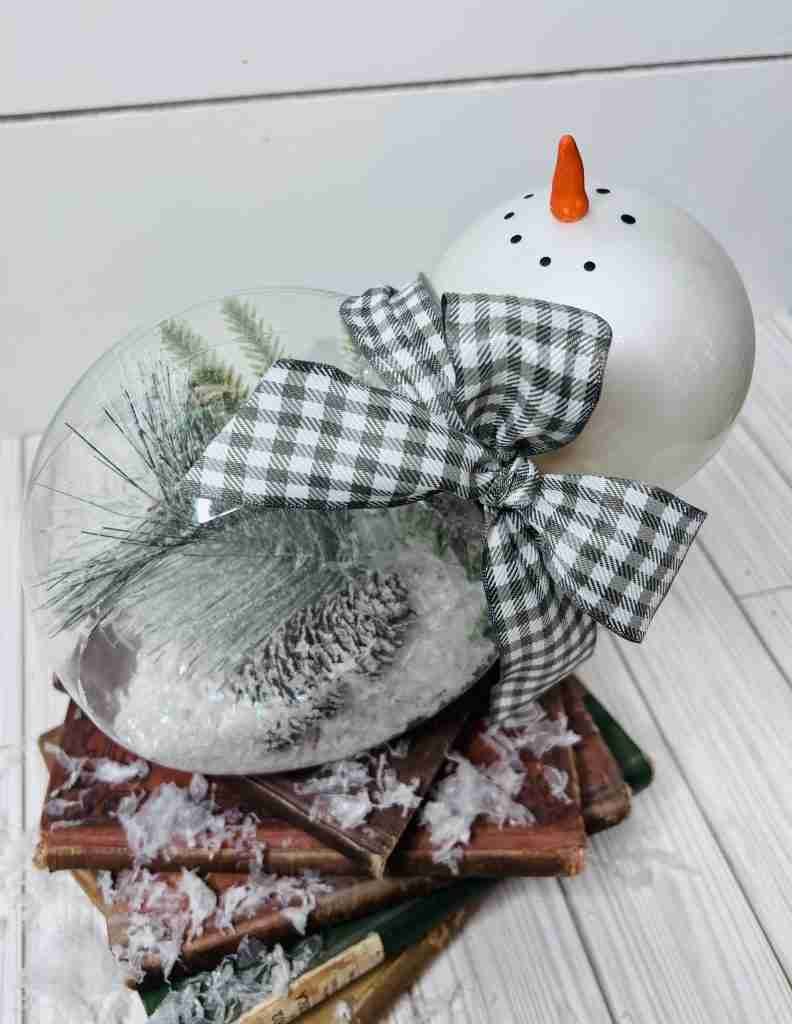
This sweet little guy turned out so sweet and festive! I chose not to add a hat, but he’d be just as sweet with one. I hope you enjoyed this one! Let me know if you make one for yourself!!

DIY Snowman Pick – Simple & Easy
2 Responses
is the finished product laying on his back?
Yes