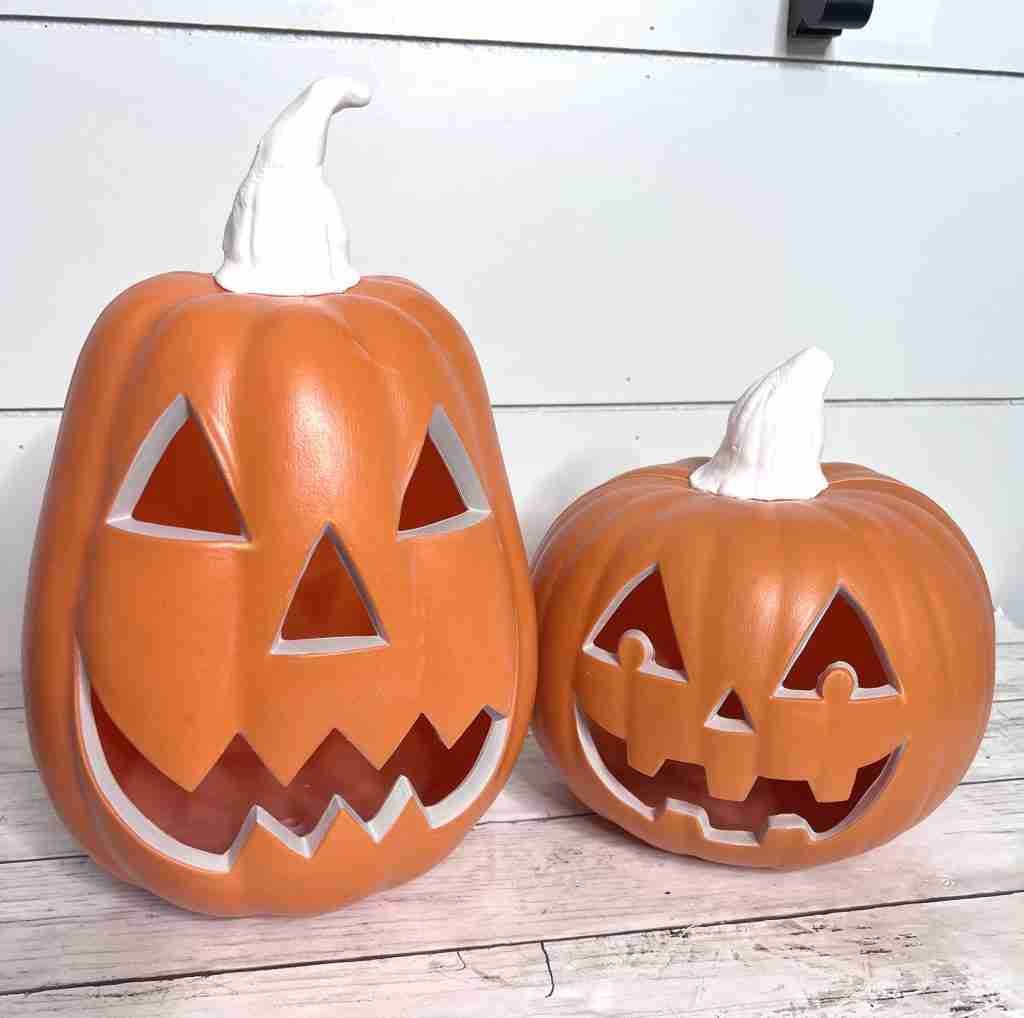
Okay, Halloween is coming and I’m seeing the popular Pottery Barn pumpkins everywhere, including the dupe PB pumpkins, so I thought I’d give them a try myself! I LOVE black pumpkins and can’t wait to include these in my fall/Halloween decor this year! Let’s create these easy black terra cotta pumpkins together using some Walmart finds, flat black spray paint, and baking soda!
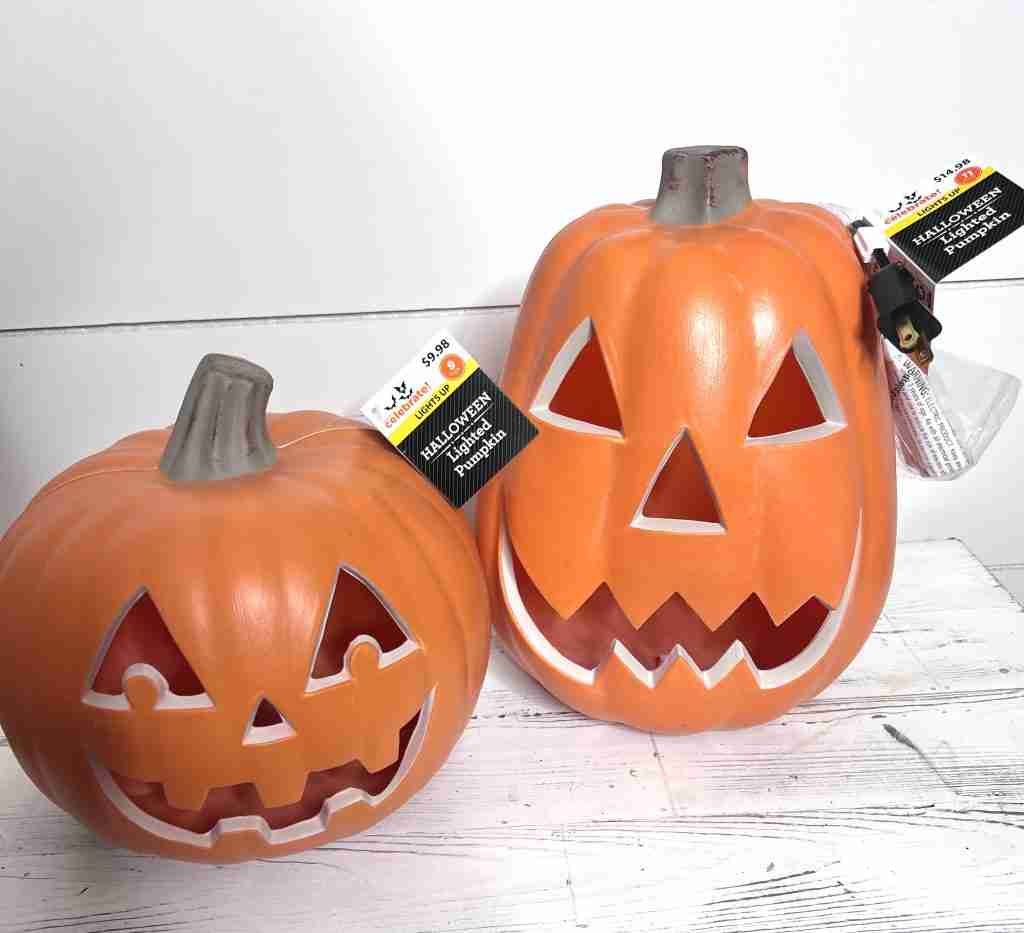
We’re starting with these plastic lighted plastic pumpkins from Walmart. I bought two of these, $9.98 and $14.98 each.
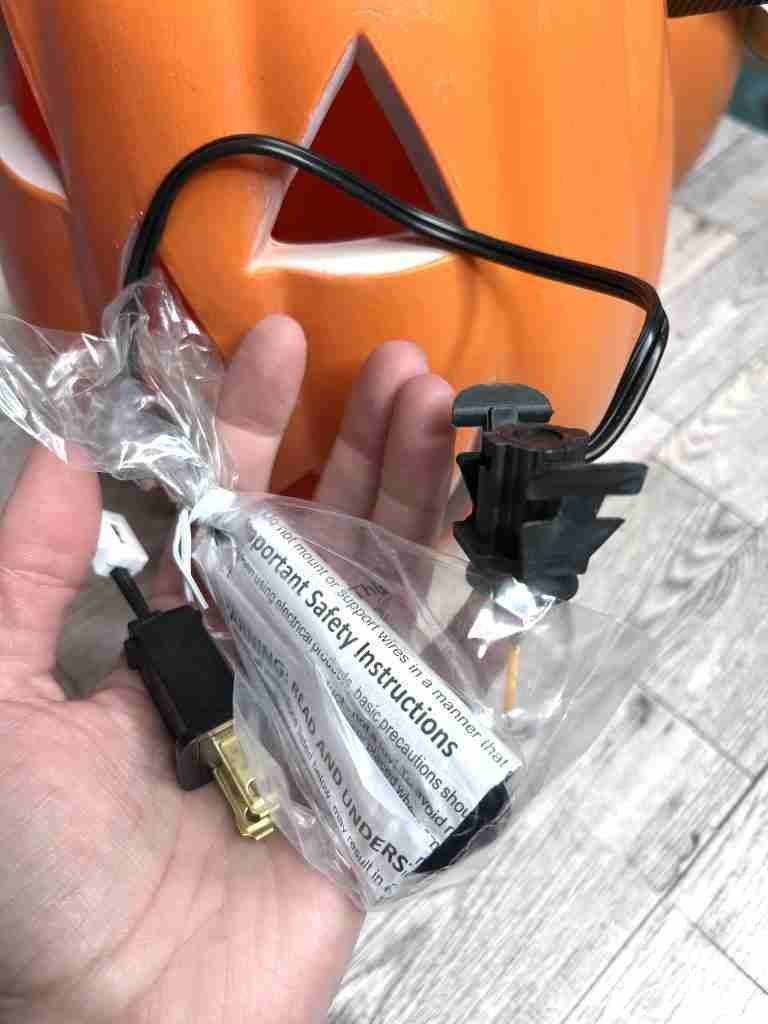
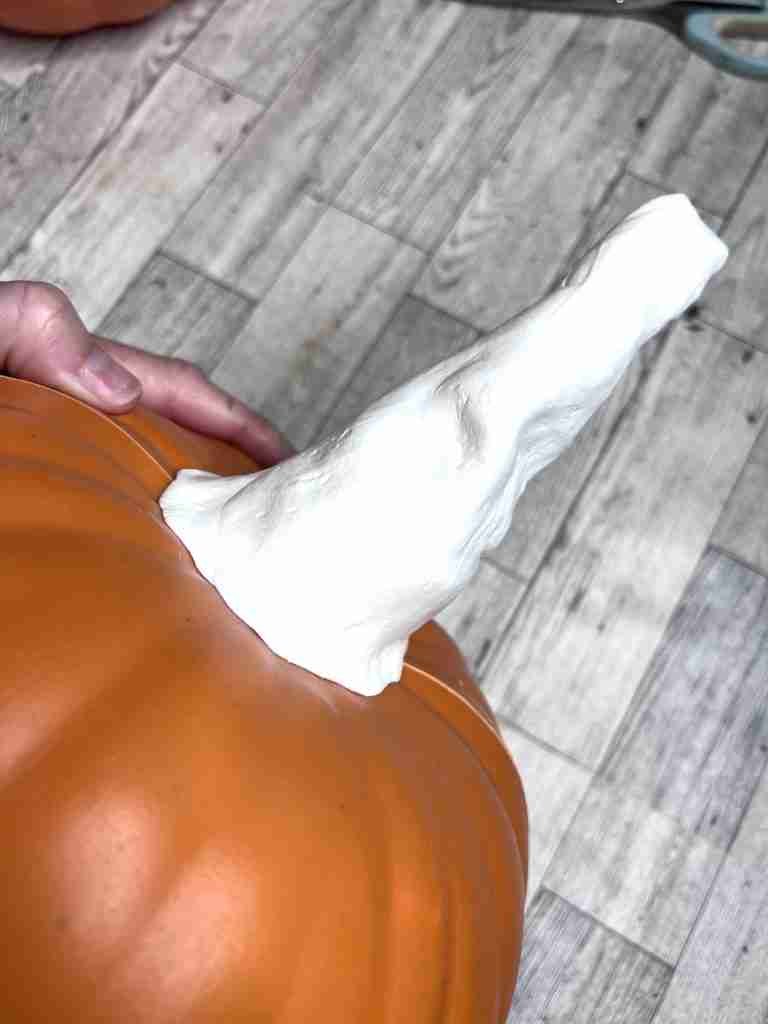
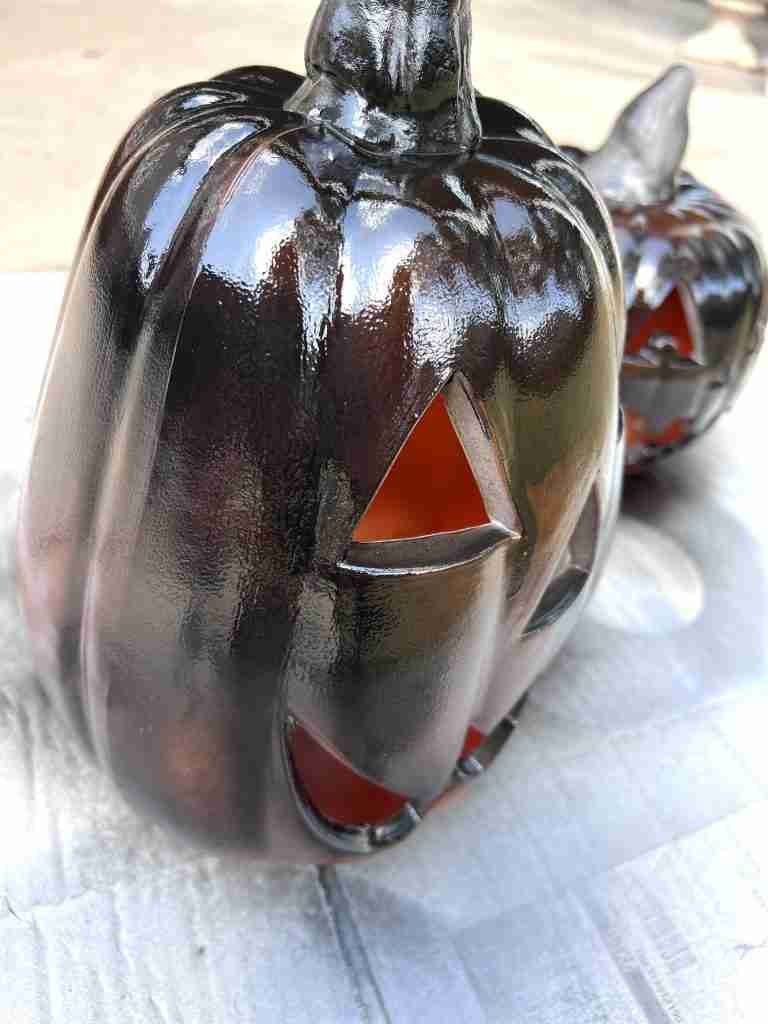
First, remove the lights from each pumpkin (They easily pop right out.) and add clay stems to the existing stems. This step can be stepped if you choose, but I think it adds extra character to the pumpkins. I’m using Modelite air dry foam clay for this part.

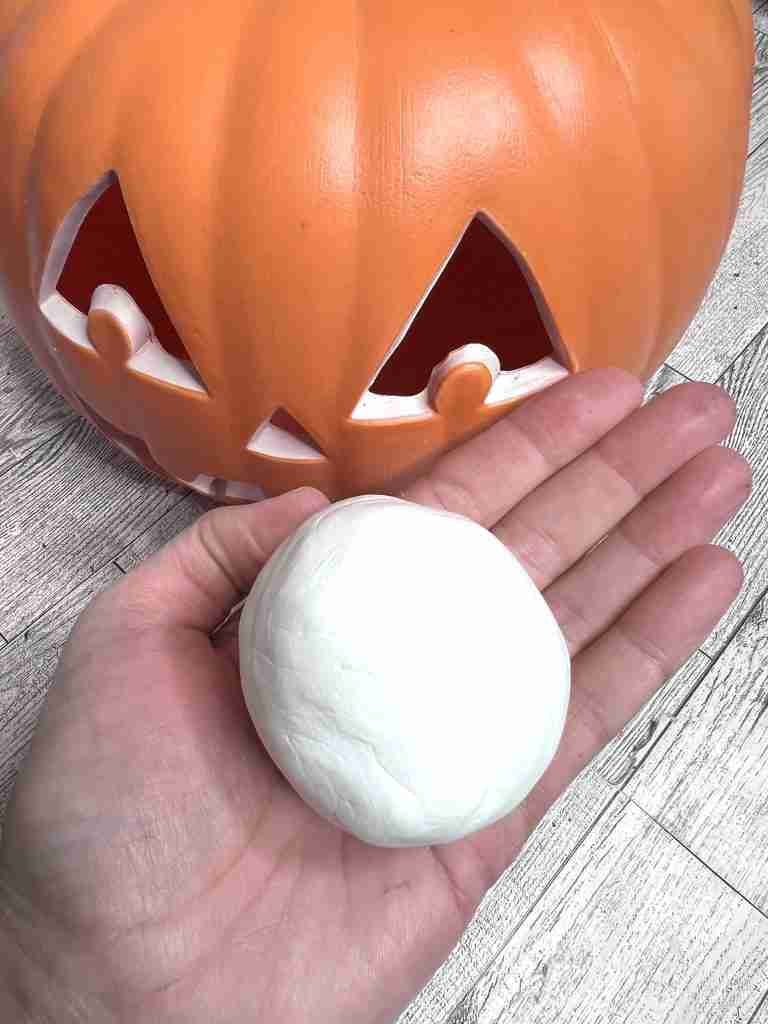
Next, roll out a ball of the air dry clay, a little larger than a golf ball. Flatten the clay in order to wrap around the stem more easily.

Now, before we wrap the clay around the existing stem we need to brush on some craft glue.
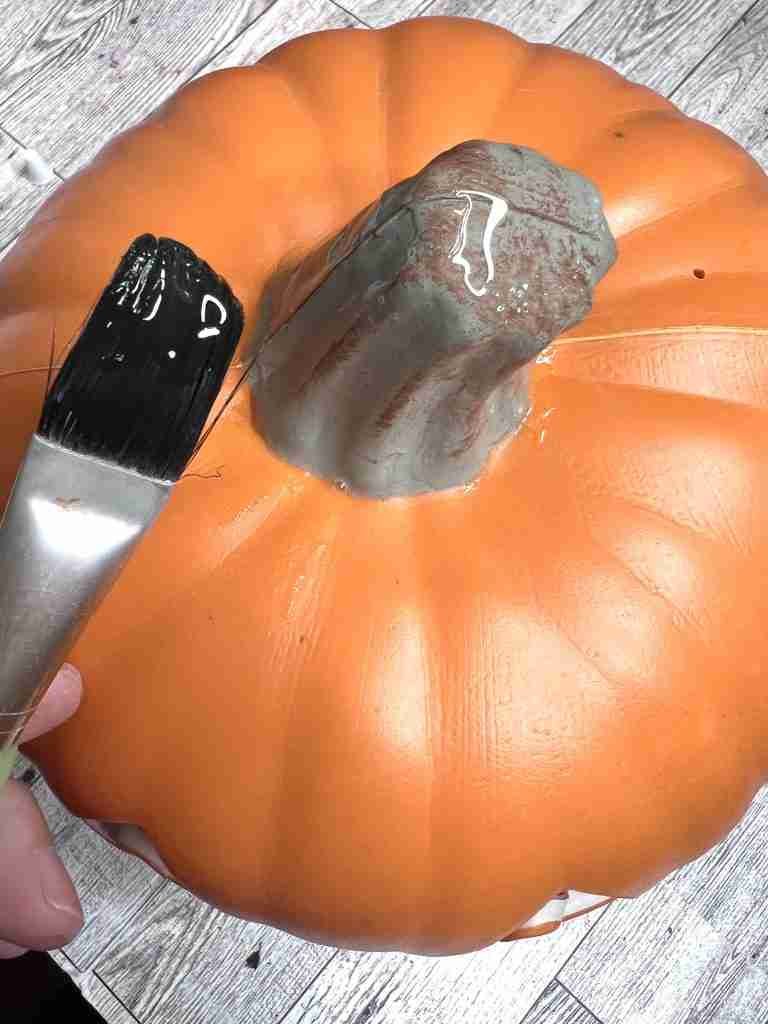
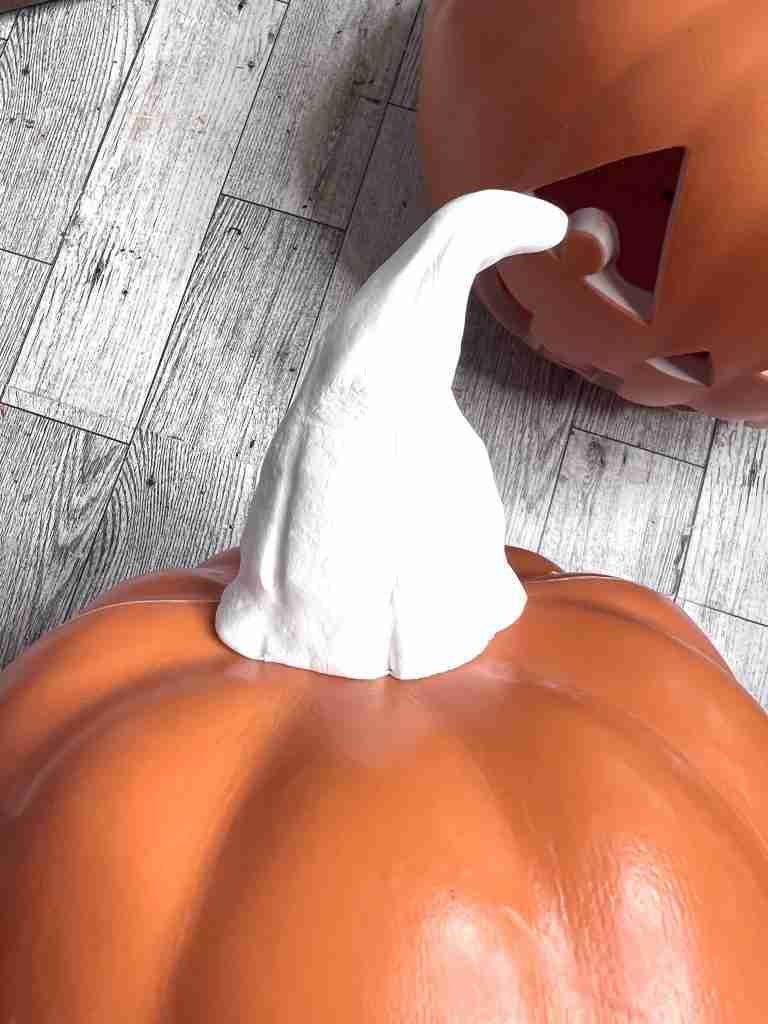
Start wrapping the clay around the existing stem, being sure to work out all the air and press snuggly against the plastic stem. Finally, smooth and shape it into the shape you’d like. I’m using a wood skewer to add indentions into the stem.
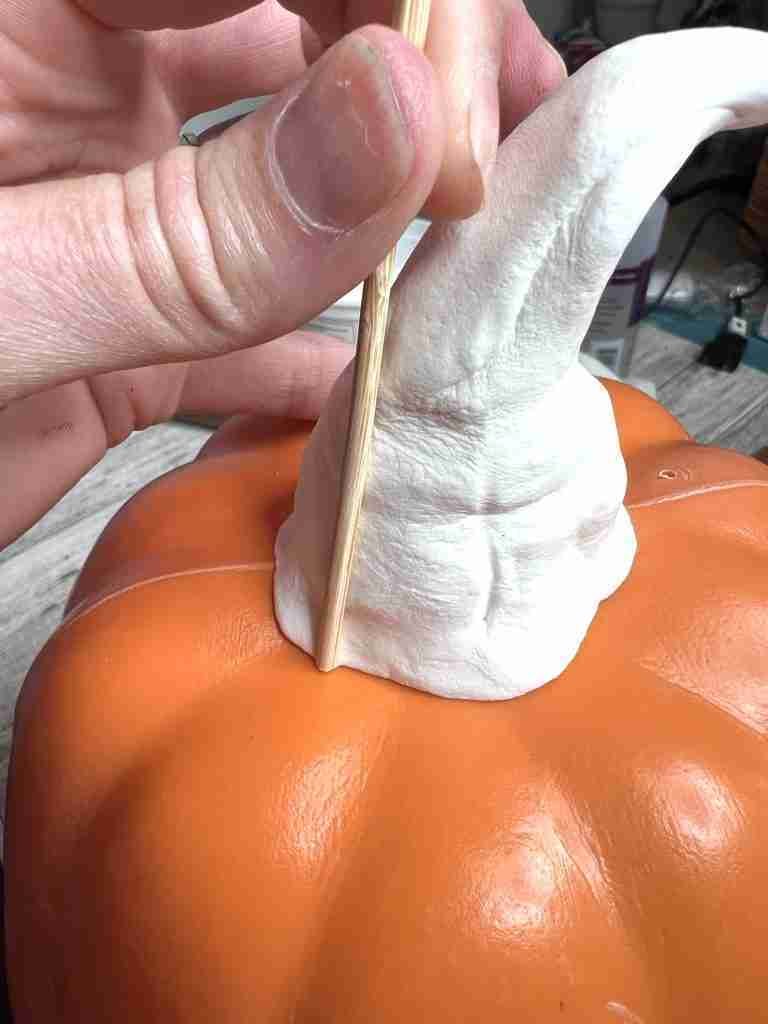
Once the clay stems are finished, set them aside for a bit to allow the glue to dry before painting.
Creating the finish…
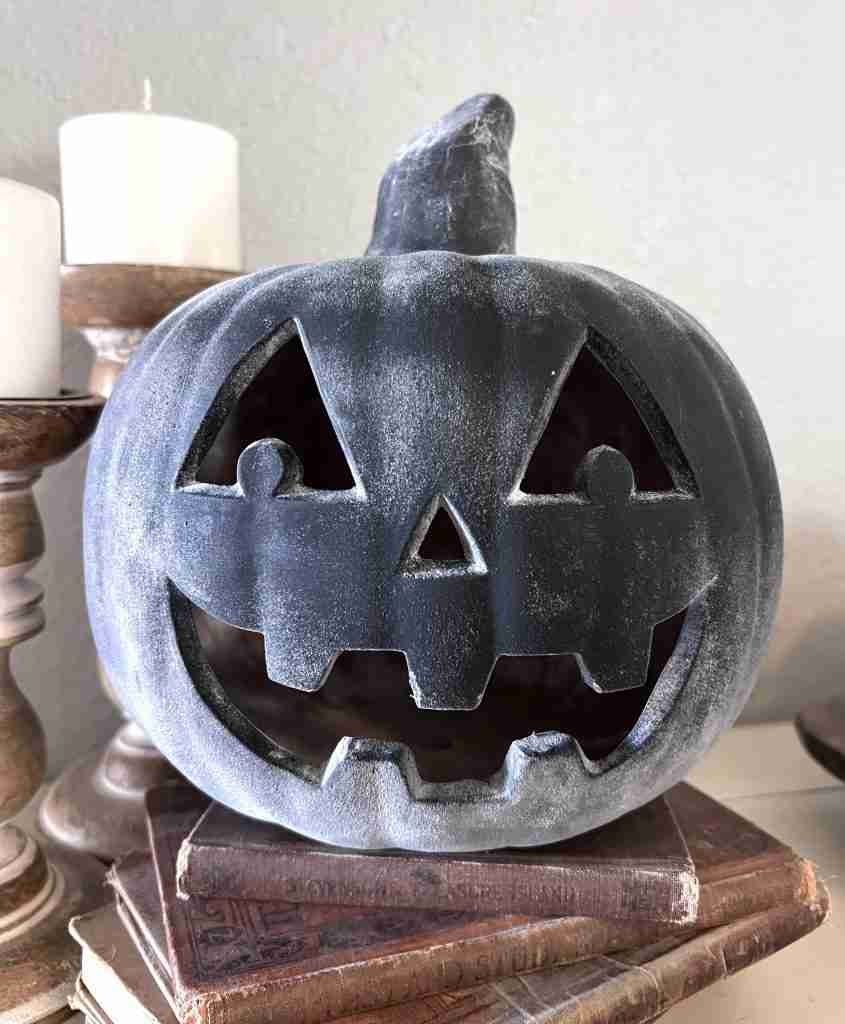
Next, we’ll be using flay black spray paint and baking soda to achieve a terra cotta finish on these easy black terra cotta pumpkins. Black chalk paint would work great as well!
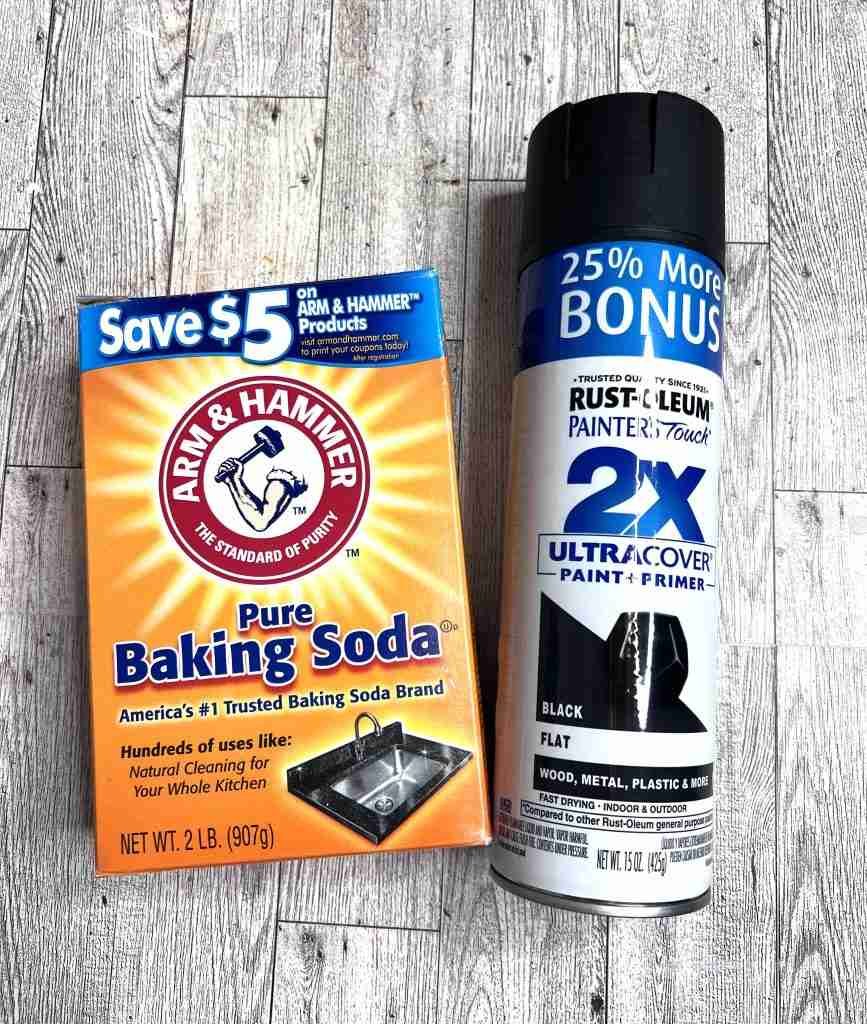
Finally, spray light coats of the flat black spray paint onto the pumpkins. I have found that these plastic pumpkins tend to develop paint runs easily so even though this will take a little bit longer to do light coats, it’s worth it.
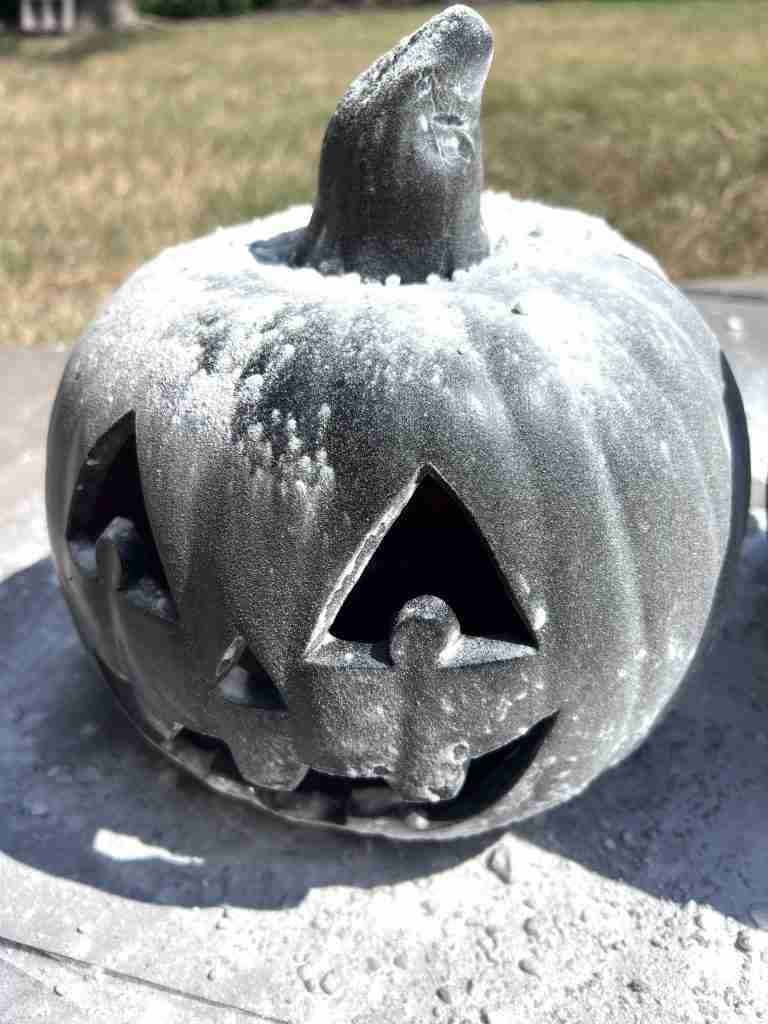
Once the pumpkins are covered with the paint, add another light coat of paint and immediately sprinkle on the baking soda. I had to do this in small areas until the whole pumpkin was done.
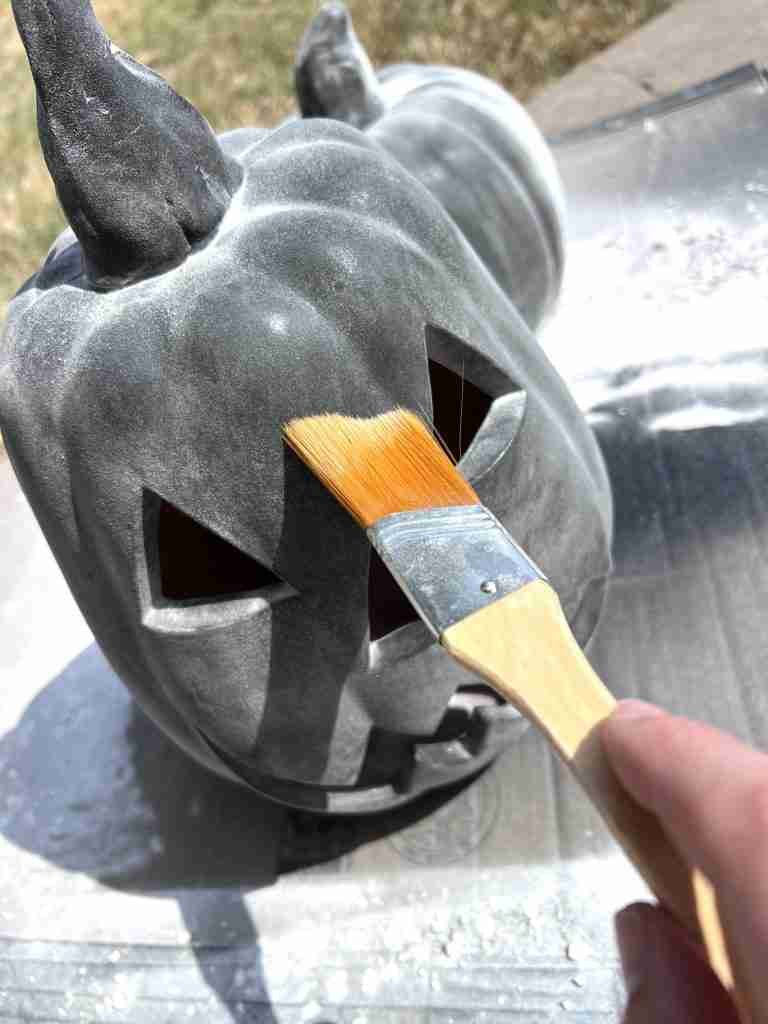
Lastly, brush off the excess baking soda and spray the pumpkins with a clear top coat.

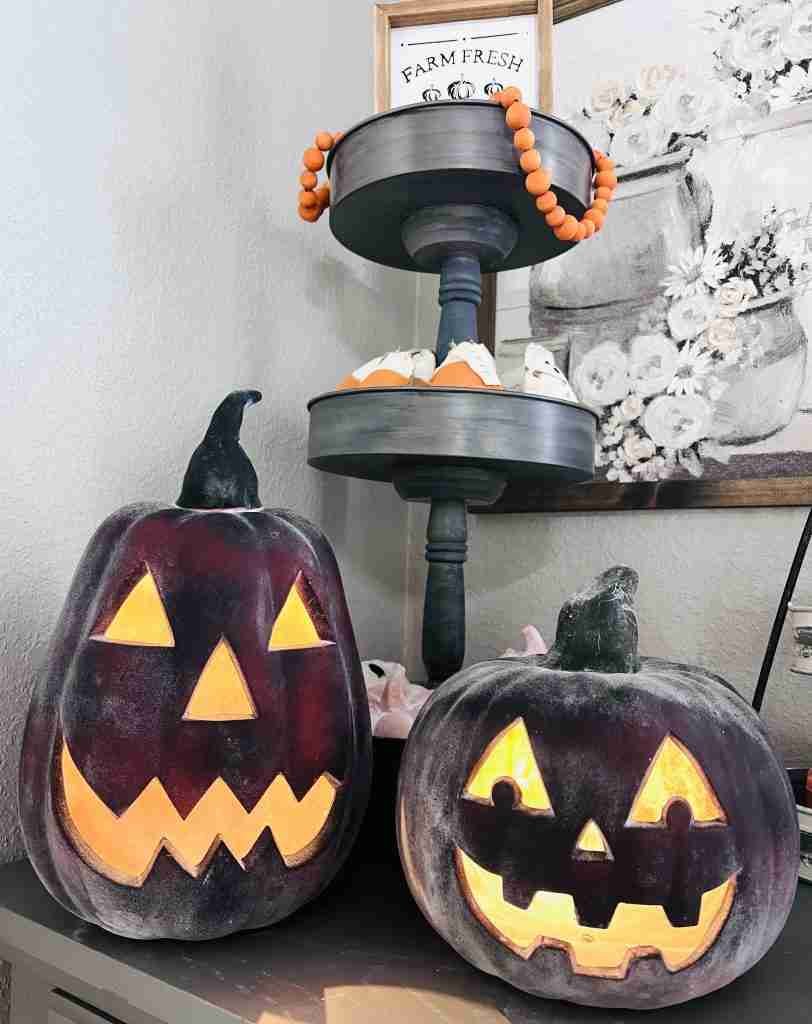
Oh my goodness!! I’m so happy with these easy black terra cotta pumpkins and how they look in my decor! Be sure to let me know if you give these guys a try!

Wood Box Centerpiece with Painted Pumpkins
DIY Fall Mini Pumpkins with Easy Leopard Print