Dollar General wood slices are a staple in my craft stash because there are just so many fun ways to use them in every season!! This time I want to create something sweet for Christmas that can be used year after year, so I’ll be making a wood slice reindeer ornament.
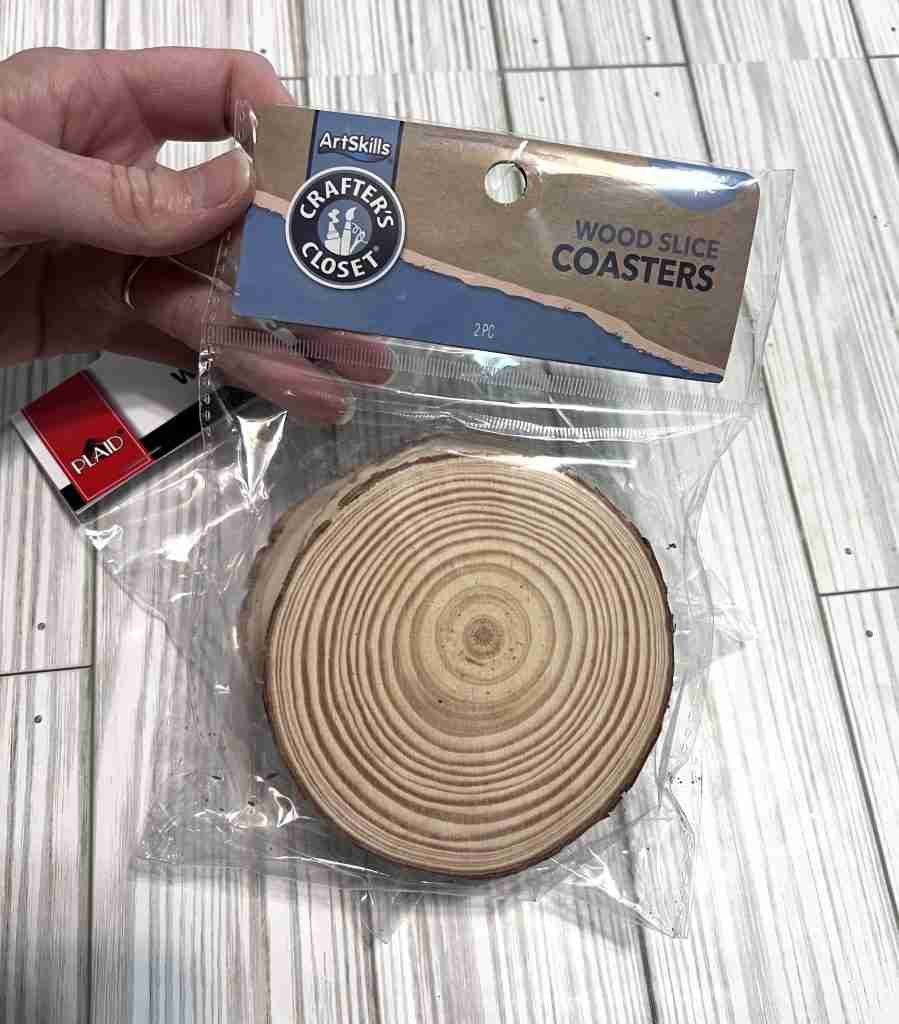
I’ll be using this Dollar General wood slice, along with a few other items listed below.
- Felt Sheets from Hobby Lobby
- Waverly Cashew colored paint and black-white-pink paint
- Hobby Lobby Antler Snowflake
- Christmas Greenery and Red Berries
- Hot Glue and Craft Glue

First of all, paint the wood slice with the Waverly Cashew color and let dry. While it’s drying, cut a circle the size of the wood slice, trace the deer “face” and cut out as shown below. This is also the best time to drill a hole into the wood slice for hanging.
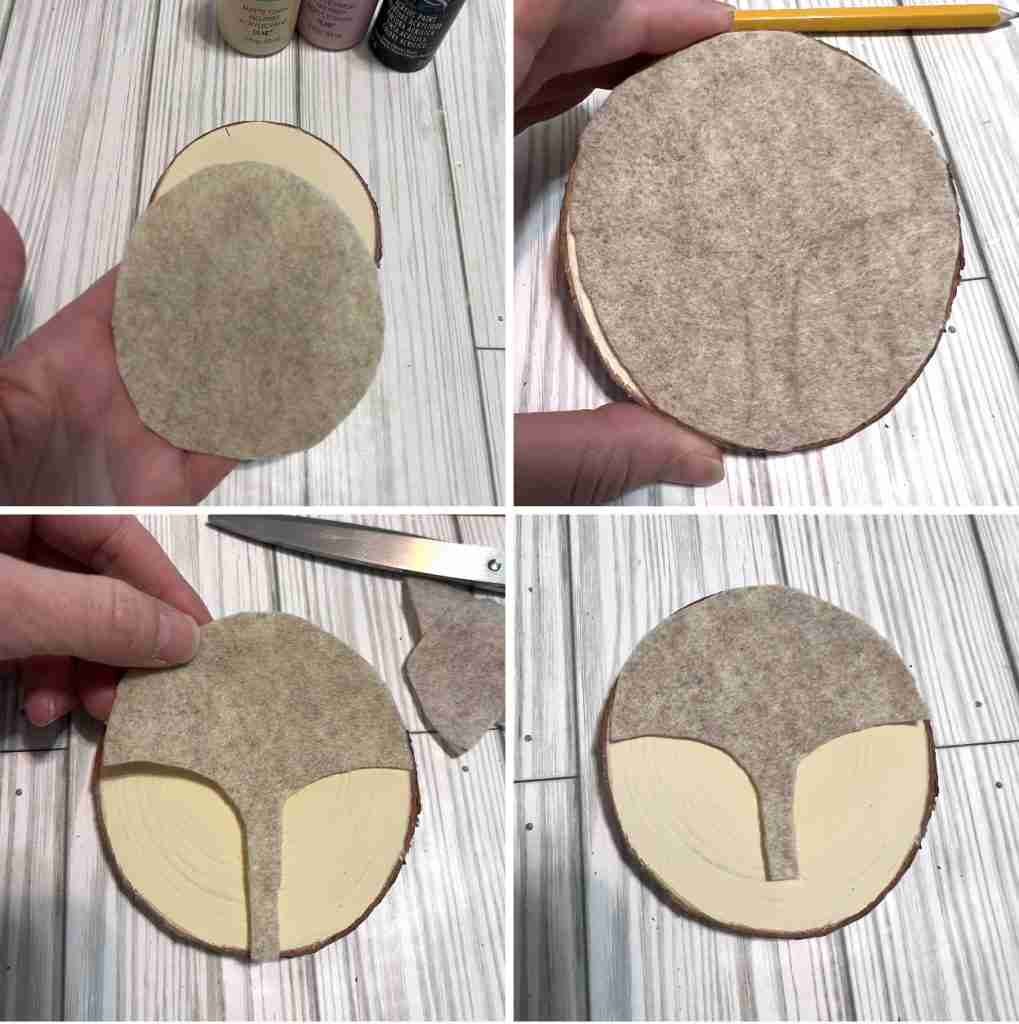
Once the paint is dry, add craft craft glue to the back of the felt and attach it to the wood slice.
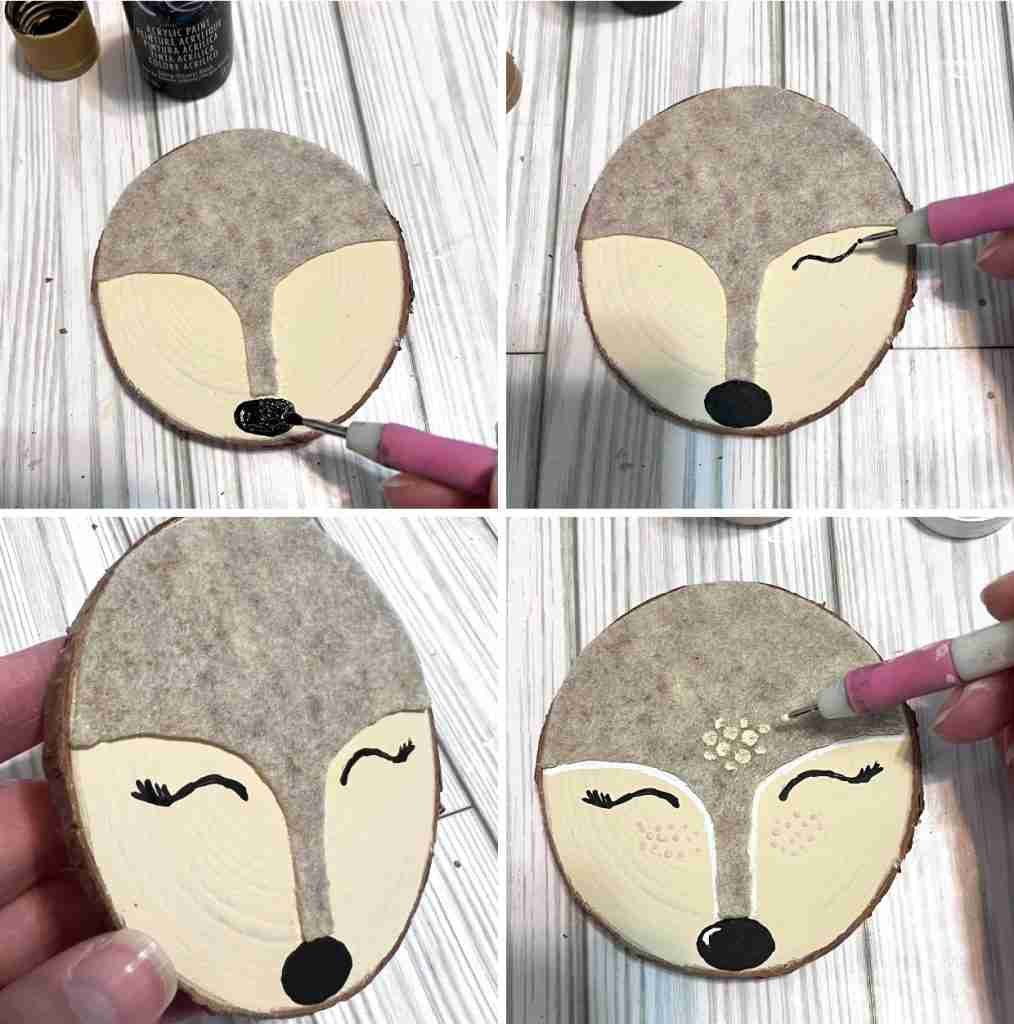
Now add a face, including the nose, eyes, pink freckles, and Cashew colored forehead spots. I used my Dollar Tree stylus for the eyes, freckles, and spots.
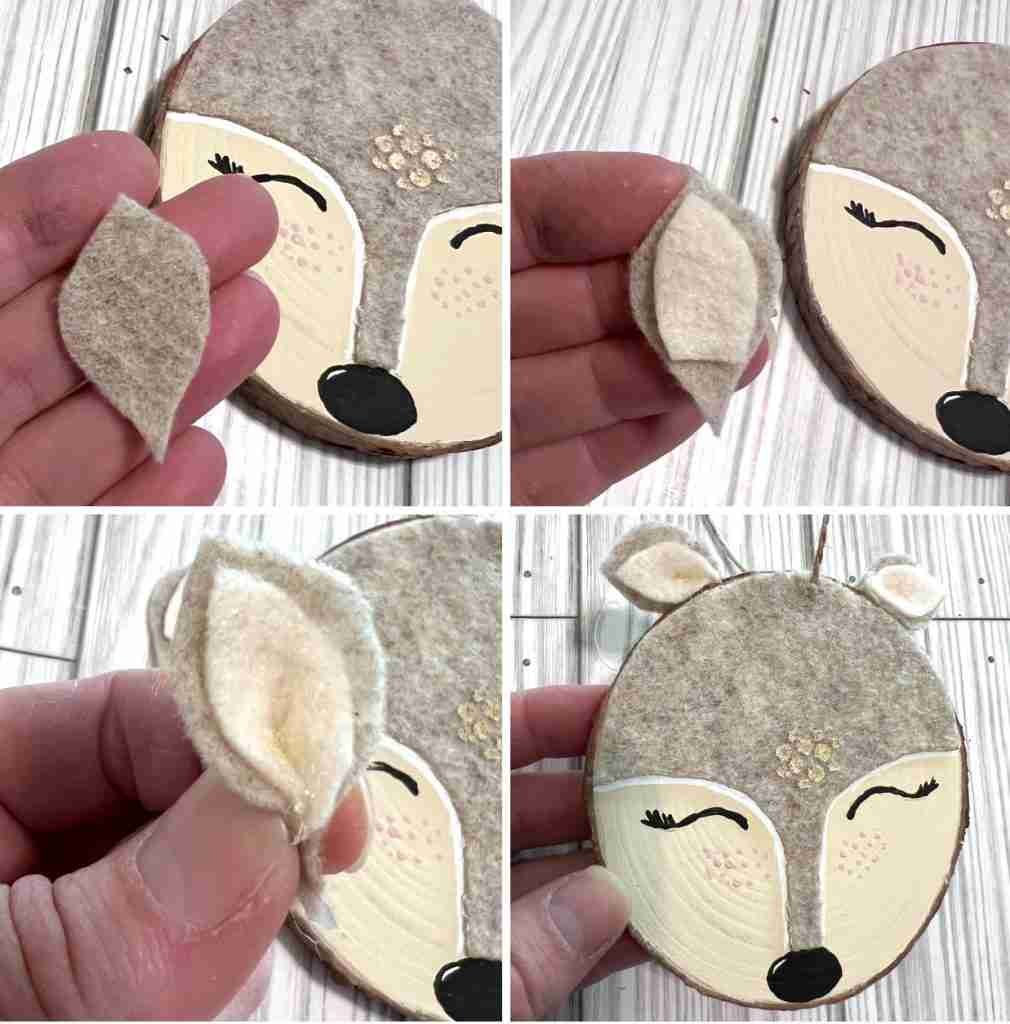
Next I’ll create ears using felt, cutting a larger ear shape and then a smaller ear shape of the lighter color felt. Glue them together with craft glue and add a drop of hot glue and pinch the bottom together. Trim as needed and attach to the top of the wood slice using hot glue.
Adding the Antlers & Greenery

Next, cut two tips off of the snowflake to use as antlers. Add a drop of hot glue to attach each piece to the top of the wood slice. Glue greenery and berries to the wood slice right below the antlers to finish the wood slice reindeer ornament.

I just LOVE this sweet reindeer face! Let me know what you think about this one!

Dollar Tree Decoupaging Holiday Candle
Gingerbread House Wreath DIY – Anthropology Inspired